Bonjour, dear readers!
I just wanted to take a minute here before the main post to give you a little sneak peek at what you can expect for the month of February. When I set about restarting the blog, I made a wishlist of projects and recipes that I want to tackle. It became quite obvious fairly quickly that a large percentage of items on the list were French.
This isn’t surprising; I’ve been a Francophile for ages. I took French in high school just because I loved it. Heck, even my all-time favorite movie is French. I thought it might be fun to lump a bunch of these projects together into one month long adventure.
Presenting February ‘en français’!
I don’t want to give away too much of what I’ve got planned. This will be a very food heavy month of posts. But let’s face it, what could be better than French food? I’ve got a few other tricks up my sleeve, some projects I’ve always wanted to try that I’ve given a French flair. And by the end of it all, there may even be a poodle in a beret (I sure hope that one works out).
Without further ado, allons-y!
———————————————
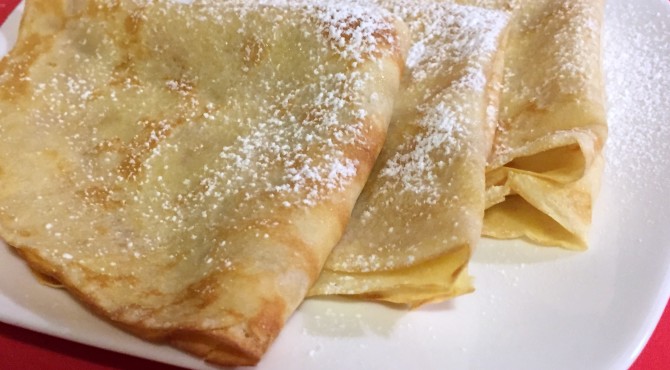
I’m starting off my French February with one of the most basic and most quintessentially French foods I could think of: crêpes.
For those of you not in the know, crêpes are French pancakes. They are thin and light, frequently served with some sort of filling. Sitcoms and movies taking place in snooty French restaurants inevitably show someone serving Crêpes Suzette, a dish served ‘en flambé’ (on fire!), frequently, in the case of sitcoms, with hilarious results. They have this mystique about them, when in reality, crêpes are actually rather a simple, down home food. I mean, they’re just pancakes… but everything is a little fancier in French.
I actually grew up eating crêpes. Well, a version of them. The were generally referred to as blintzes and were my favorite dish picked up from my Lithuanian grandmother. Ours are filled with farmer’s cheese or a mixture of cheese and ham (or preferably Spam, because say what you will, but that stuff is delicious). They are served with sour cream or apple sauce. It remains the most requested meal when my sister comes home for a visit.
Here’s the thing: we used to cheat. We always used a crepe maker . Instead of the traditional method of pouring the batter into the hot pan and swirling it around, you instead are bringing the pan to the batter. Dipping it in means that you are pretty much guaranteed the light, even coating every time. It even has an indicator light to tell you when it is ready. Really, very cheaty. But efficient.
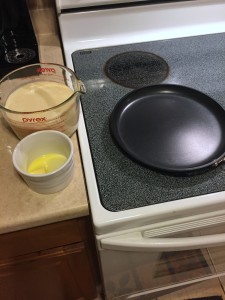
No more! Mostly because, well, I don’t own my own crepe maker. I have decided to learn how to make them properly by hand. I received an awesome new crêpe pan for Christmas (thanks, Mom and Dad!) and today we are taking it out for its maiden voyage.
Why today? There’s actually a reason.
When I mentioned to a friend of mine that I was going to tackle this little February ‘en français’ project, he asked if I was writing about crêpes on February 2nd. I replied that I hadn’t really decided and asked why.
“La Chandeleur. Look it up.”
And so I did and was very glad of it. In a world that is increasingly shying away from holidays for fear of offending someone, I am on a mission embrace more of them. There should be more holidays, more celebrations, not fewer. And ones that have a food based component, those are even better. This one is now on my list.
Like Shrove Tuesday, it’s another Catholic holiday based on pancakes. Okay, so maybe it’s not based on pancakes, but that’s the part that we’re excited about today. La Chandeleur, Candlemas, or le jour des crêpes takes place February 2nd, 40 days after Christmas. As with all holidays, there’s a deep history and tradition to the celebration. For our purposes, we need only know that we’re going to celebrate it by eating crêpes. All the crêpes.
Eat all the crêpes!
I got my basic crêpe batter recipe from Crepes: 50 Savory and Sweet Recipes by Martha Holmberg . The batter is delightfully simple. Milk, eggs, flour, melted butter. That’s it. Of course, the batter part wasn’t what worried me; after all, I’ve been making it for years. I already knew most of the tricks, like letting it sit (mine sat in the fridge overnight) to let the protein in the flour become properly hydrated and to keep the crêpes tender.
No, what I was worried about was the part between batter and plate…
A quick note: documenting something like making crêpes while acting as your own photographer is no small feat. I had delusions of action shots and in progress pictures. Yeah, those didn’t happen. Nonetheless, let’s dive right in.
It begins…
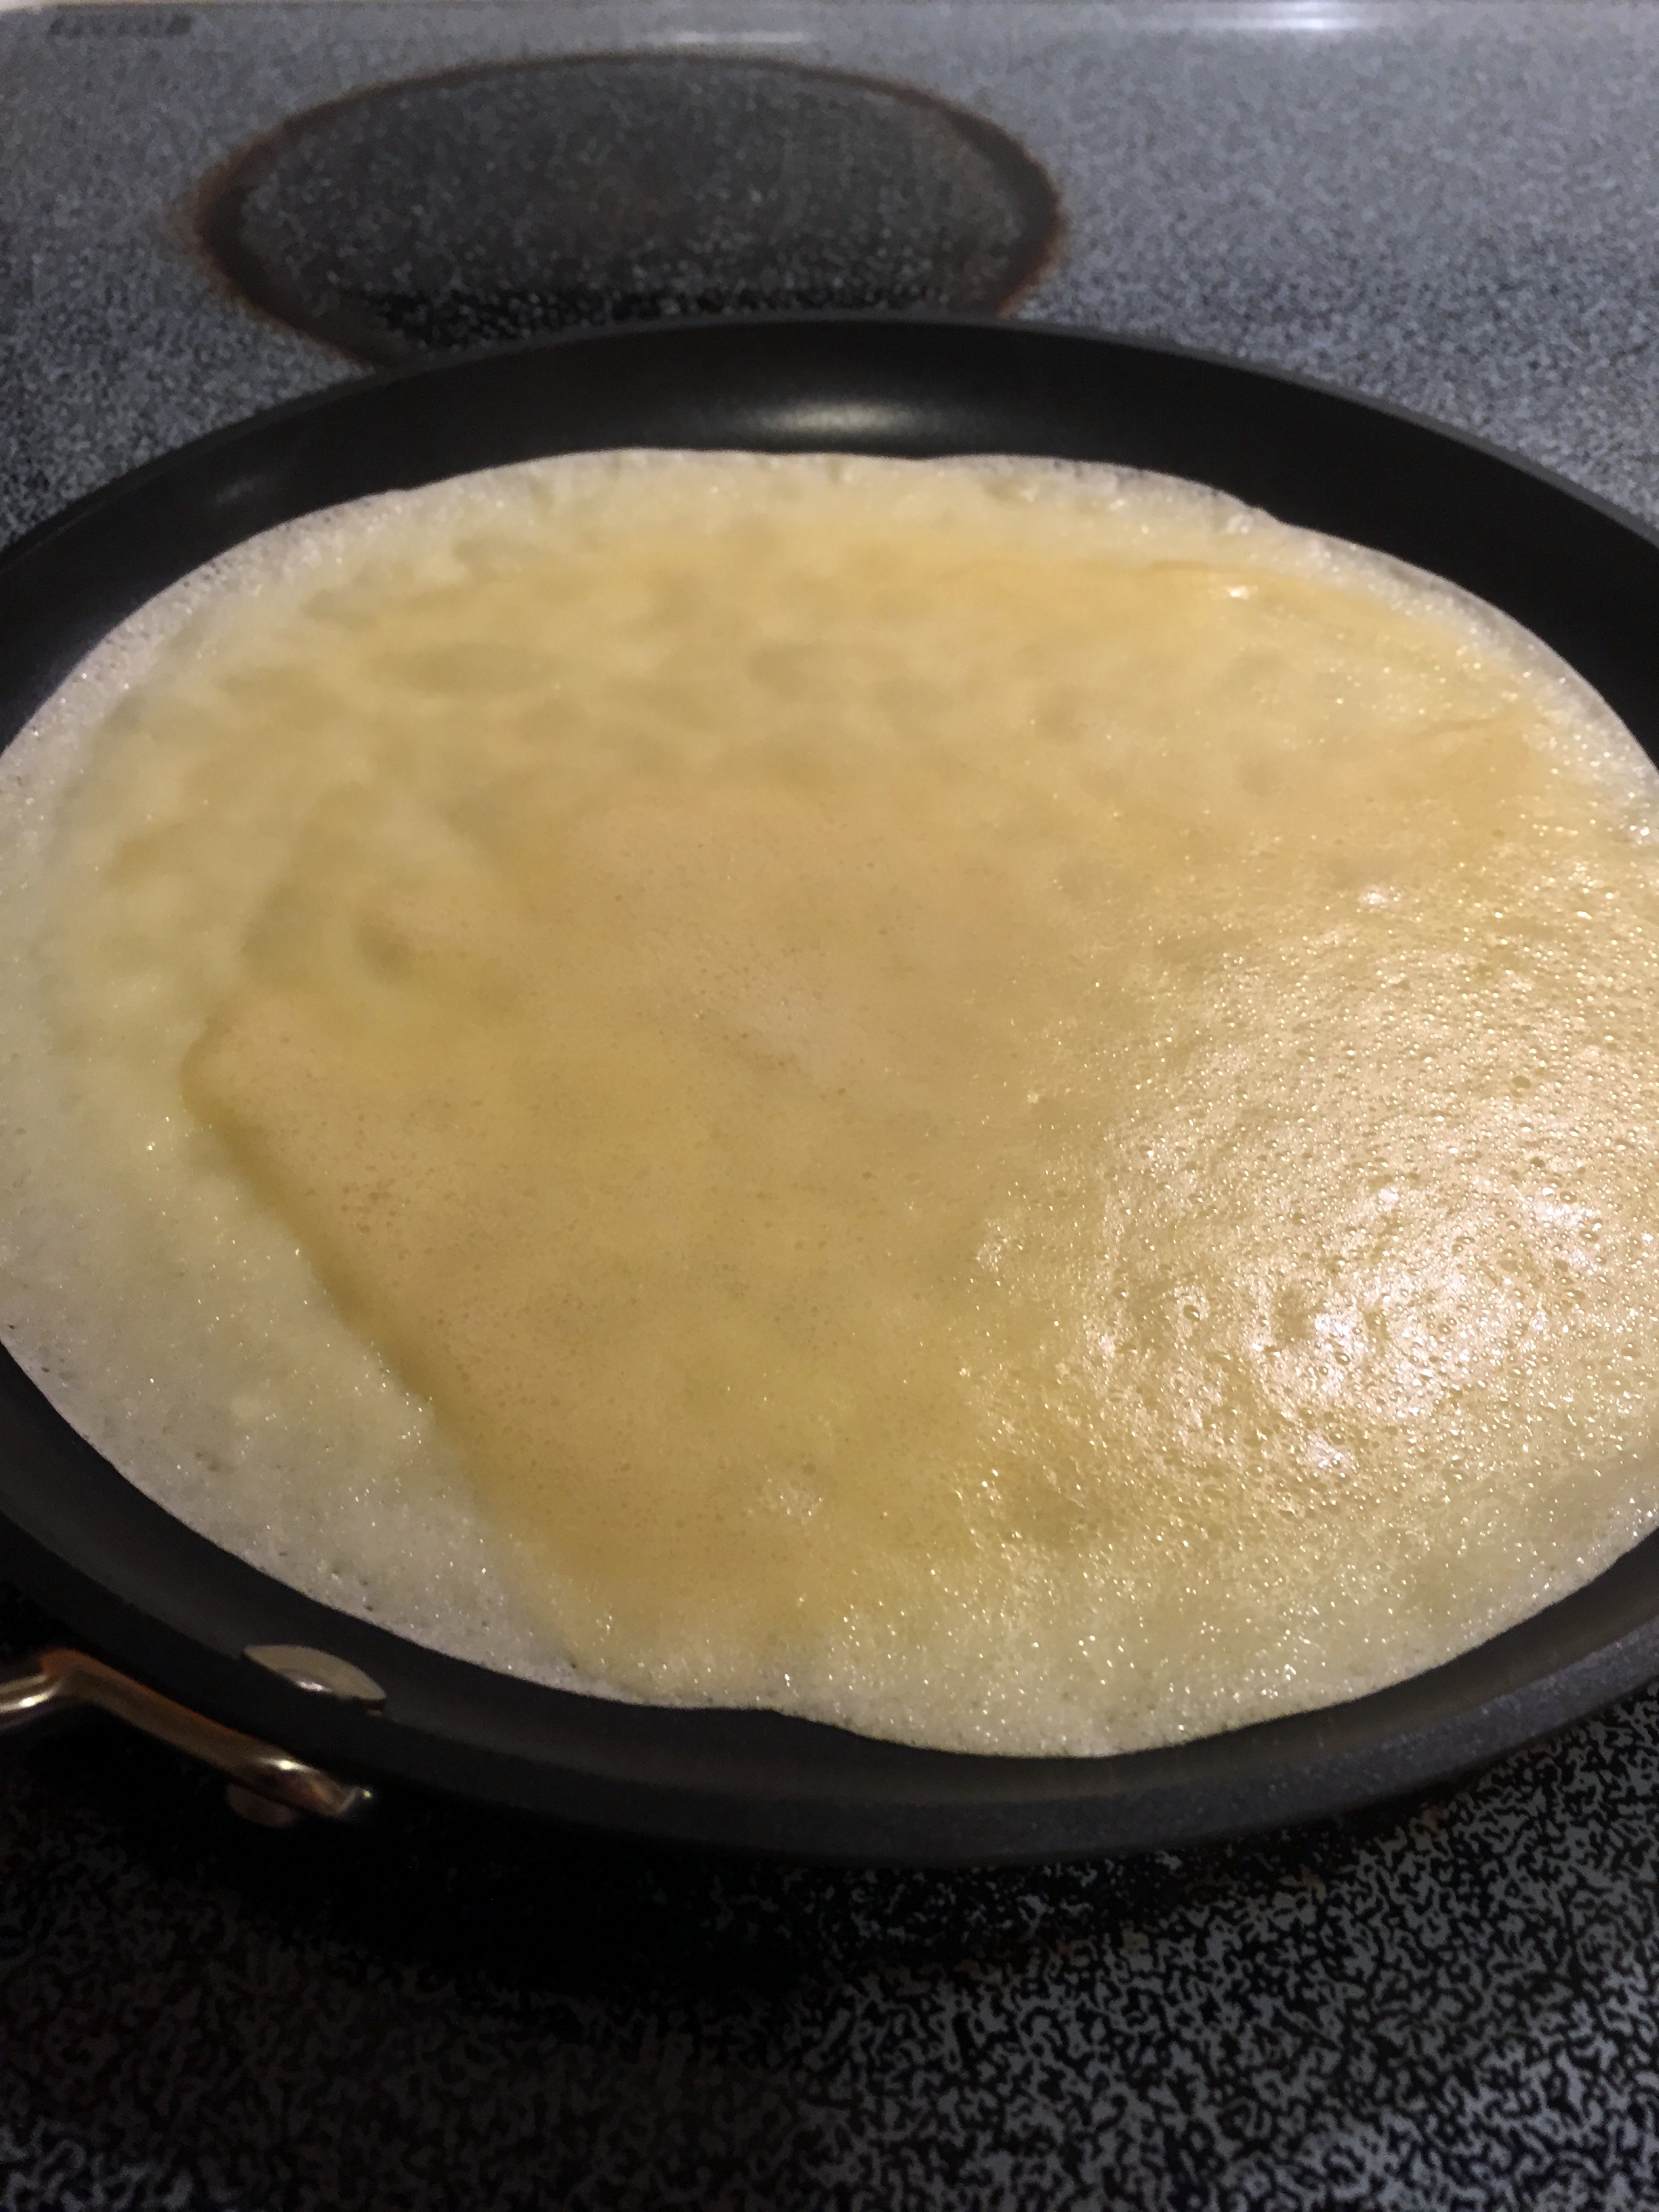
My very first crêpe was an unmitigated disaster. It was, in fact, too embarrassing to document. Of course, there were a number of factors at work on that one. First off, my batter had separated a little. I thought I had remixed it enough, but I clearly hadn’t. The second was related to the quantity of batter for my size pan. Gauging how much batter to add is a bit of an art and takes practice. So it comes as no surprise that I didn’t nail it on the first shot. The last problem had to do with my new pan. You see, it’s nonstick. So while my cookbook advised me that I would want to add a very light coating of butter for flavor, it really doesn’t need it. This was, in fact, disastrous. The pan became so slick with even the lightest swipe of butter, the batter wouldn’t stick enough to cook. Whoops. Alright, well, after that one finished cooking, I had it another shot. After all, I had an entire batch of batter to get it right.

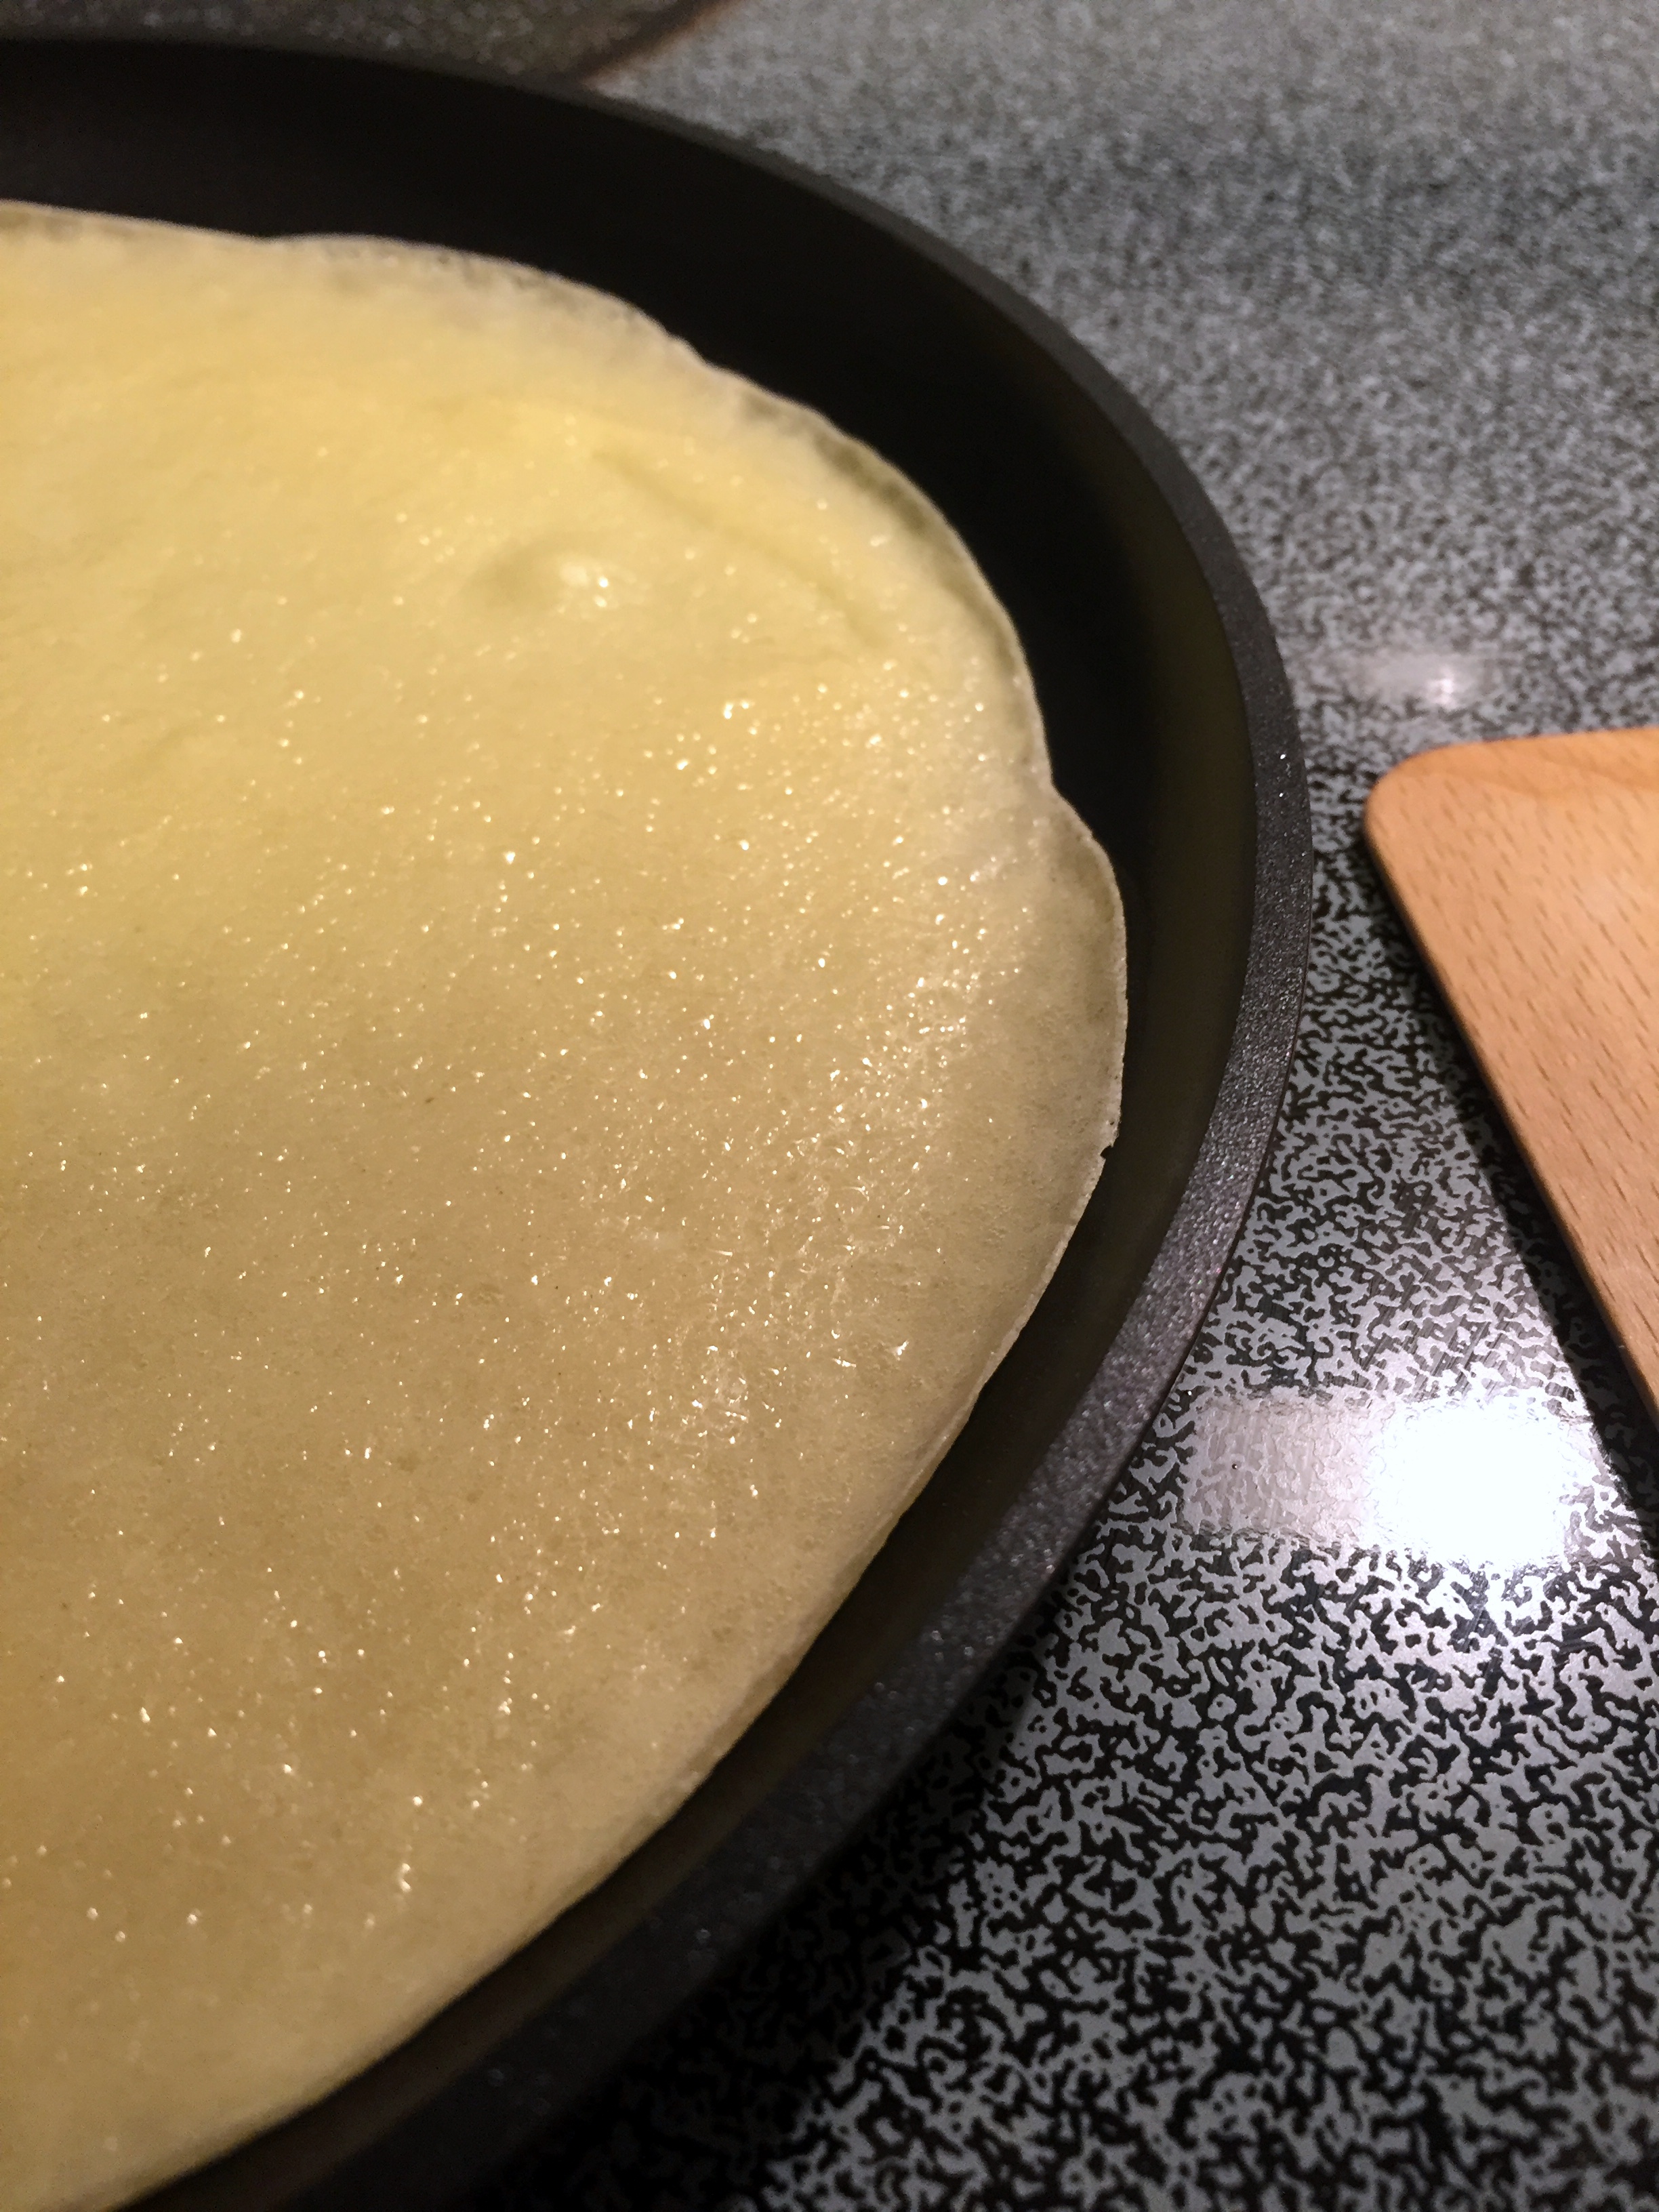
My second attempt. A little thick here and there, but not bad for a rookie.
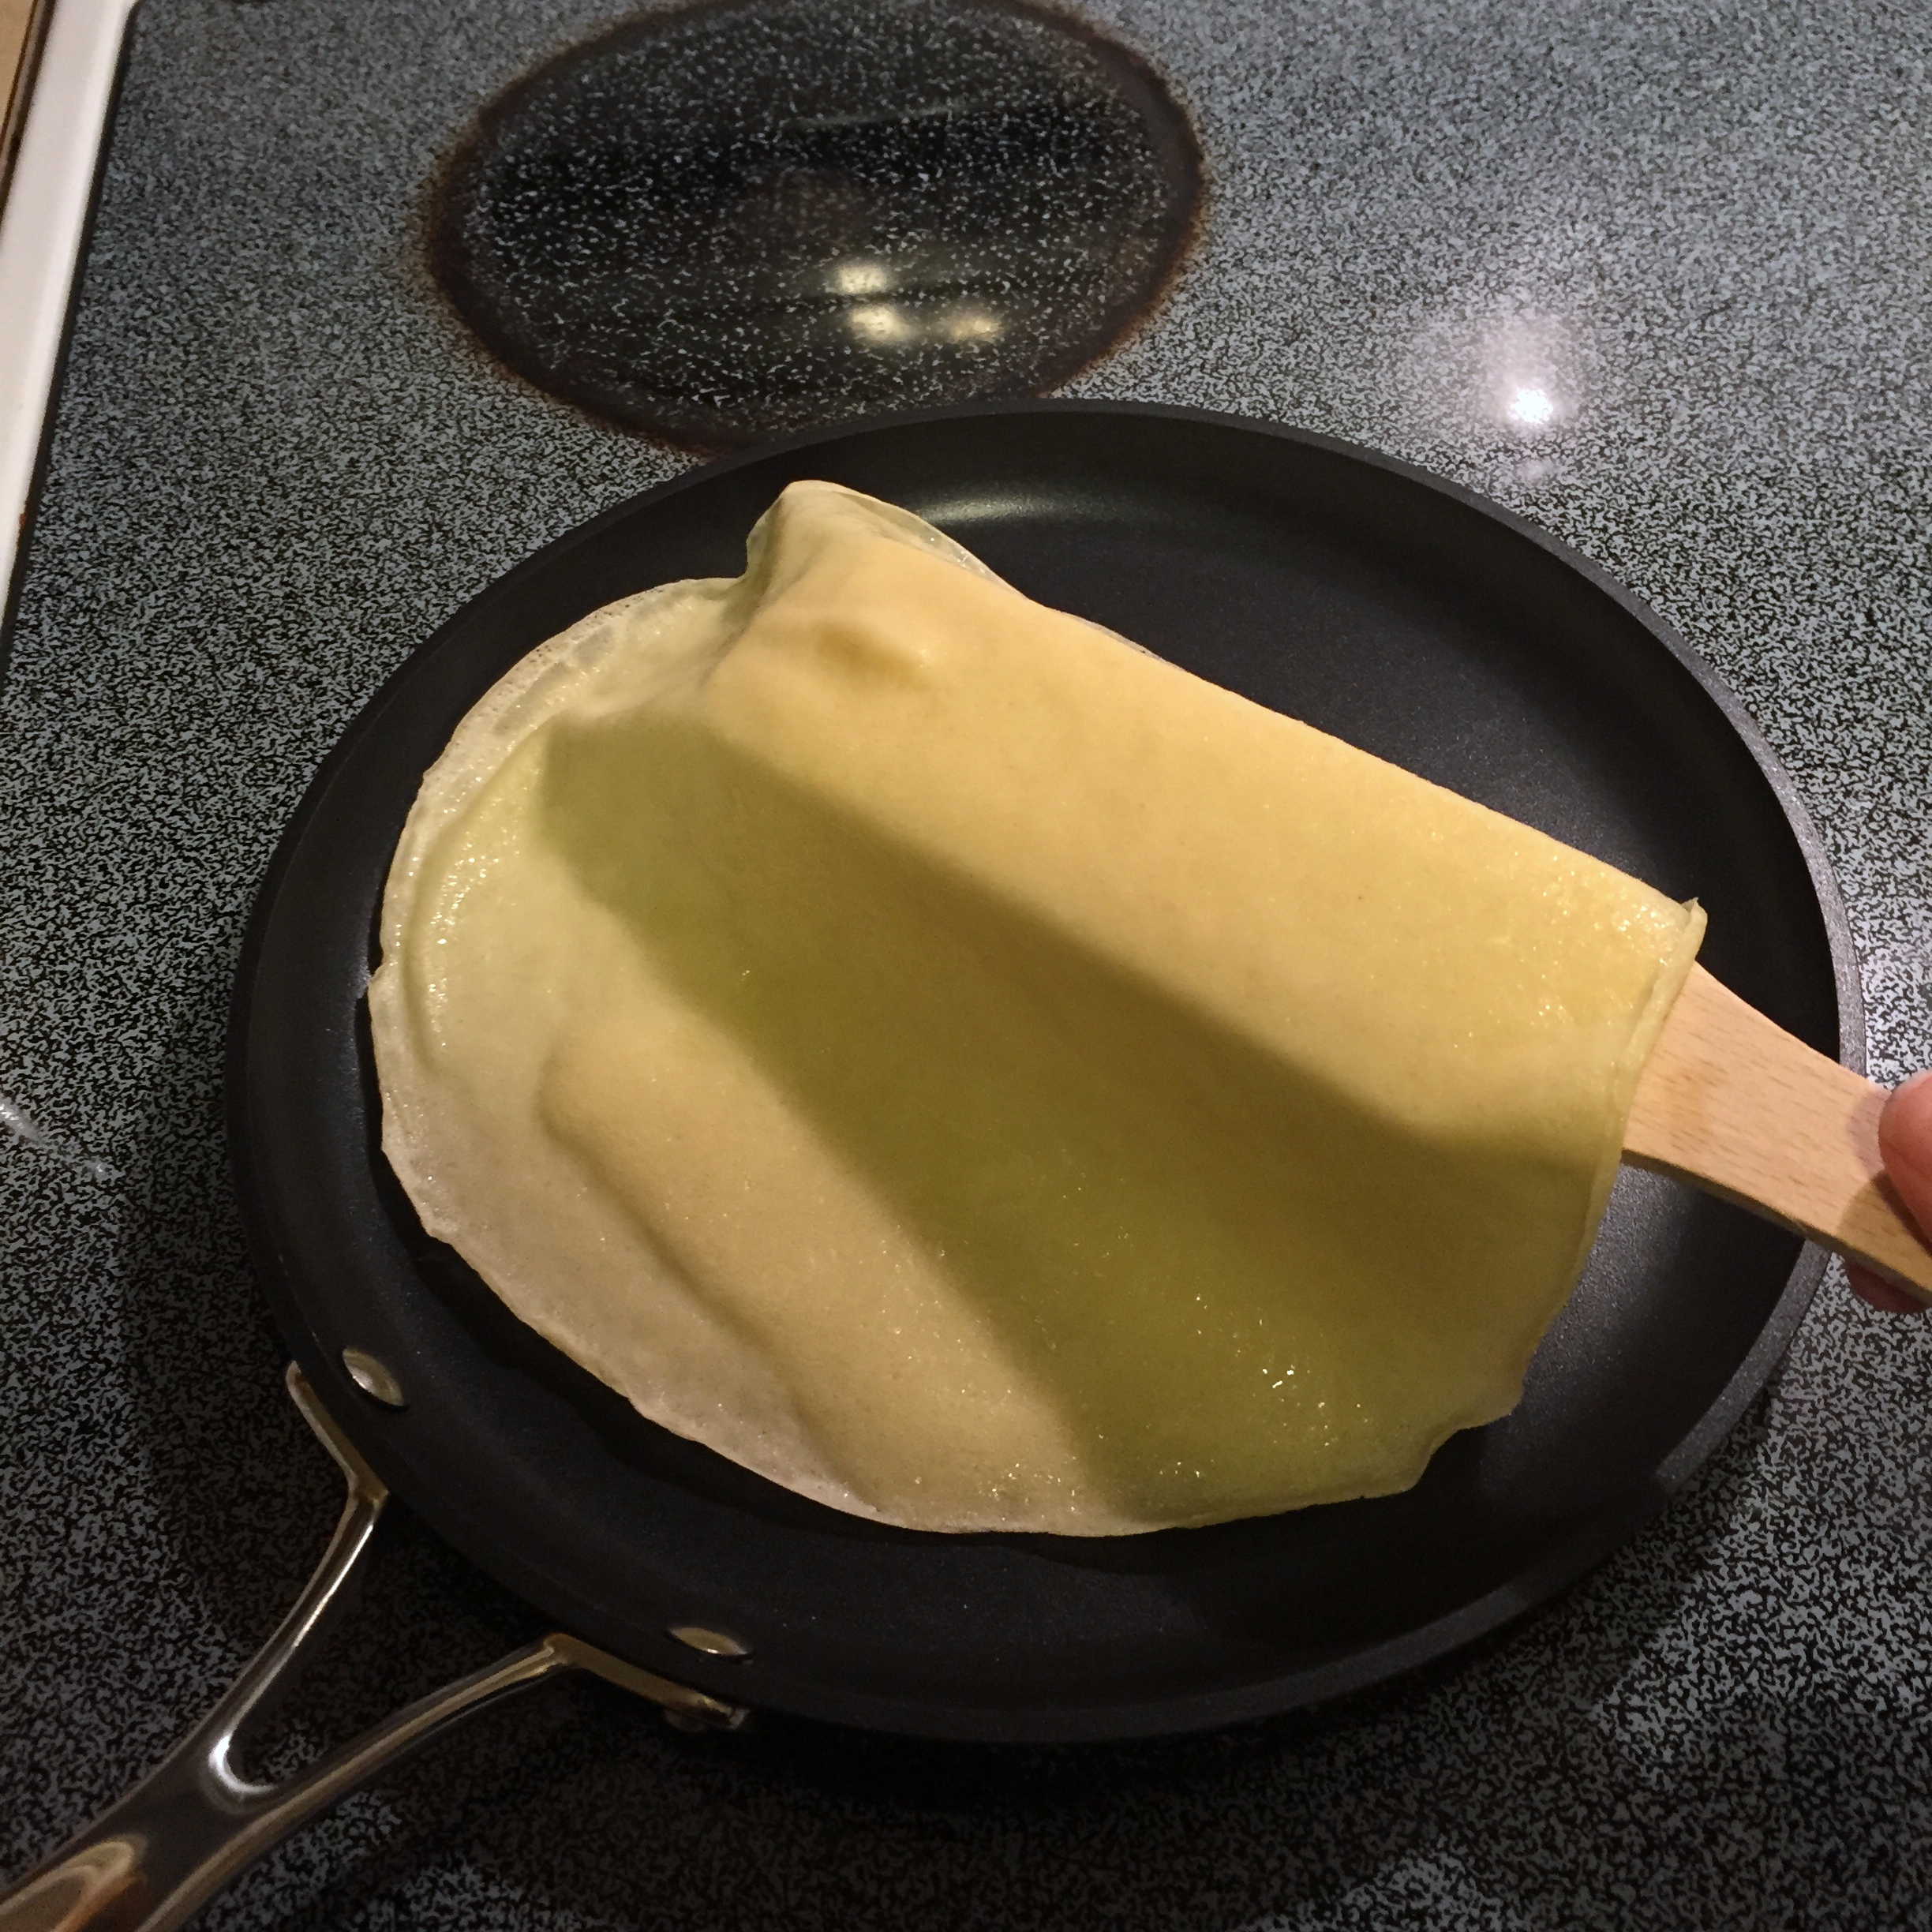
My second attempt was much better. I managed a mostly even coating on the pan, a little thick in a few places, but not bad. Mostly round. As it cooked, the edges curled up the way they were supposed to. Then I got to use my fancy new crêpe turner to flip it over (I know, I’m ridiculous).
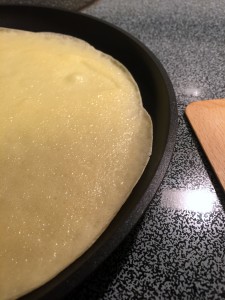
Curling edges mean it’s almost ready.
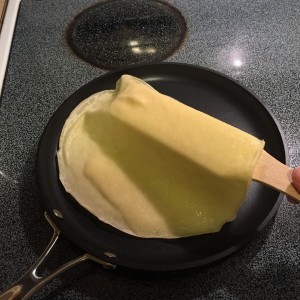
Crêpe turner, to action!
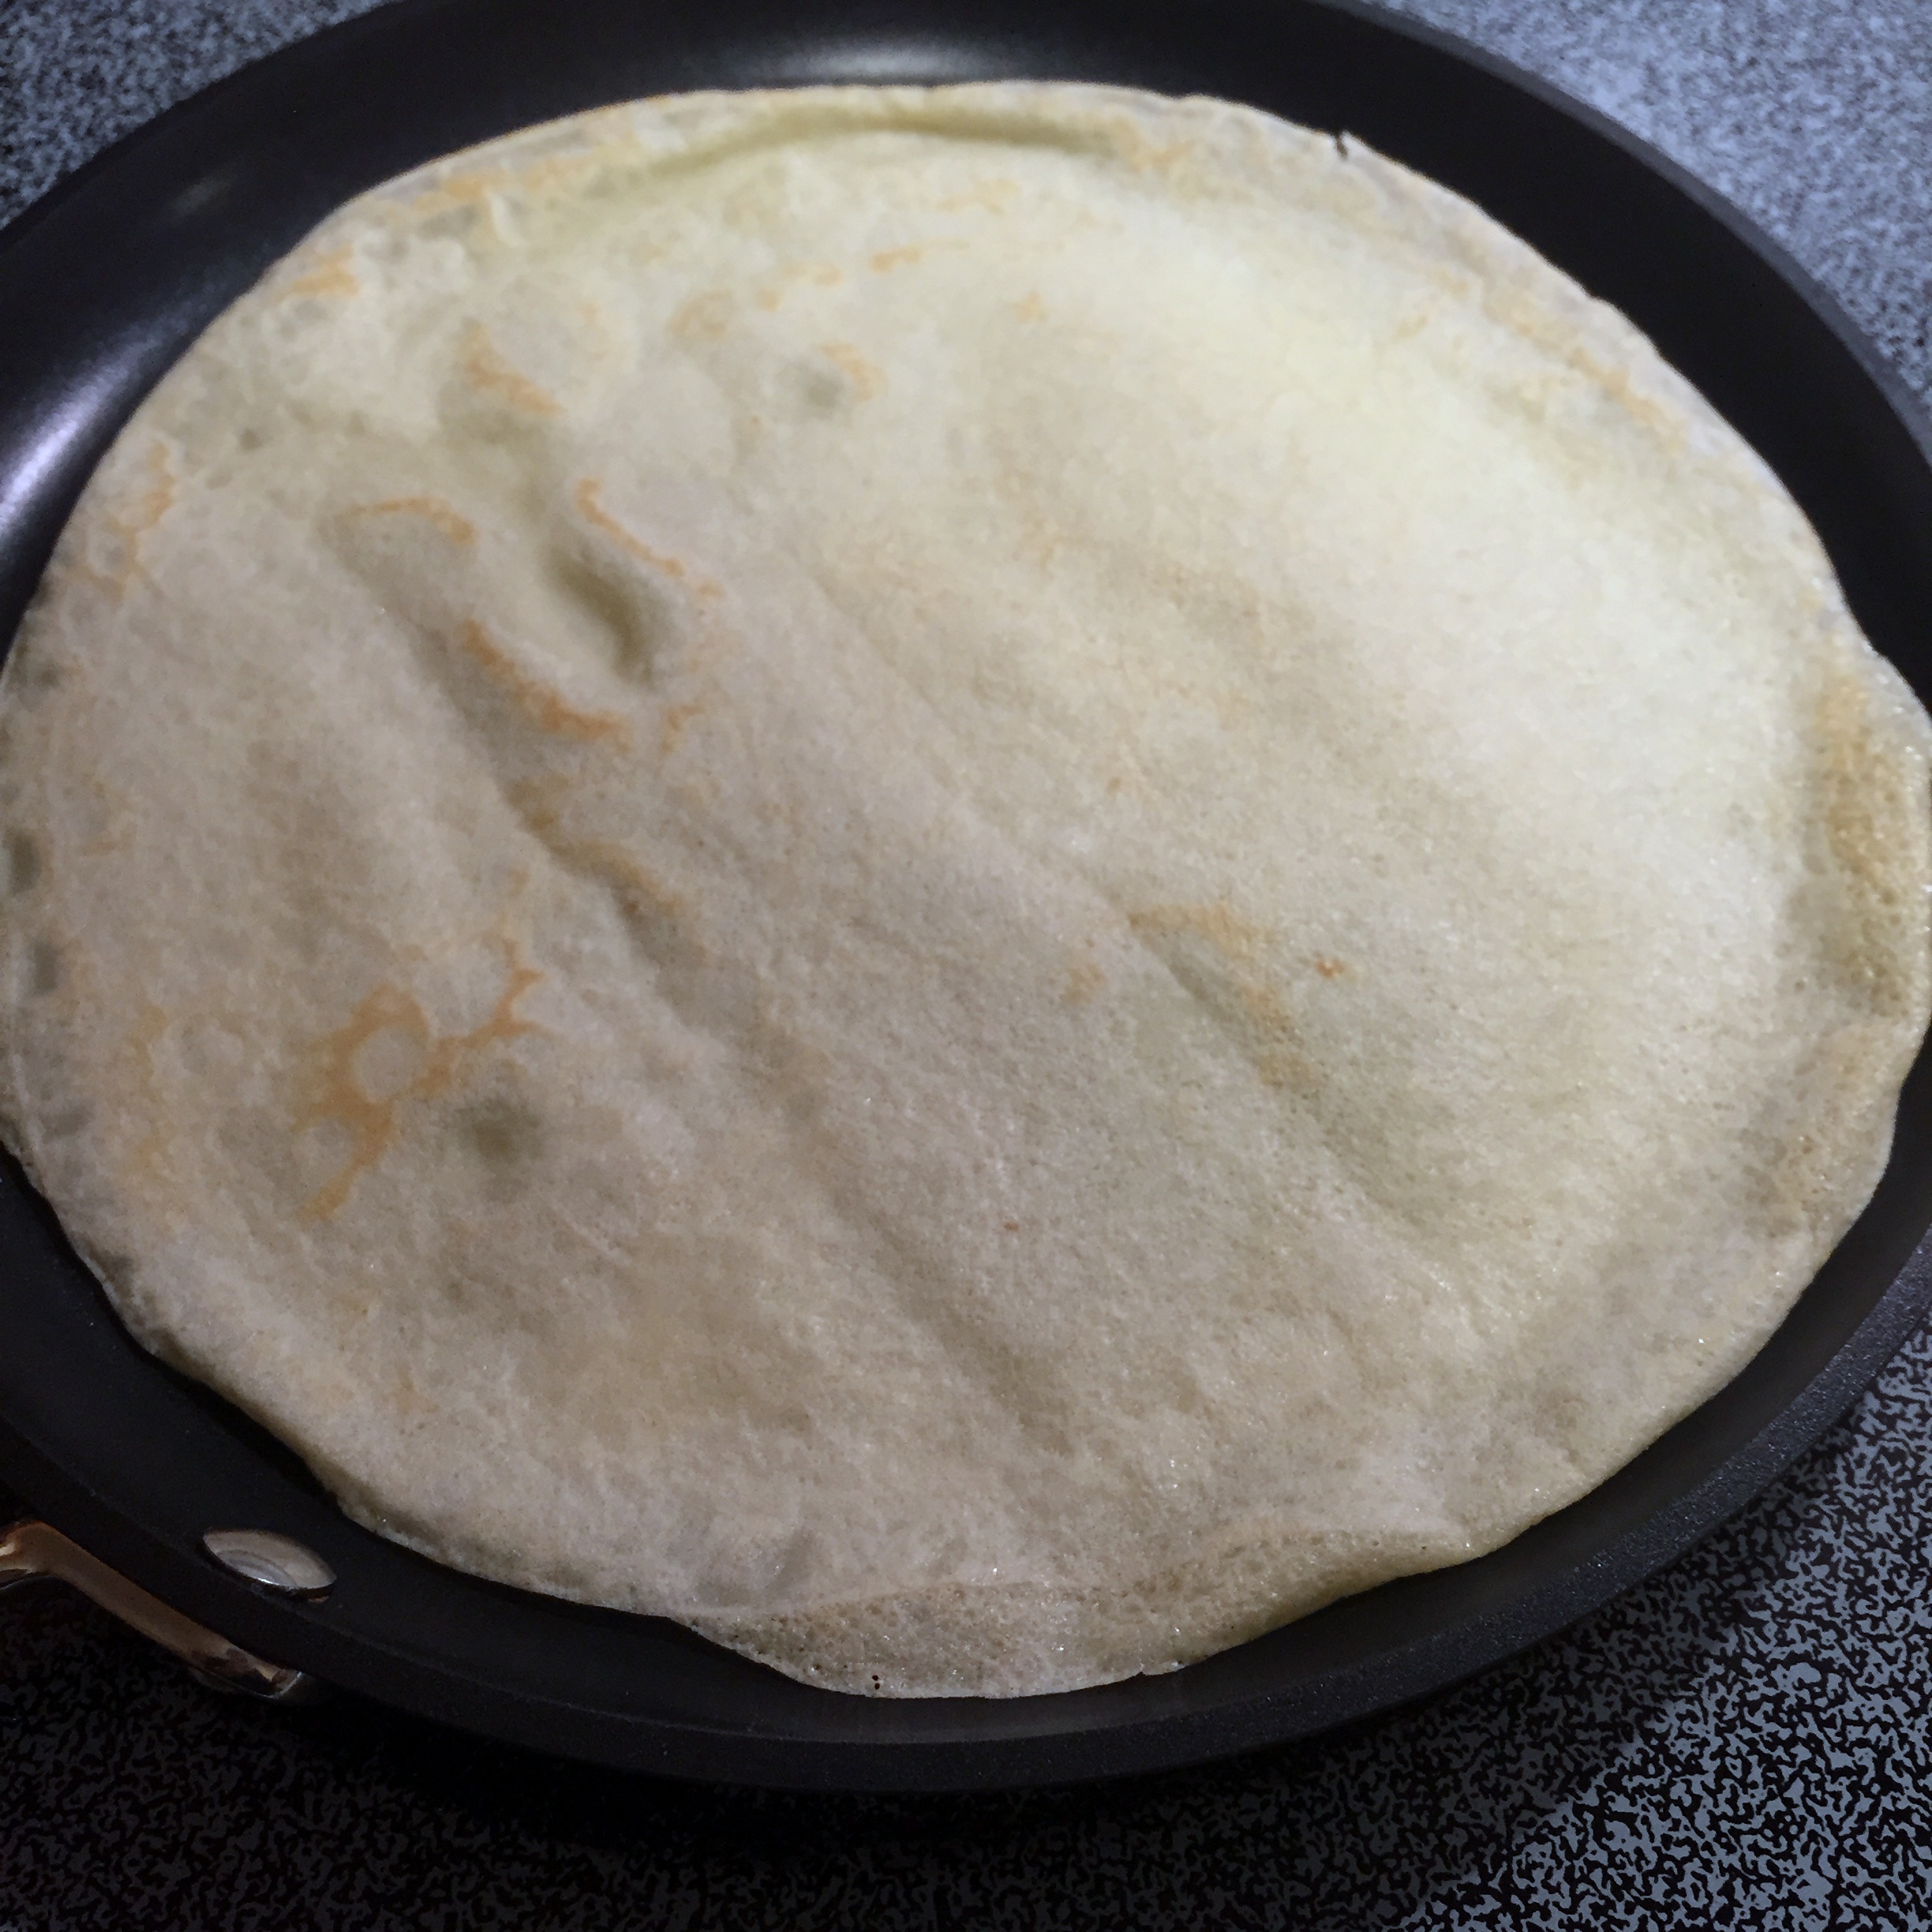
I was worried about overcooking them, and so this one got turned a little early. It’s a bit anemic, but not horrible. Certainly edible. Most importantly, I was learning.
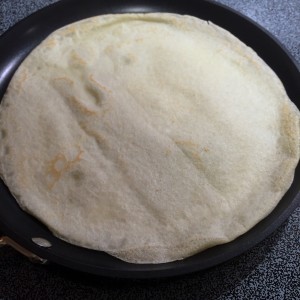
A little light, but I assure you, still tasty.
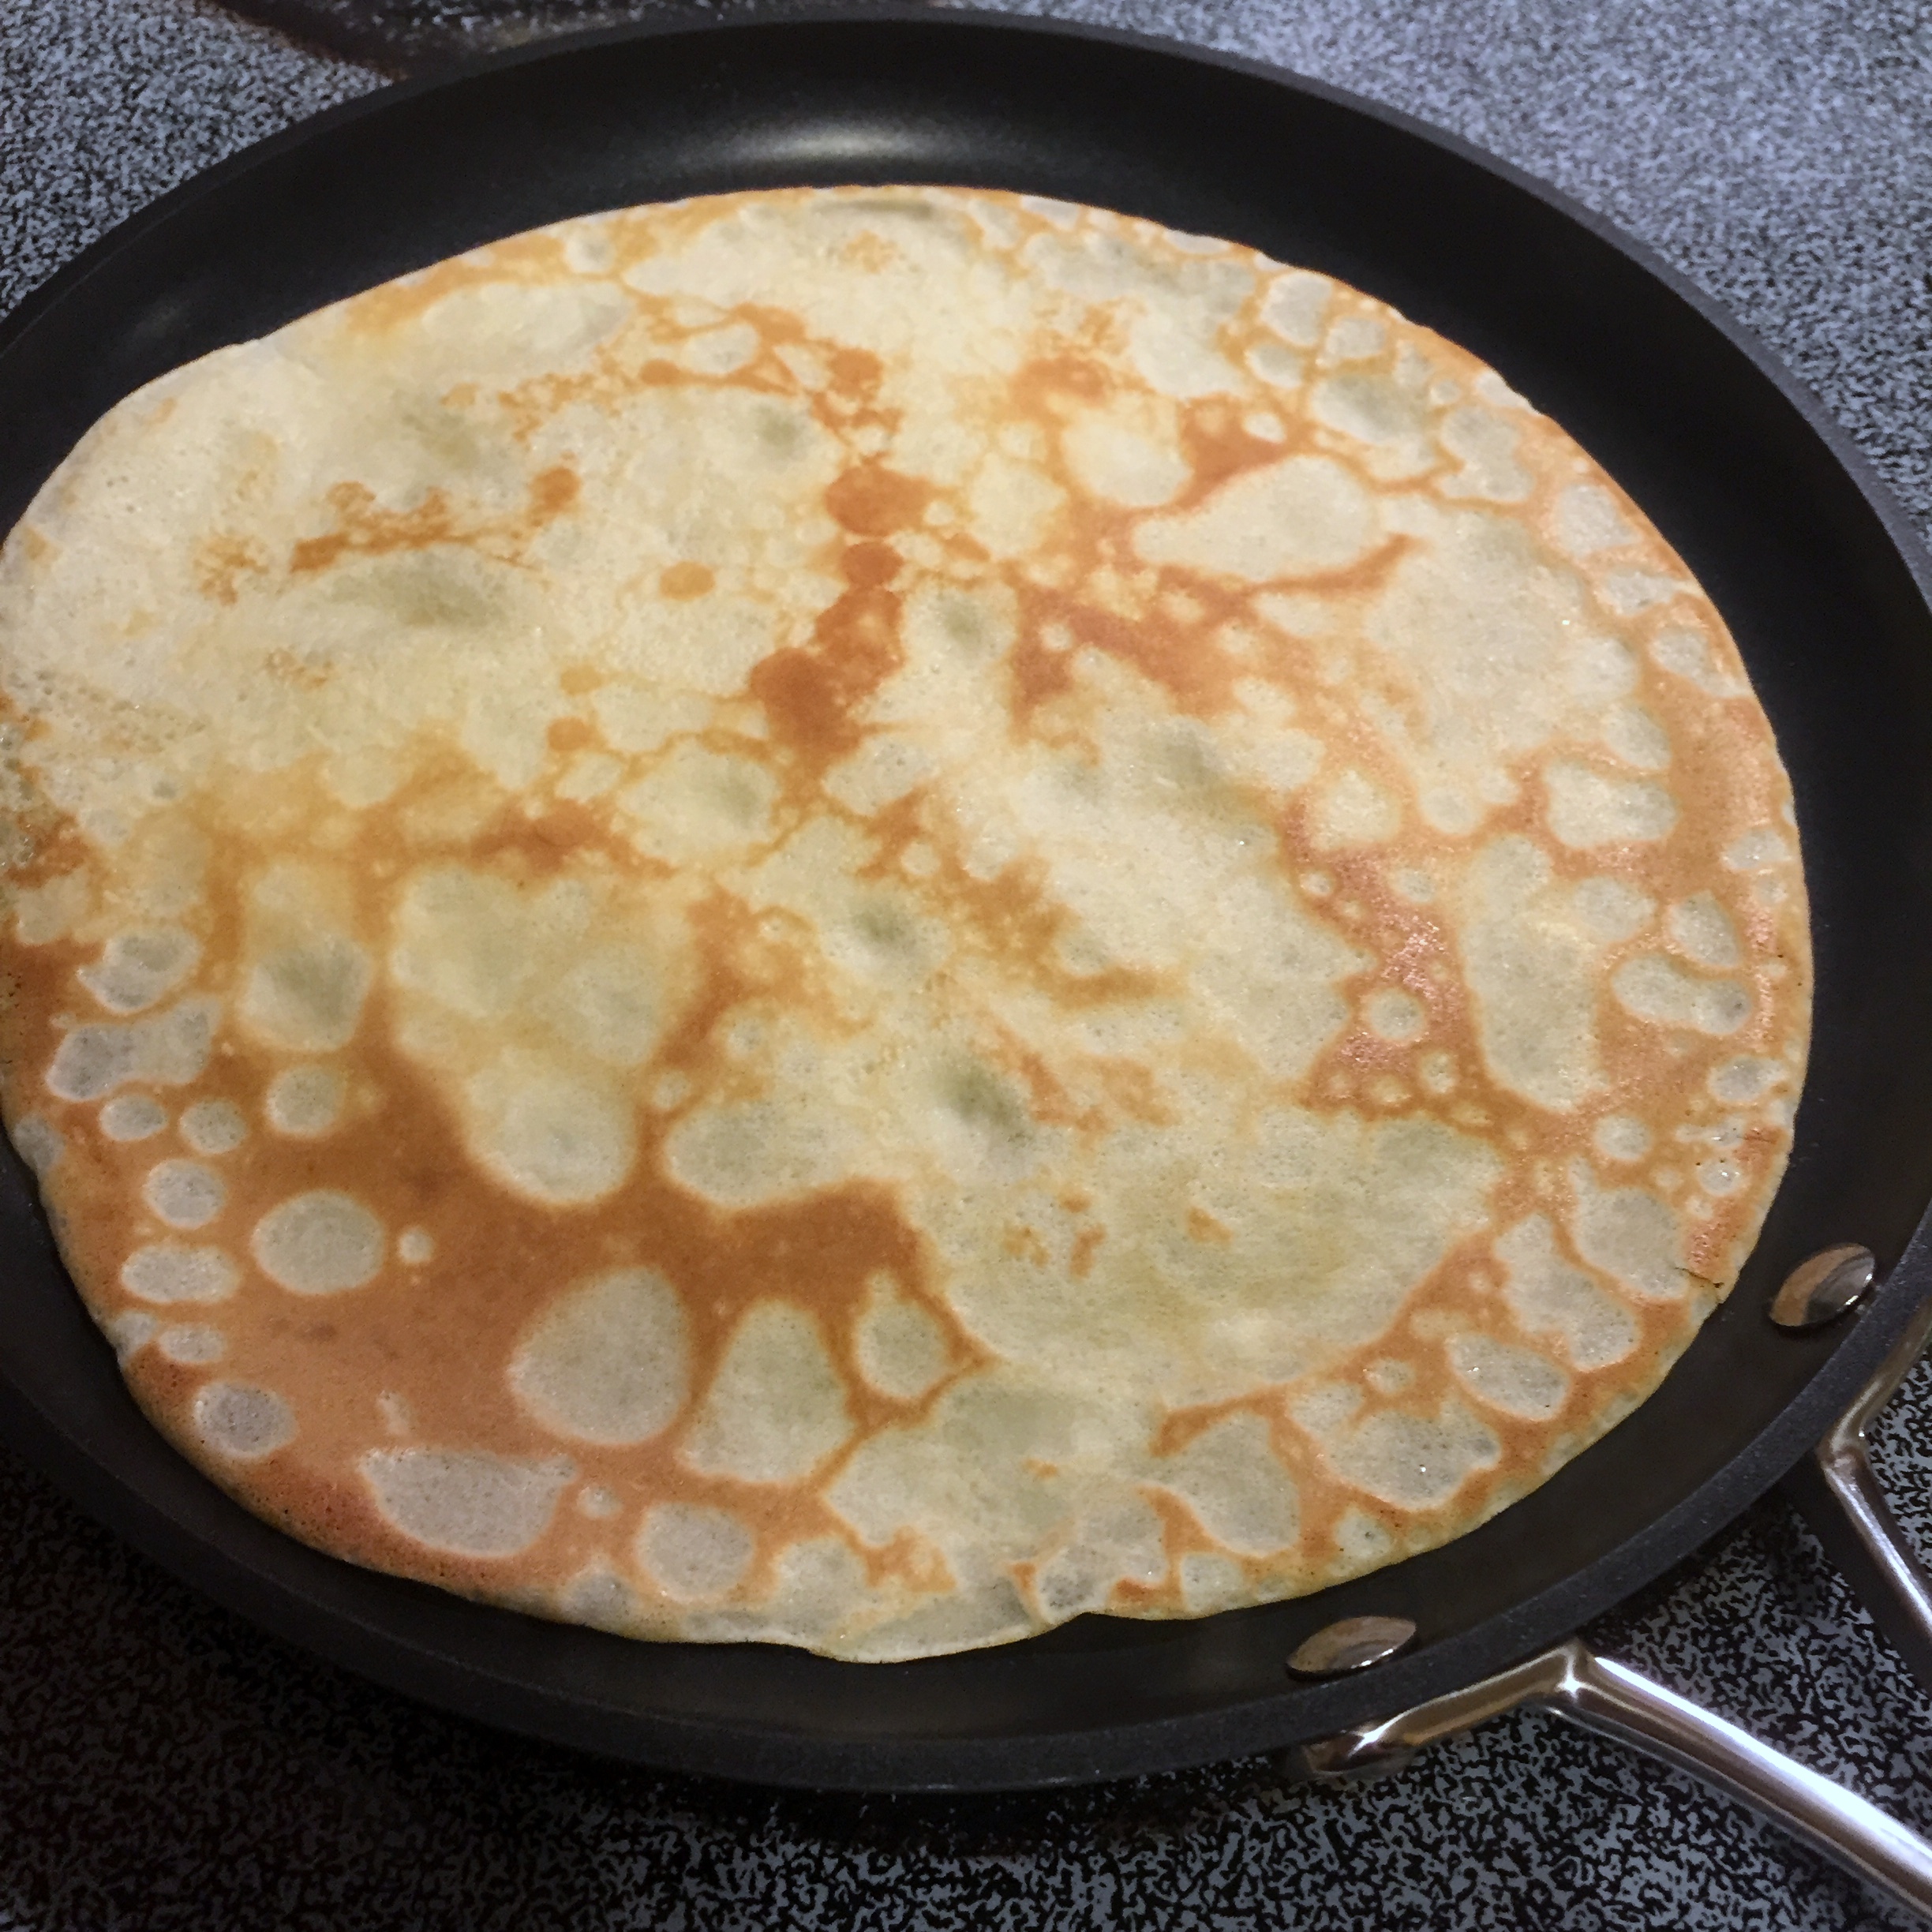
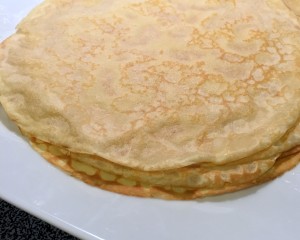
By about the third one, I kinda had the hang of it. Getting the batter to swirl at the right speed to cover the whole pan takes a bit of doing, but it’s not impossible. I let it cook on the first side for a little longer, waiting for a little browning to appear at the edges. When I finally flipped it, I was ecstatic.

Et voilà!
Not that it was entirely smooth sailing after that. A few times, I didn’t quite get the batter around the edges and little holes appeared. Some of them I was able to fill in adequately with a few more drops of batter. Others, not so much. All evidence of imperfection had to be immediately destroyed. Delicious, delicious mistakes…
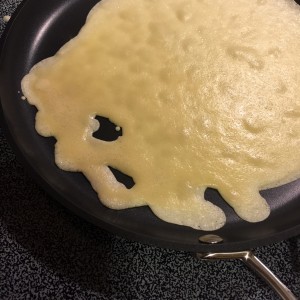
Quick! Hide the evidence! Om nom nom nom…
By the end of my batch of batter, I had made about a dozen really quite lovely crêpes out of the 20 or so that I made. Not a bad ratio for my first time out, I thought. And even the bad ones weren’t terrible. Properly filled or folded and no one would be the wiser.
What to do with the crêpes once they’re made? That is a subject for another post entirely. Or a whole series of posts, really. The possibilities are endless. Not gonna lie, most of mine were eaten as is, rolled up and scarfed down right from the pan while they were still warm. They can be made ahead and reheated, served with a variety of toppings, fillings, or even be made into a cake. The important part is that now we know we can make crêpes any time we want… which will be all the time.