RSS Feed

Posts Tagged ‘cake’

  1. Carrot Pineapple Cake

    November 13, 2013 by Daniora

    FinishedCupcake

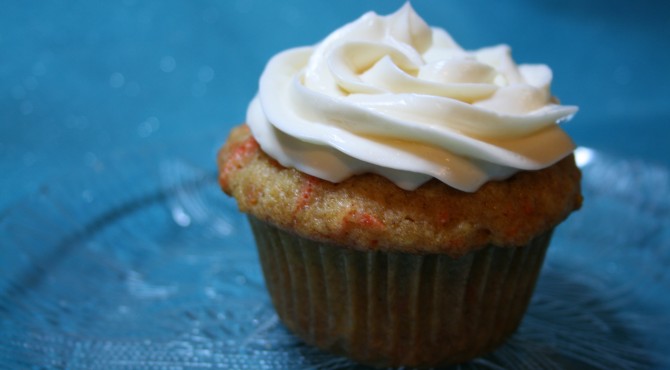
    Guys, I’m not exaggerating here when I tell you that this is the most delicious carrot cake you will ever eat. That’s not hyperbole, it’s just the honest truth.

    Preview

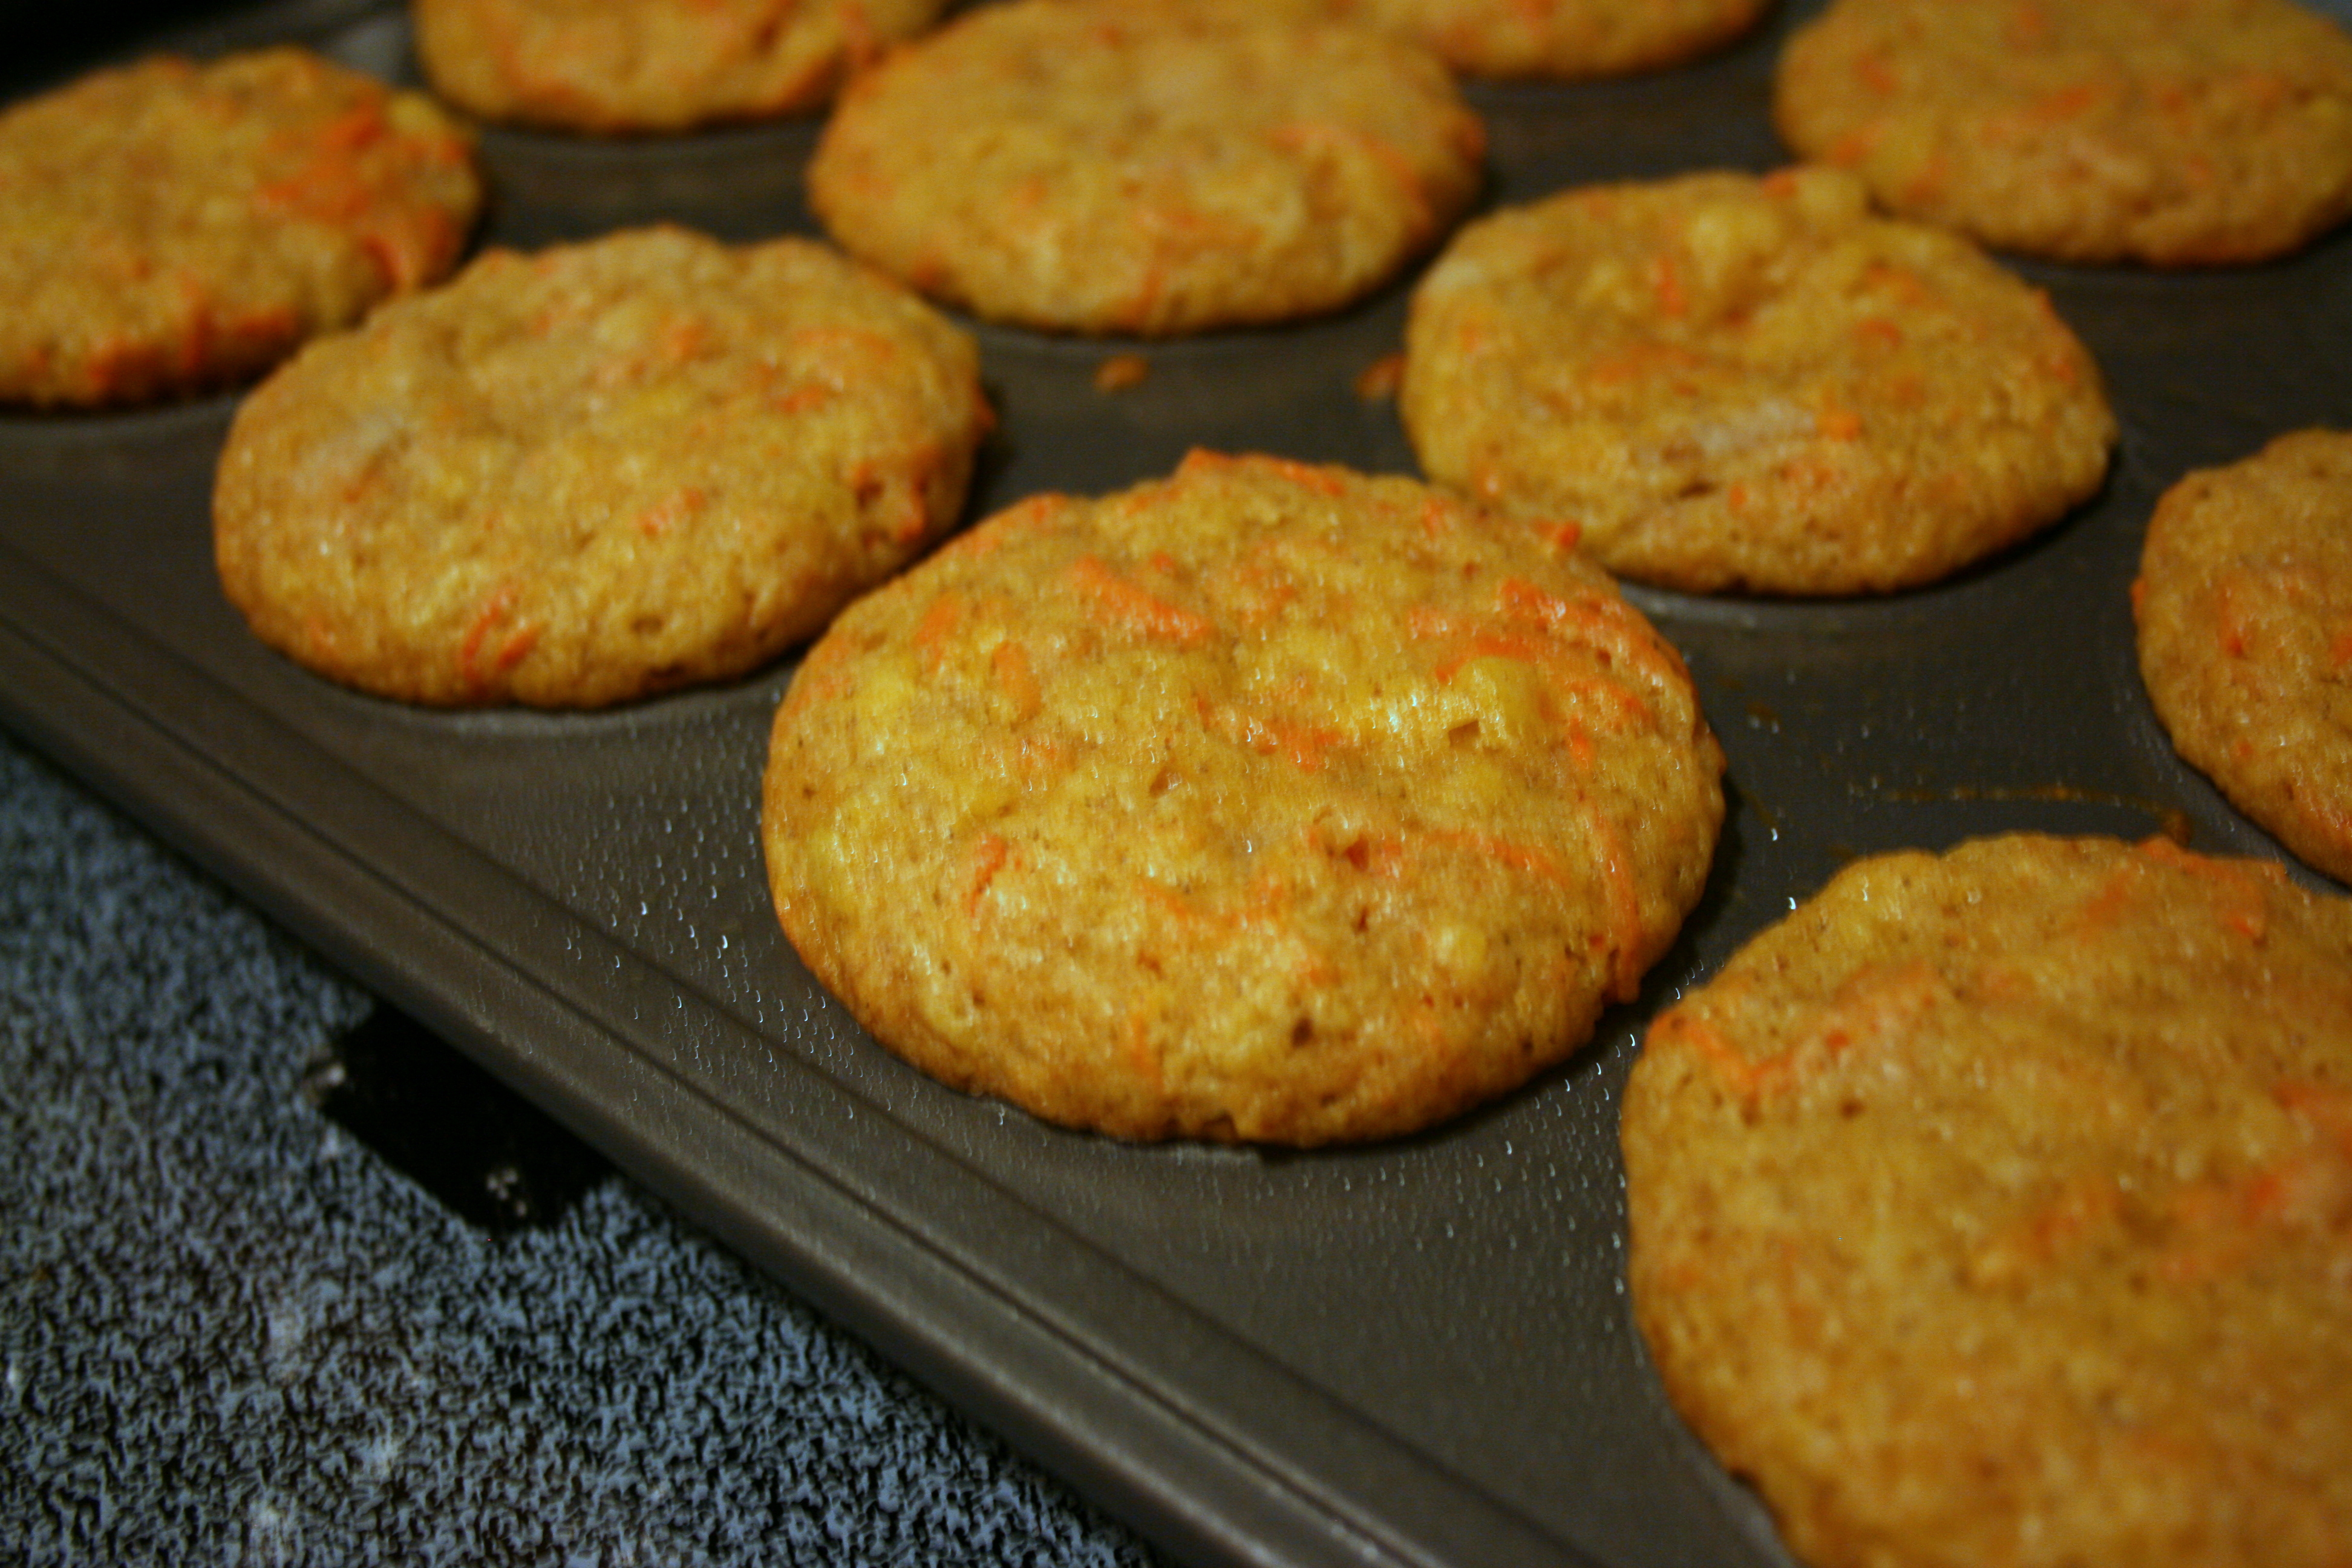
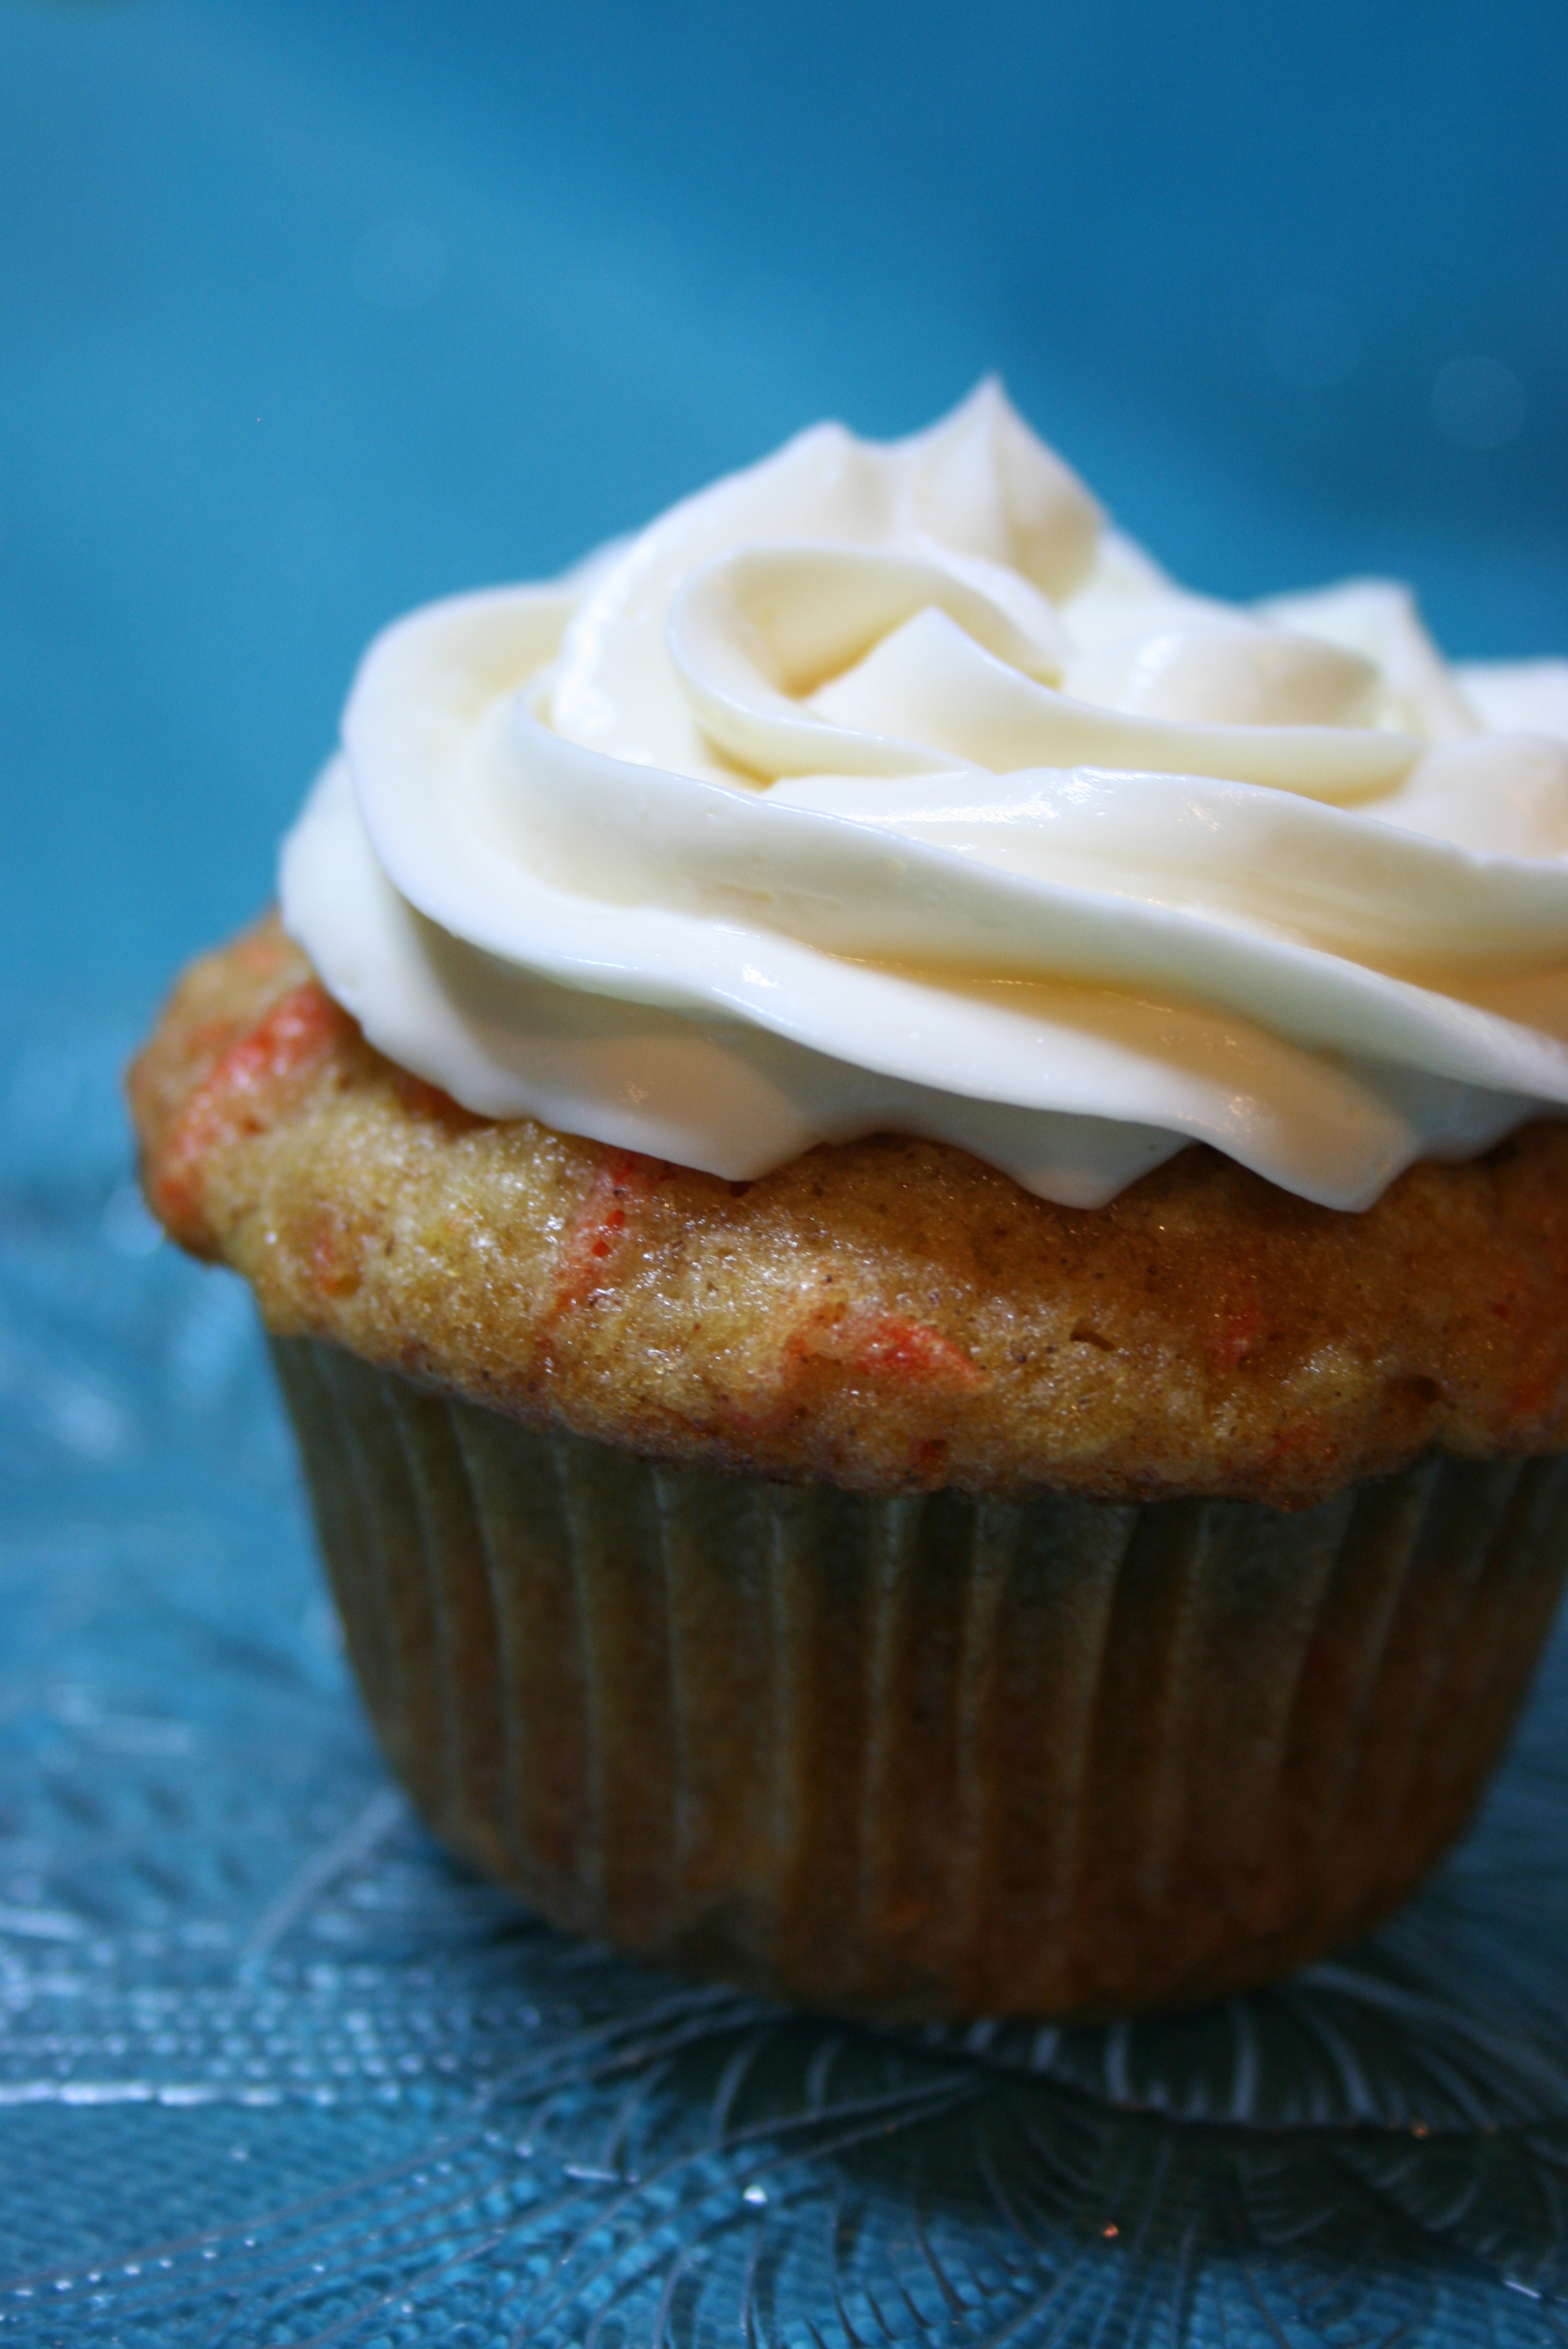
    The original recipe is designed to be  bundt cake with a vanilla glaze. It also works perfectly well as cupcakes with cream cheese frosting. The baking instructions below are for the bundt cake. For cupcakes, I cook them for about 25 minutes, rotating halfway through. (You do rotate your pans while you’re baking, right? Good.) I was worried that they were taking so long to cook, but I fill my cupcakes pretty full and this particular batter just takes a while to cook. Keep an eye on them; better to check on them more often than have them burn.

    ReadyfortheOven

    Some people like nuts or raisins in their carrot cake. While that may not be my personal preference, it’s easy to add them to this recipe; just mix them in at the end. I like to add about a quarter teaspoon of cloves in addition to the nutmeg and cinnamon. Cloves are my favorite spice, and they give it a warm sweetness.

    CupcakeTray

    I’m serious, though. This is the best. If you enjoy carrot cake even a little, you owe it to yourself to bake these (or get someone else to bake them for you).

    SoloCupcake

    Carrot Pineapple Cake

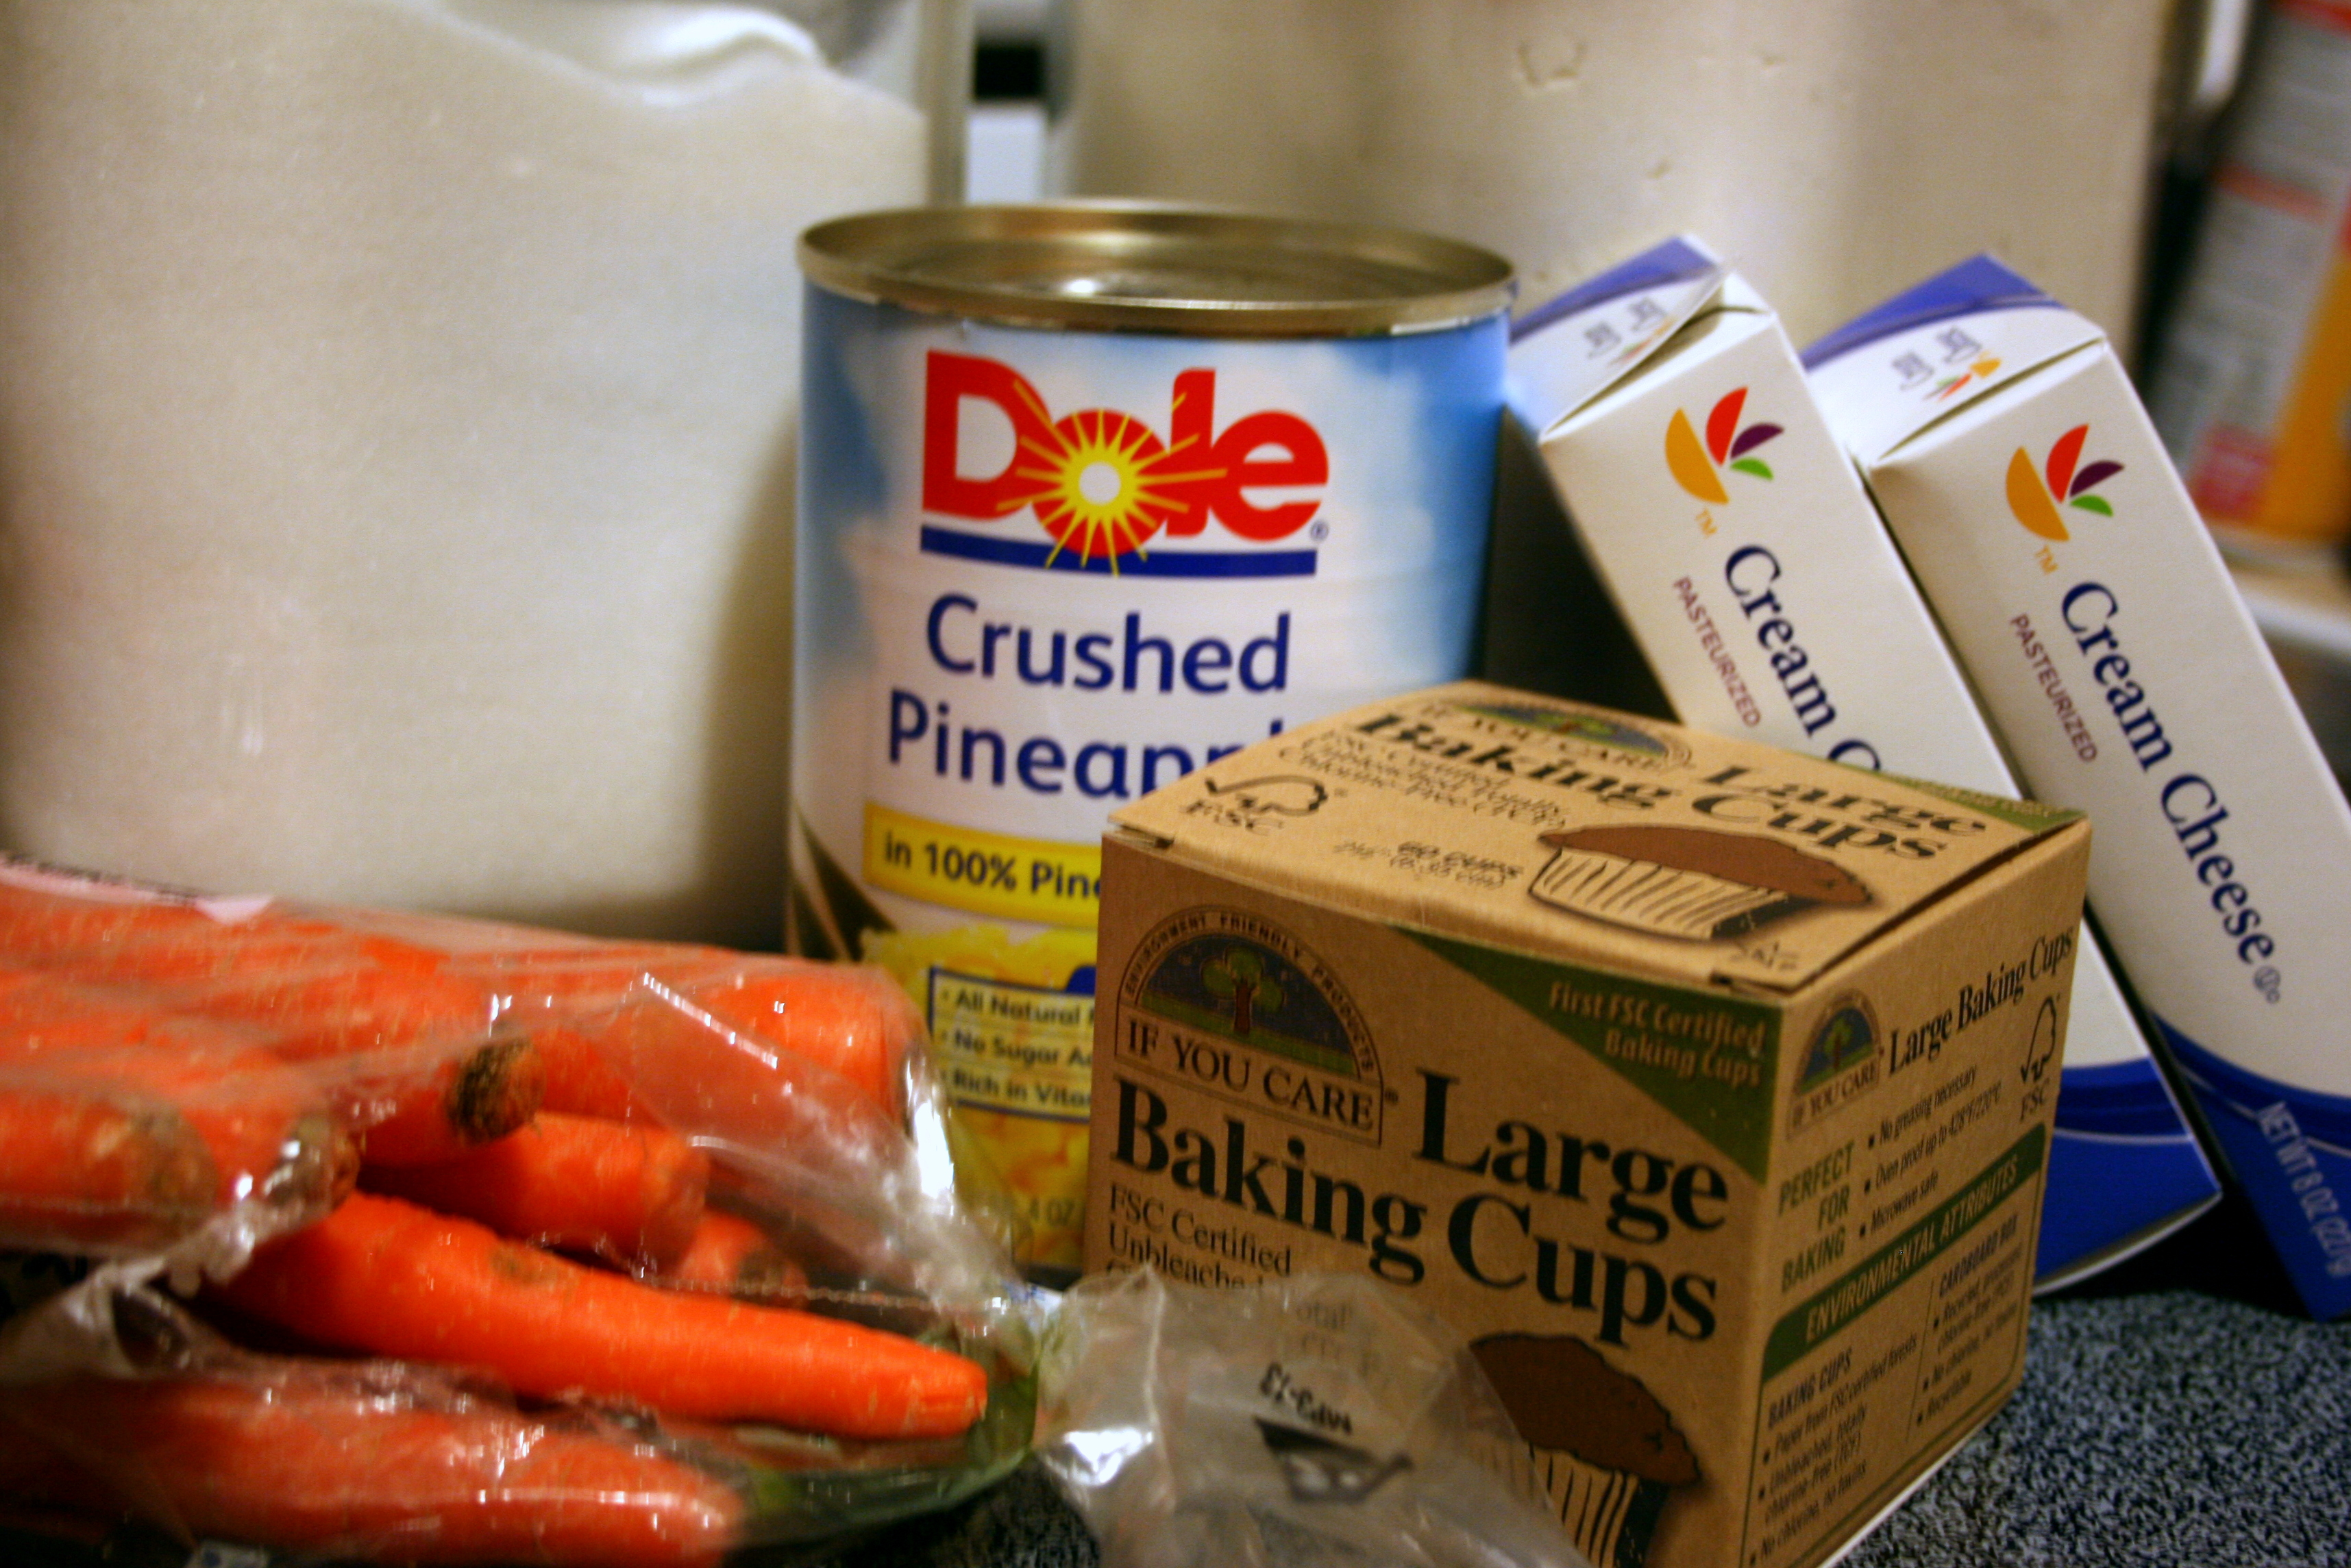
    • 3 cups all purpose flour
    • 2 cups sugar
    • 1 teaspoon baking powder
    • 1 teaspoon baking soda
    • 1 teaspoon salt
    • 1 teaspoon nutmeg
    • 1 teaspoon cinnamon
    • 3 eggs, beaten
    • 1-1/4 cups cooking oil
    • 2 teaspoons vanilla
    • 1 cup (8.5 oz can ) crushed pineapple, undrained
    • 2 cups grated raw carrots, loosely packed
    1. Preheat oven to 325. Grease bundt pan.
    2. Mix together flour, sugar. baking powder, baking soda, salt, nutmeg and cinnamon in a large bowl.
    3. Make a well in the center of the dry ingredients and add eggs, oil and vanilla. Blend thoroughly.
    4. Stir in undrained pineapple. Add carrots and pecans. pour into prepared bundt pan.
    5. Bake for 1 to 1-1/4 hours until cake tests done.
    6. Cool 10 minutes in pan, then turn out and finish cooling on wire rack. Add vanilla glaze.

    Vanilla Glaze

    • 1 cup sifted confectioner’s sugar
    • 1 tablespoon milk plus 1/4 teaspoon vanilla
    • 1 tablespoon light corn syrup
    1. Combine all ingredients and beat until smooth. Use spatula or large spoon to put glaze on top of cooled cake. Spread around top of cake with a knife. Glaze should run down sides slowly.

    Cream Cheese Frosting

    • 16 ounces cream cheese, room temperature
    • 1 cup confectioners’ sugar
    • 2 teaspoons pure vanilla extract
    1. Put cream cheese into the bowl of an electric mixer fitted with the paddle attachment. Mix on medium-high speed until smooth. Reduce speed to medium-low, and mix in sugar and vanilla. Raise speed to medium-high, and mix until fluffy, 5 to 7 minutes.

  2. Ava’s Hello Kitty Birthday

    November 2, 2013 by Daniora

    Kitty with a sugar pearl necklace.

    Are we glossing over the fact that I haven’t posted anything in over a year and a half? Yes, yes we are.

    My little buddy Ava turned 4 this spring. She wanted to have a Hello Kitty themed birthday. She asked her mom if Auntie Mimi would make her a Hello Kitty cake. Of course Auntie Mimi would make her a Hello Kitty cake.

    IMG_7239

    Since Ava is our little princess, a castle cake seemed to be the right answer. My girl loves pink too, obviously. Since there were going to be a whole bunch of people there, I went ahead and made some Hello Kitty cupcakes to go with it.

    Picture 433Picture 432

    While I’m not the biggest fan of Wilton’s fondant (the taste, mostly), there were two Wilton products that I fell in LOVE with.

    The first is one of their silicone fondant press molds (I used the global one). They’re super easy to use and make really beautiful impressions. All I did was loosely press a piece of fondant into the mold, then used a small plastic rolling pin to roll it flat into the mold. Once the excess fondant had been rolled out, I could just peel the pieces out of the mold and trim around the edges. Simple!

    Castle

    The basic castle shape. You can really see the details from the fondant mold.

    The other are their sugar pearls. They come in a variety of soft colors (I got pink, of course). They were the perfect flower centers and accents to my fondant pieces. I just pressed them into the fondant while it was still soft, and they stuck perfectly. A word of caution. They are roly poly and will get away from you if you let them.

    Perfect centers for flowers

    Perfect centers for flowers

    Picture 429

    Sugar pearls….. everywhere.

    Kitty with a sugar pearl necklace.

    Kitty with a sugar pearl necklace.


    In addition to the cake, because that’s never enough, I made a party dress for Ava.

    Ava's Party Dress

    Pretty in pink.

    It was my first time using the pre-smocked fabric. It was really super simple, but I don’t know that I’d do it again. It sort of feels like cheating. It’s really only one seam and sewing on the straps. It’s also fairly pricey, running around $0.50 an inch (I know that doesn’t sound like much, but it comes out to $18 a yard!) It did turn out pretty cute, though.  Of course, the attitude sells it.

    Attitude for days!

    Attitude for days!

    I love doing stuff for the kids’ birthdays. Any excuse for a celebration.


  3. Ava’s Pirate Birthday

    July 19, 2012 by Daniora

    One of the benefits to being “Auntie” to everyone’s kids while having none of my own is that I have the time to go completely overboard for birthdays and holidays. When my sweet, adorable girly Ava wanted to have a pirate birthday party, I was very excited. She is definitely a girl after my own heart.

    We just finished moving (well, are you ever really finished moving?) so I didn’t have the time or set up to do as many projects as I would have liked, but I did get to make Ava’s birthday cake.

    Finished Pirate Cake

    The finished cake. I wish I had put the sails a little higher, but I’m really happy with how cute it came out.

    I based it off a cake from the 2010 Wilton Yearbook. The original was just a square cake with wood texture with a whole bunch of little brownie pop pirates on it. Since there were going to be quite a few people, we used a store bought sheet cake as a base.

    Having a summer birthday myself and having watched the horn slide off a unicorn and Rainbow Brite’s castle sag in the heat, I wanted to make sure things were going to stand up to the sun. I made the square boat base out of Rice Krispy treats and covered them with brown fondant. I put in the wood texture and added the rails along the top.

    The little girl pirate figure is made entirely out of fondant. She weighs a ton. Her little curls were my favorite part, and most of them actually made it to the time the cake was served.

    So, while the cake was the biggest of my piratey projects, it wasn’t everything. After Brian and I picked out some sweet gifts, I couldn’t be happy just wrapping them in pirate wrapping paper (Target has a really cute one, though).

    Pirate Gift

    What’s better than a gift wrapped in pirate wrapping paper? A gift wrapped in pirate wrapping paper in a treasure chest, of course!

    I stained an unfinished treasure chest from Joann’s and put sticky felt on the bottom so it wouldn’t scratch their wood floors. Then I put in the wrapped gifts and put the whole shebang in a cellophane bag. When all was said and done, it really made quite an impact.

    Pirate Nails

    Ooh, sparkly!

    I also tried out those new Sally Hansen nail polish stickers. These were too perfect for me not to get! They went on almost as easily as the commercial would have you believe, and lasted for quite a while, even at work.

    Avast!

    Avast! Even Emma gets into it.

    I had so much fun at Ava’s pirate party. I even went in the bouncy house. Now I can’t wait for the next birthday party to come around.


  4. Sam’s Ork Birthday

    July 6, 2011 by Daniora

    Last month, one of my best friends, Sam, turned 30.  In honor of the occasion, we threw him an Ork birthday party.

    Ork Banner

    An Ork war banner I made. It would have been hanging outside had it not been pouring rain.

    Along with some of our other friends, Sam enjoys playing Warhammer 40k, especially Orks.  If I had to wager a guess, I’d say it’s more the attitude and less the gameplay that draws him to the green-skinned tide of destruction.

    For those of you not in the know, Warhammer 40k is a tabletop game played with miniature models of the different troops and vehicles.  You command your own army of miniatures, which you have lovingly assembled and painted, and march them across the table to victory or death.  Some games involve an objective but most are just a fight to the death. Combat is determined by a roll of the dice and he who rolls well wins.

    Ork Wartruk

    An Ork tank that I built and painted for Sam a few years ago.

    There are several different factions one can choose from when starting a Warhammer army.  There are the Space Marines, the insect like Tyranids, and the Chaos Daemons summoned from the great beyond to name but a few.  Sam plays Orks.  Orks are the greenest, fightingest, drinkingest army there is.  They believe that by painting a vehicle red, it will be able to move faster… and it works.  They speak with an over the top Cockney accent and any victory truly seems to come by luck rather than by ruthless military strategy.

    We had several small children in attendance, and for them I had made Grots Union t-shirts (Grots are little goblin-like creatures that the Orks use as slaves… and frequently ammunition). They were all members of Union Local 608, June 8th being Sam’s birthday.

    Grot shirt

    The Grots Union shirt, modeled here by Miss Ava.

    Because checkerboard patterns are a part of the Ork decoration, I was able to use some racing party supplies to augment the banner and pennants that I had made from scratch. The centerpiece of my Orky theme, however, was the cake.

    Ork Cake

    I’m not going to lie. I’m pretty proud of this one.  I’m not a huge fan of fondant, at least not from a taste standpoint, but I do enjoy using it. There are some things that buttercream and royal icing just won’t do. This time I also used the new Wilton icing sheets.  (I’ll do a whole separate post on that. Awesome new product!) By brushing the pieces of the icing sheet that I had cut out with metallic color dust, I was really able to get pieces that looked like metal. I found some fantastic candy rocks at a local shop. They’re actually very similar to M&Ms, just rock shaped. They looked great all piled together.

    Ork Cake DetailOrk Cake Detail

    One of the most exciting moments of the party for me was when people had to ask if the rocks and metal bits were edible. That was when I knew I had done a good job.

    For the interior, I decided to keep with the checkerboard theme using the Wilton Checkerboard Cake Pan Set. Instead of doing the traditional vanilla and chocolate checks, I opted to do the whole thing in vanilla, tinting half of the batter green. It was a pretty warm day when I baked, and the batter was a little runnier than I would have liked, so my checks were a little off kilter.  Fortunately, it fit right in with the Ork theme.

    Checkerboard Cake

    Checkerboard cake

    All in all, it was a terrific party.  I wish the weather had been better, both on the day of the party and while I was trying to decorate the cake. I have even more admiration for my mother who made my birthday cake every year in the middle of July without air conditioning. (Thanks, Mom.) There are plenty more nerdly birthday celebrations on the horizon, and I’m sure many of them will include more nerdly baked goods.