Today’s recipe is another one from my childhood. My mom used to make this for us. It was one of those meals that always felt really special. I’ve put a couple of little twists on it myself, but at it’s heart, it’s the same.
So, ‘poulet en croûte’ translates to ‘chicken in crust’. Loses some of the mystique in English, doesn’t it?
The name is simple and the execution is even simpler. The beauty of this recipe is how impressive it looks, especially for the amount of effort.
The ingredient list is short and sweet:
Just four ingredients…
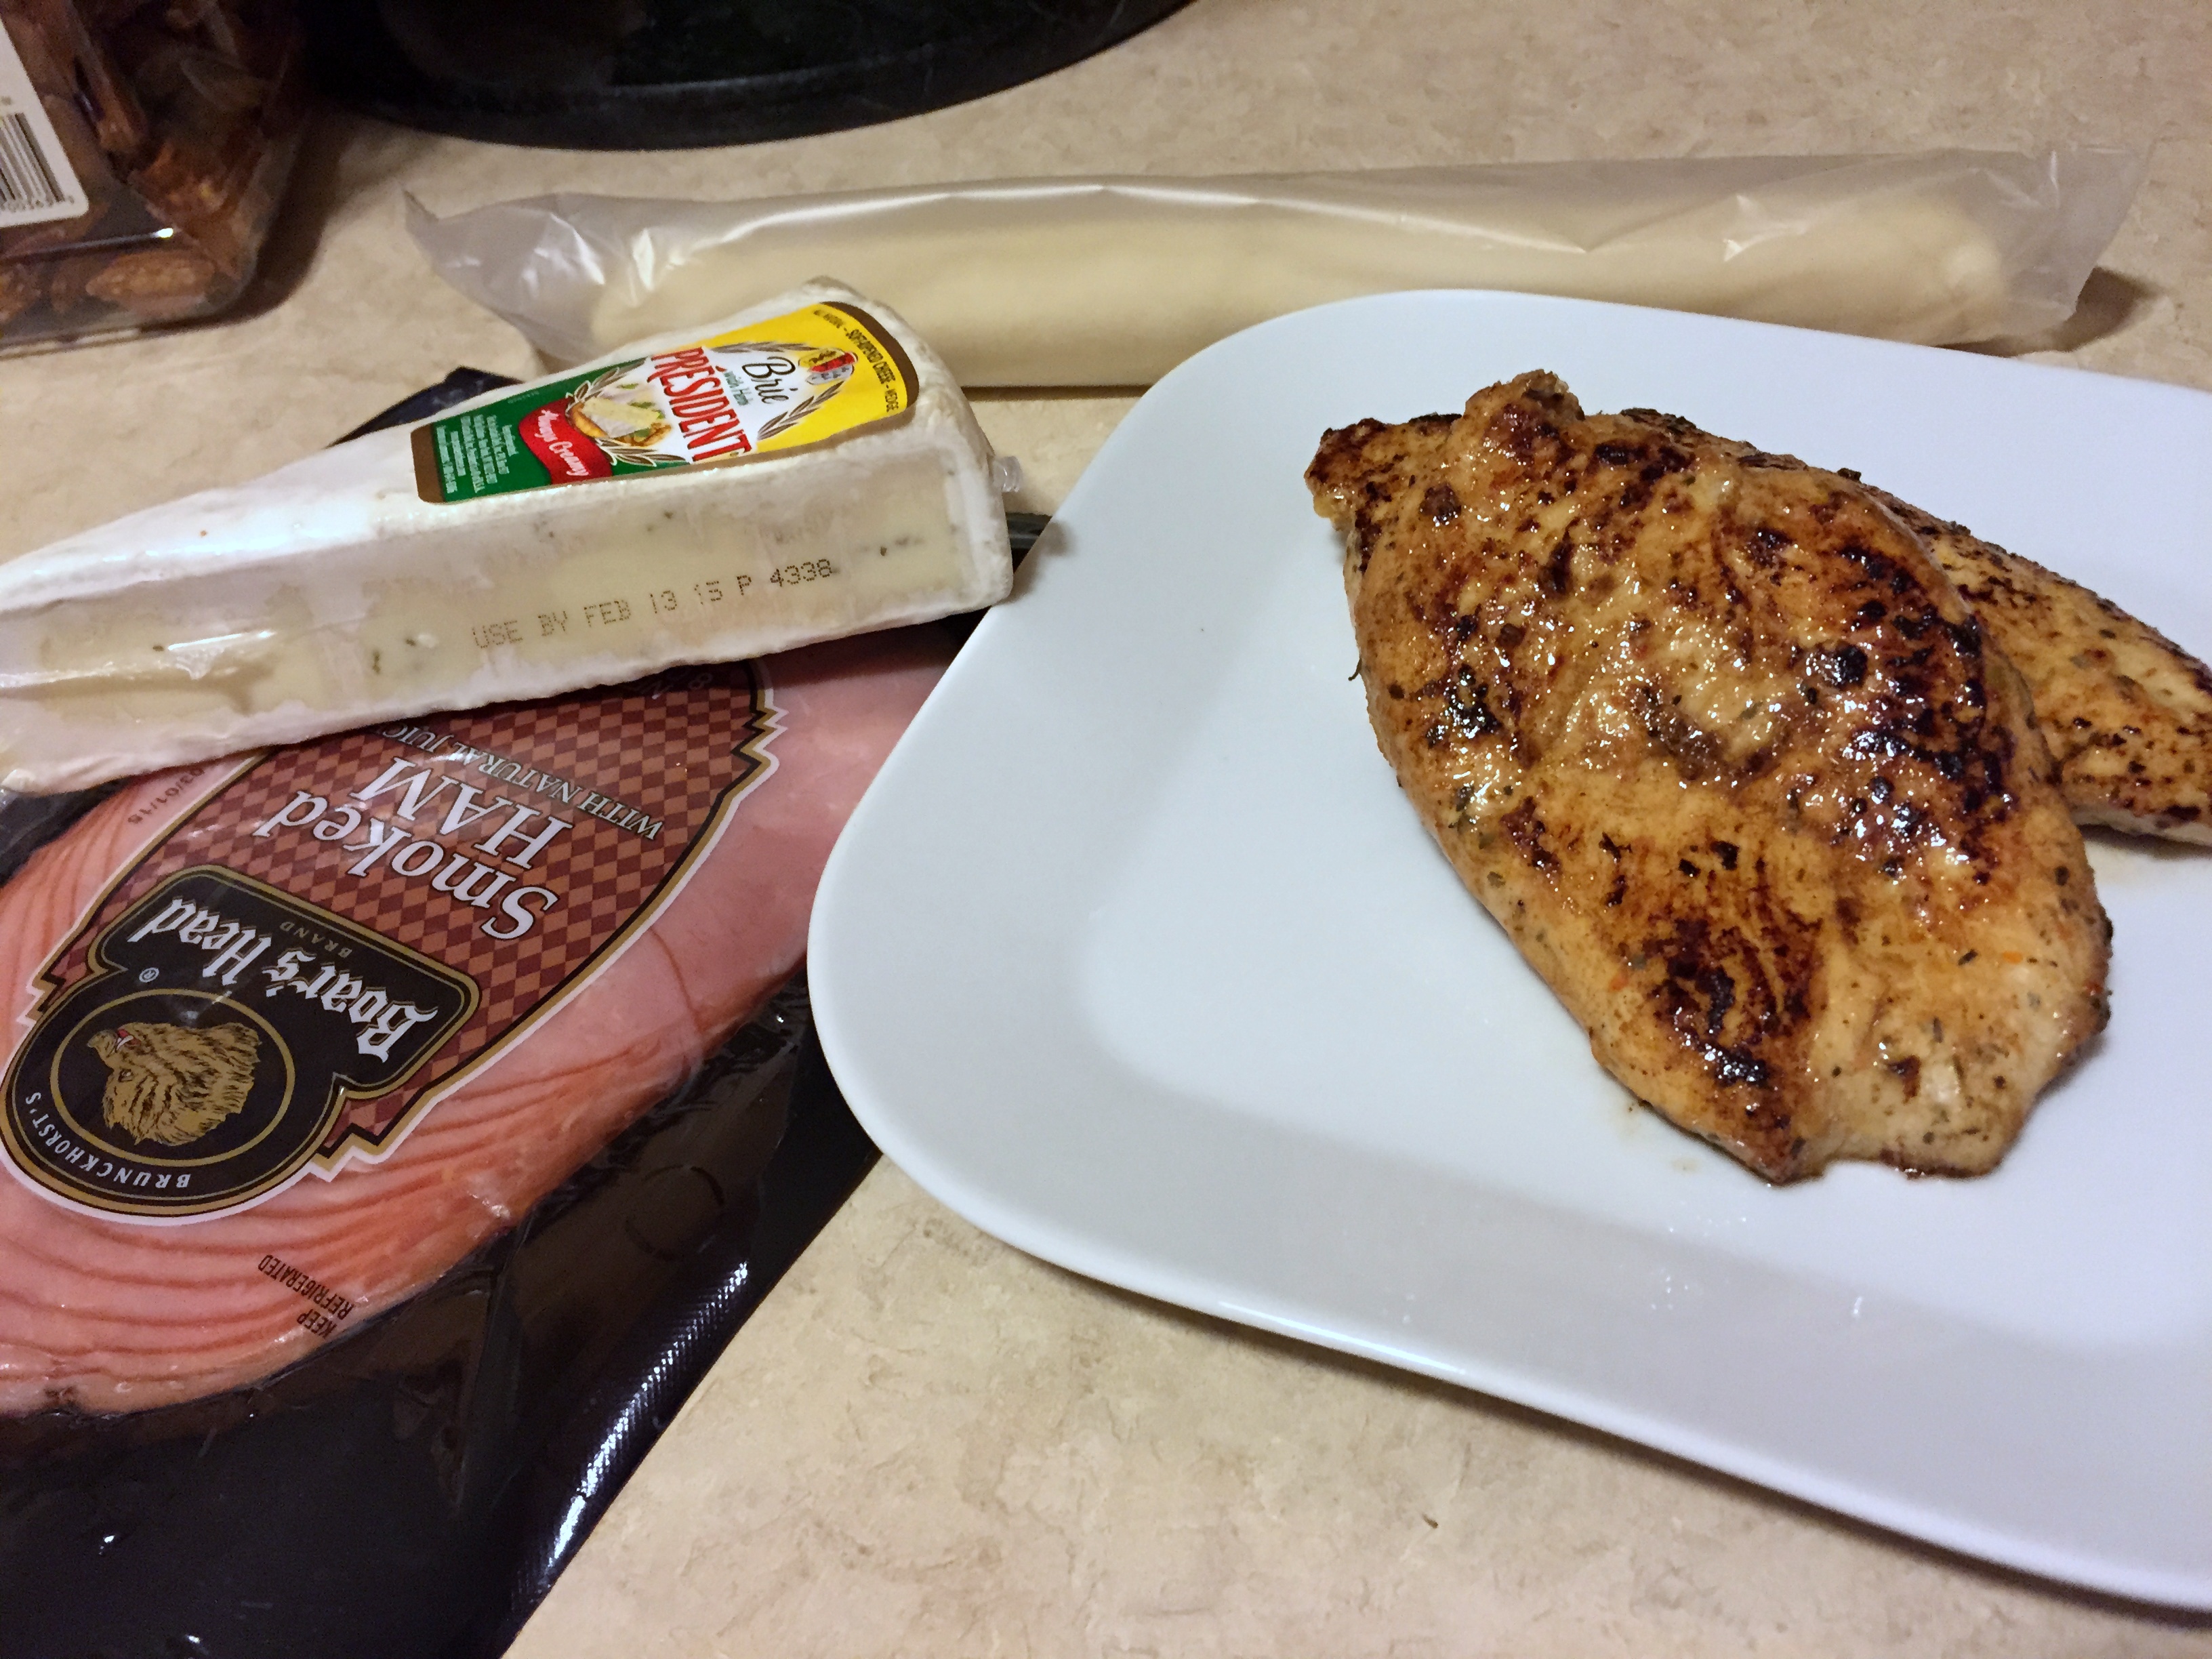
- Chicken breast, one per serving. For this particular application, I used Perdue marinated chicken breasts. They were the perfect size for wrapping in the pie crust and were incredibly flavorful.
- Sliced ham, one or two slices per serving. Mine was rather thinly sliced, so I opted for two.
- Brie, sliced about 1/4″ thick. I usually use plain, but this time I accidentally grabbed herbed brie. I noticed my mistake and went to put it back, but decided that more flavor couldn’t be a bad thing.
- Pie crust. I use the refrigerated kind that comes rolled. Each crust will be enough for two servings.
That’s it. Now to put them together.
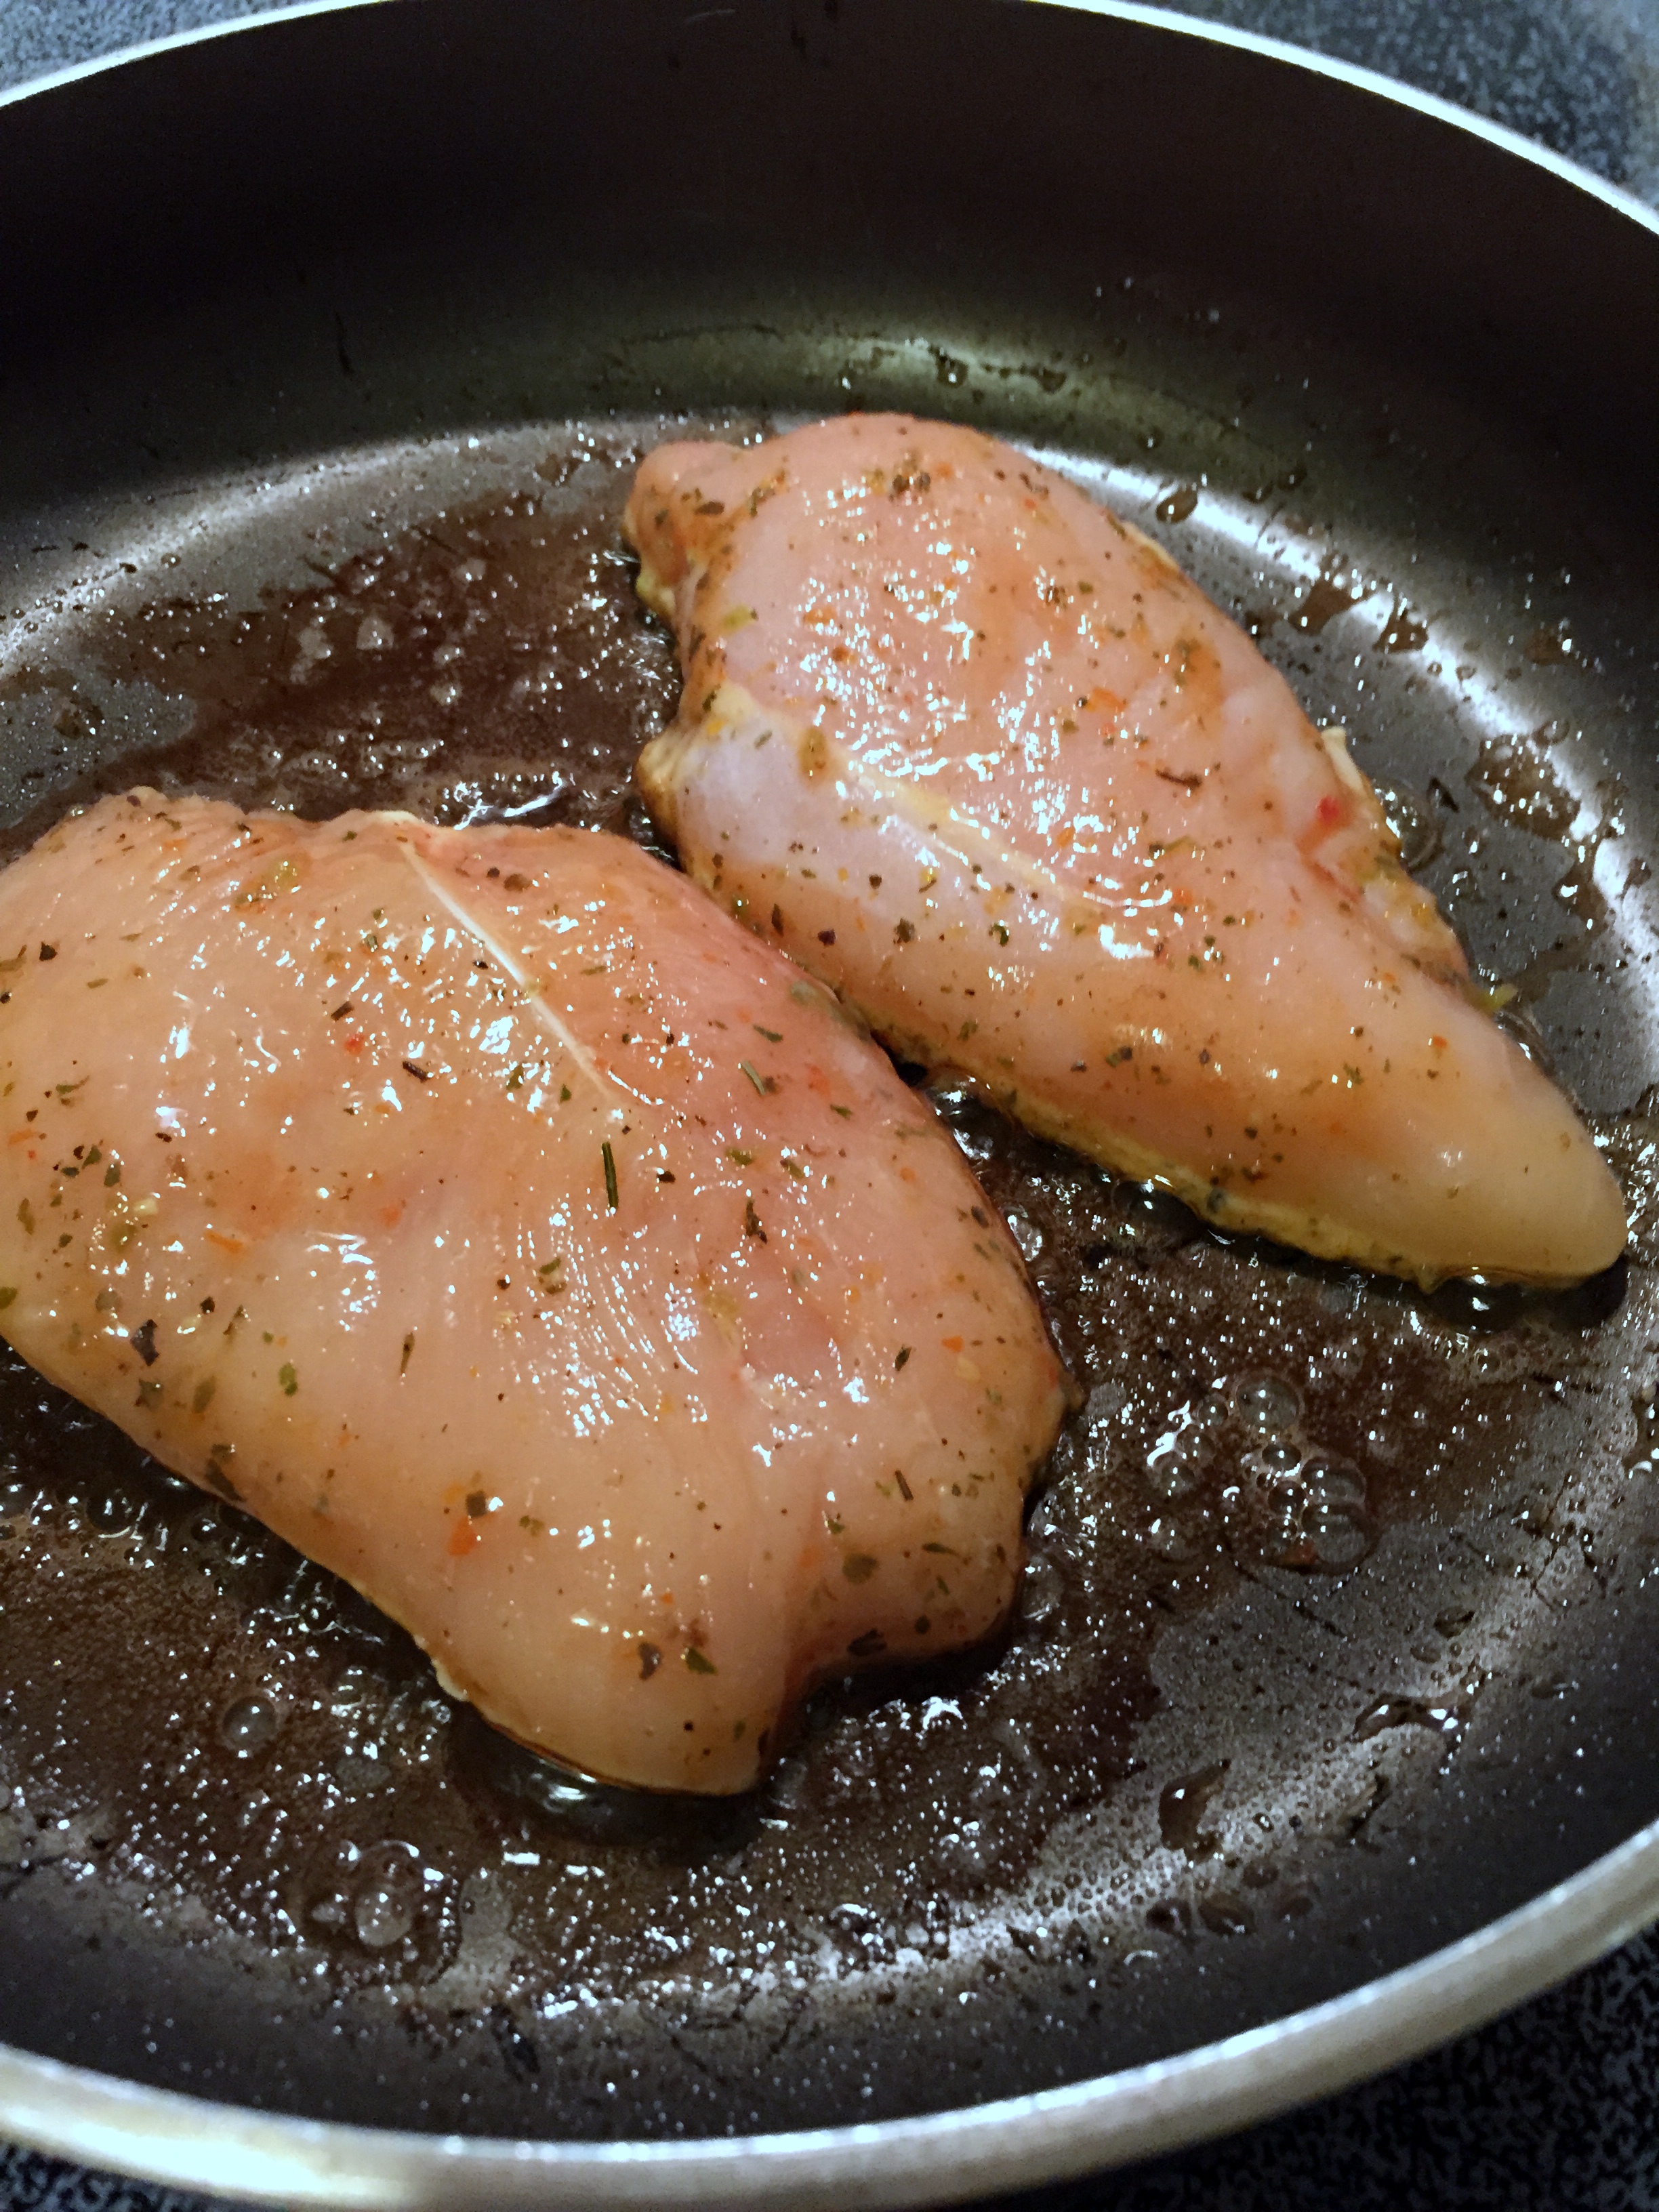
Browning the chicken.
The first step is to brown both sides of the chicken breast. This will add flavor and help sear the juices into the chicken. I had my pan a little hot, so some of the herbs from the marinate got a bit scorched, but there was no real harm done.
Next, unroll your pie crust. Letting it come to room temperature first makes this a far easier task. Slice the crust in half. If you’re extra concerned about presentation, you can reroll each half to make it a more square shape. This will help later when it’s time to wrap the chicken, but isn’t strictly necessary.
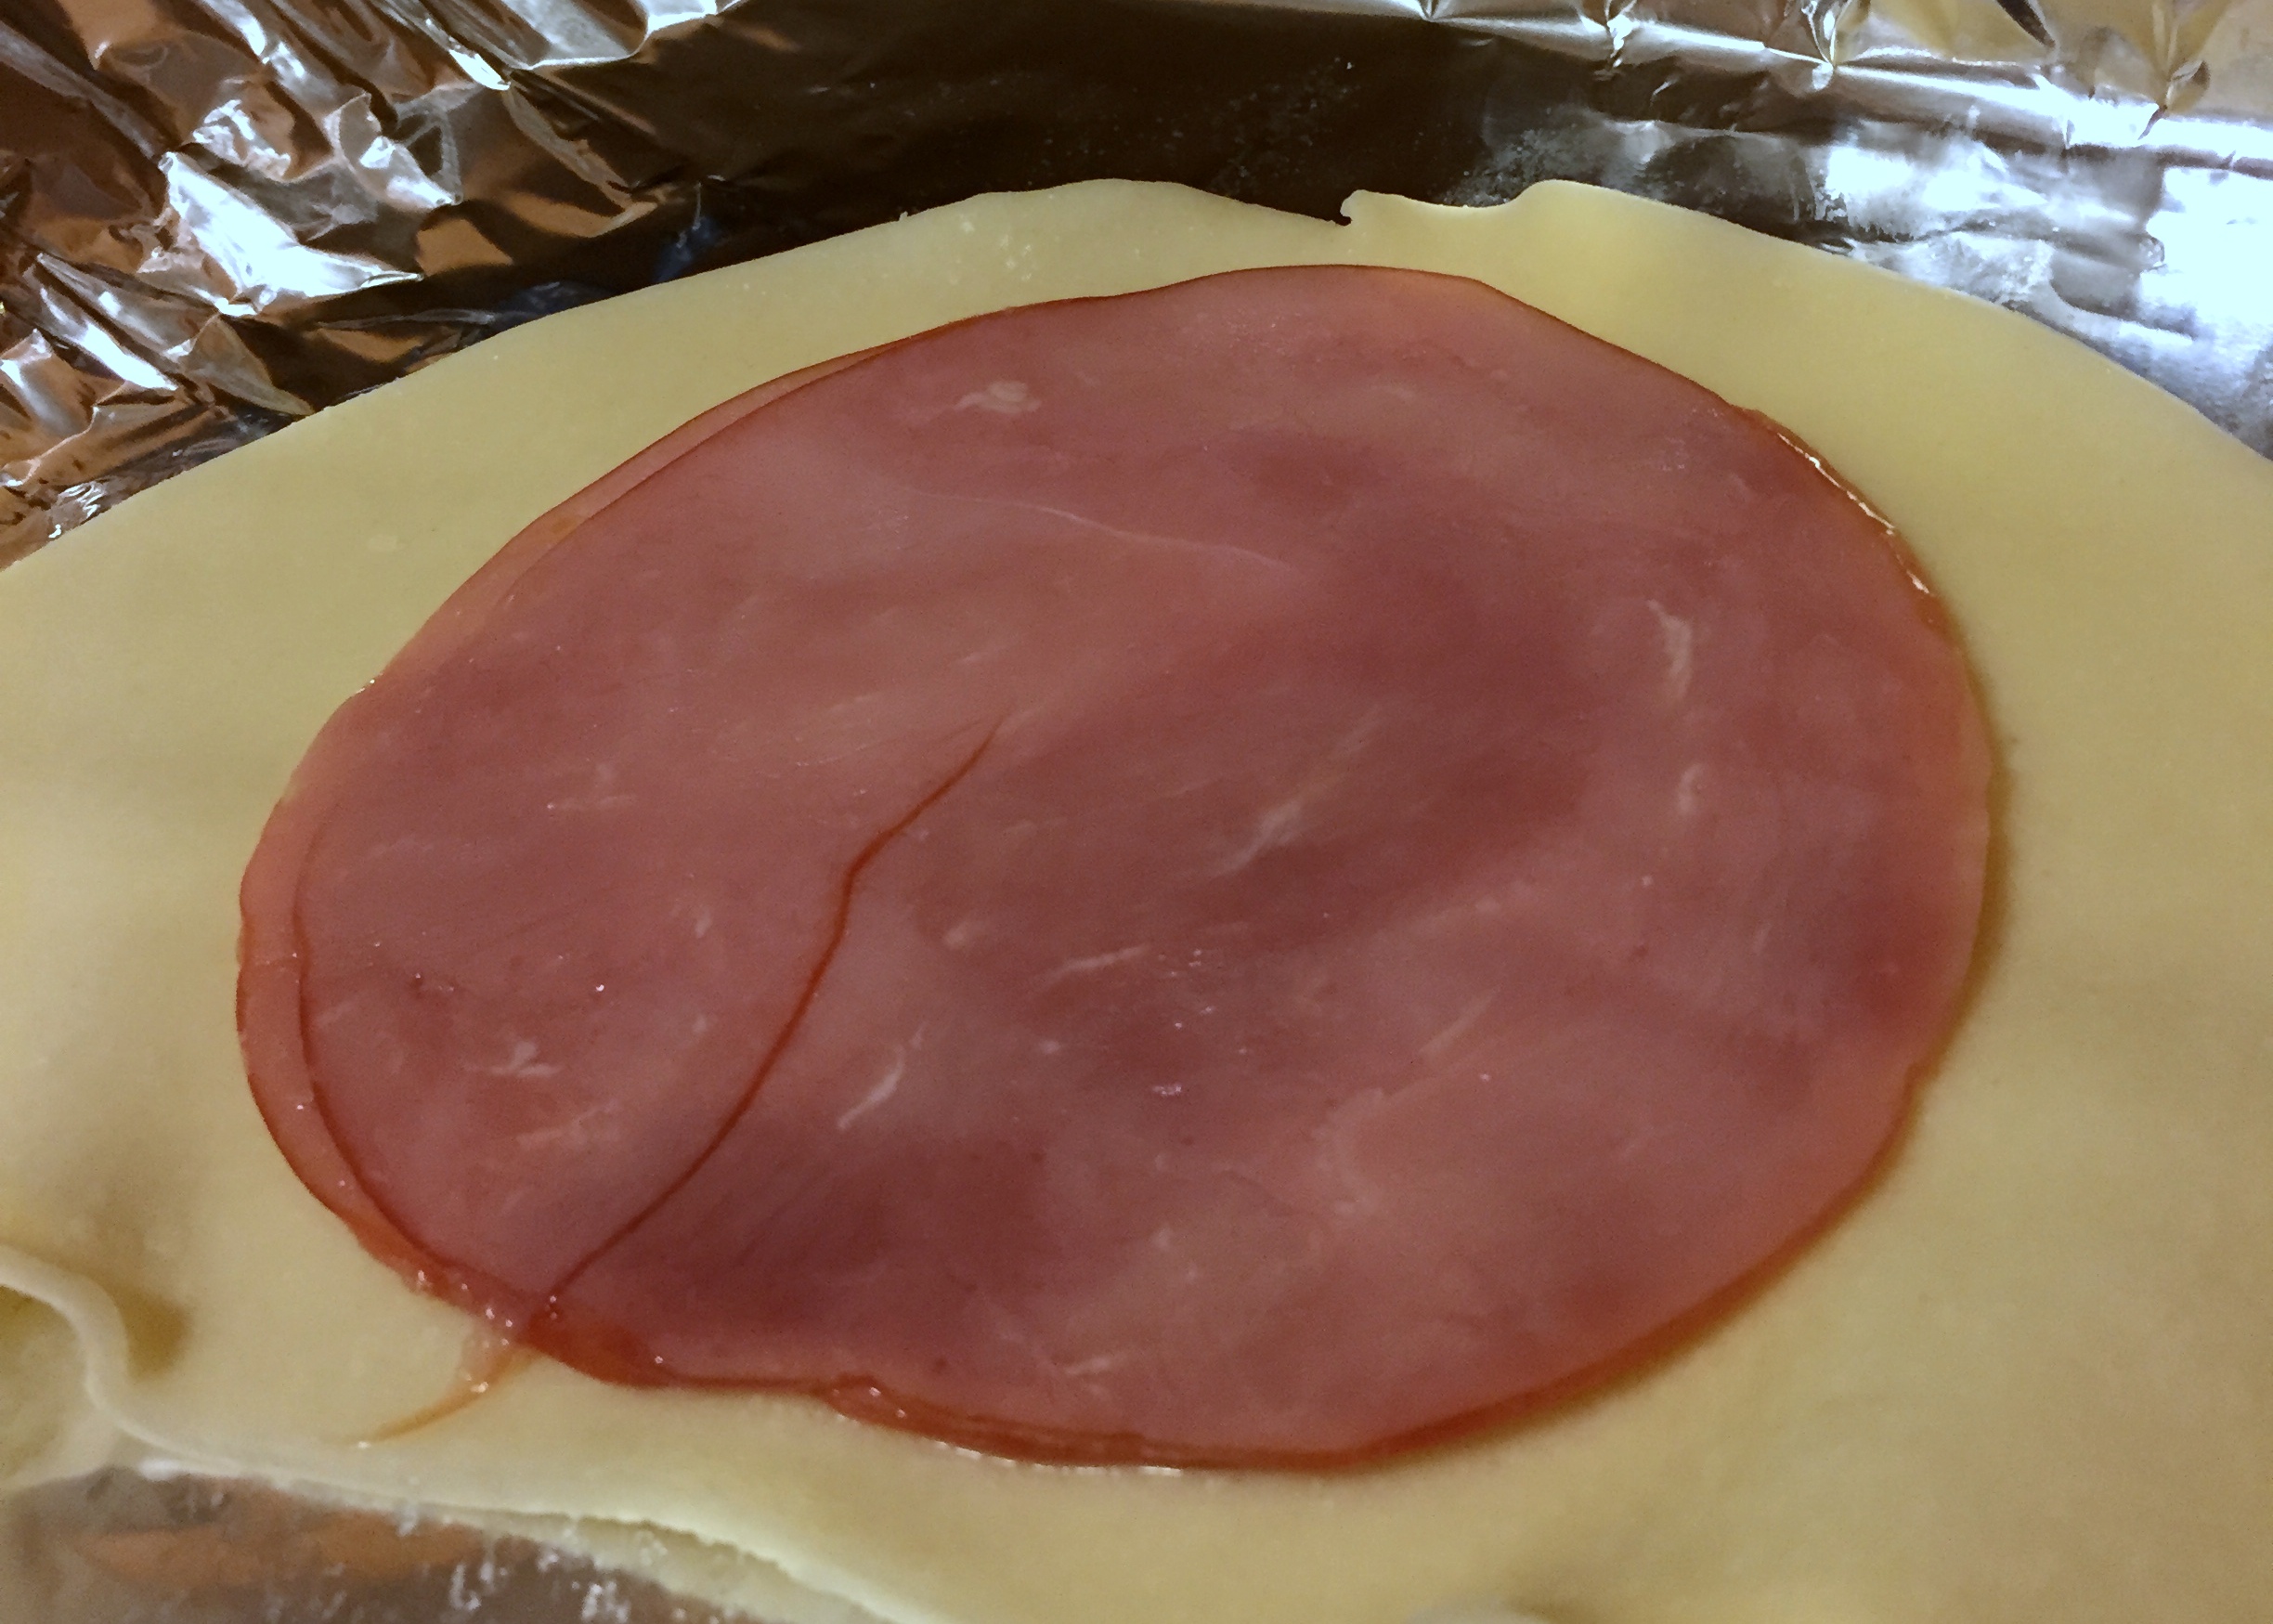
Ham…
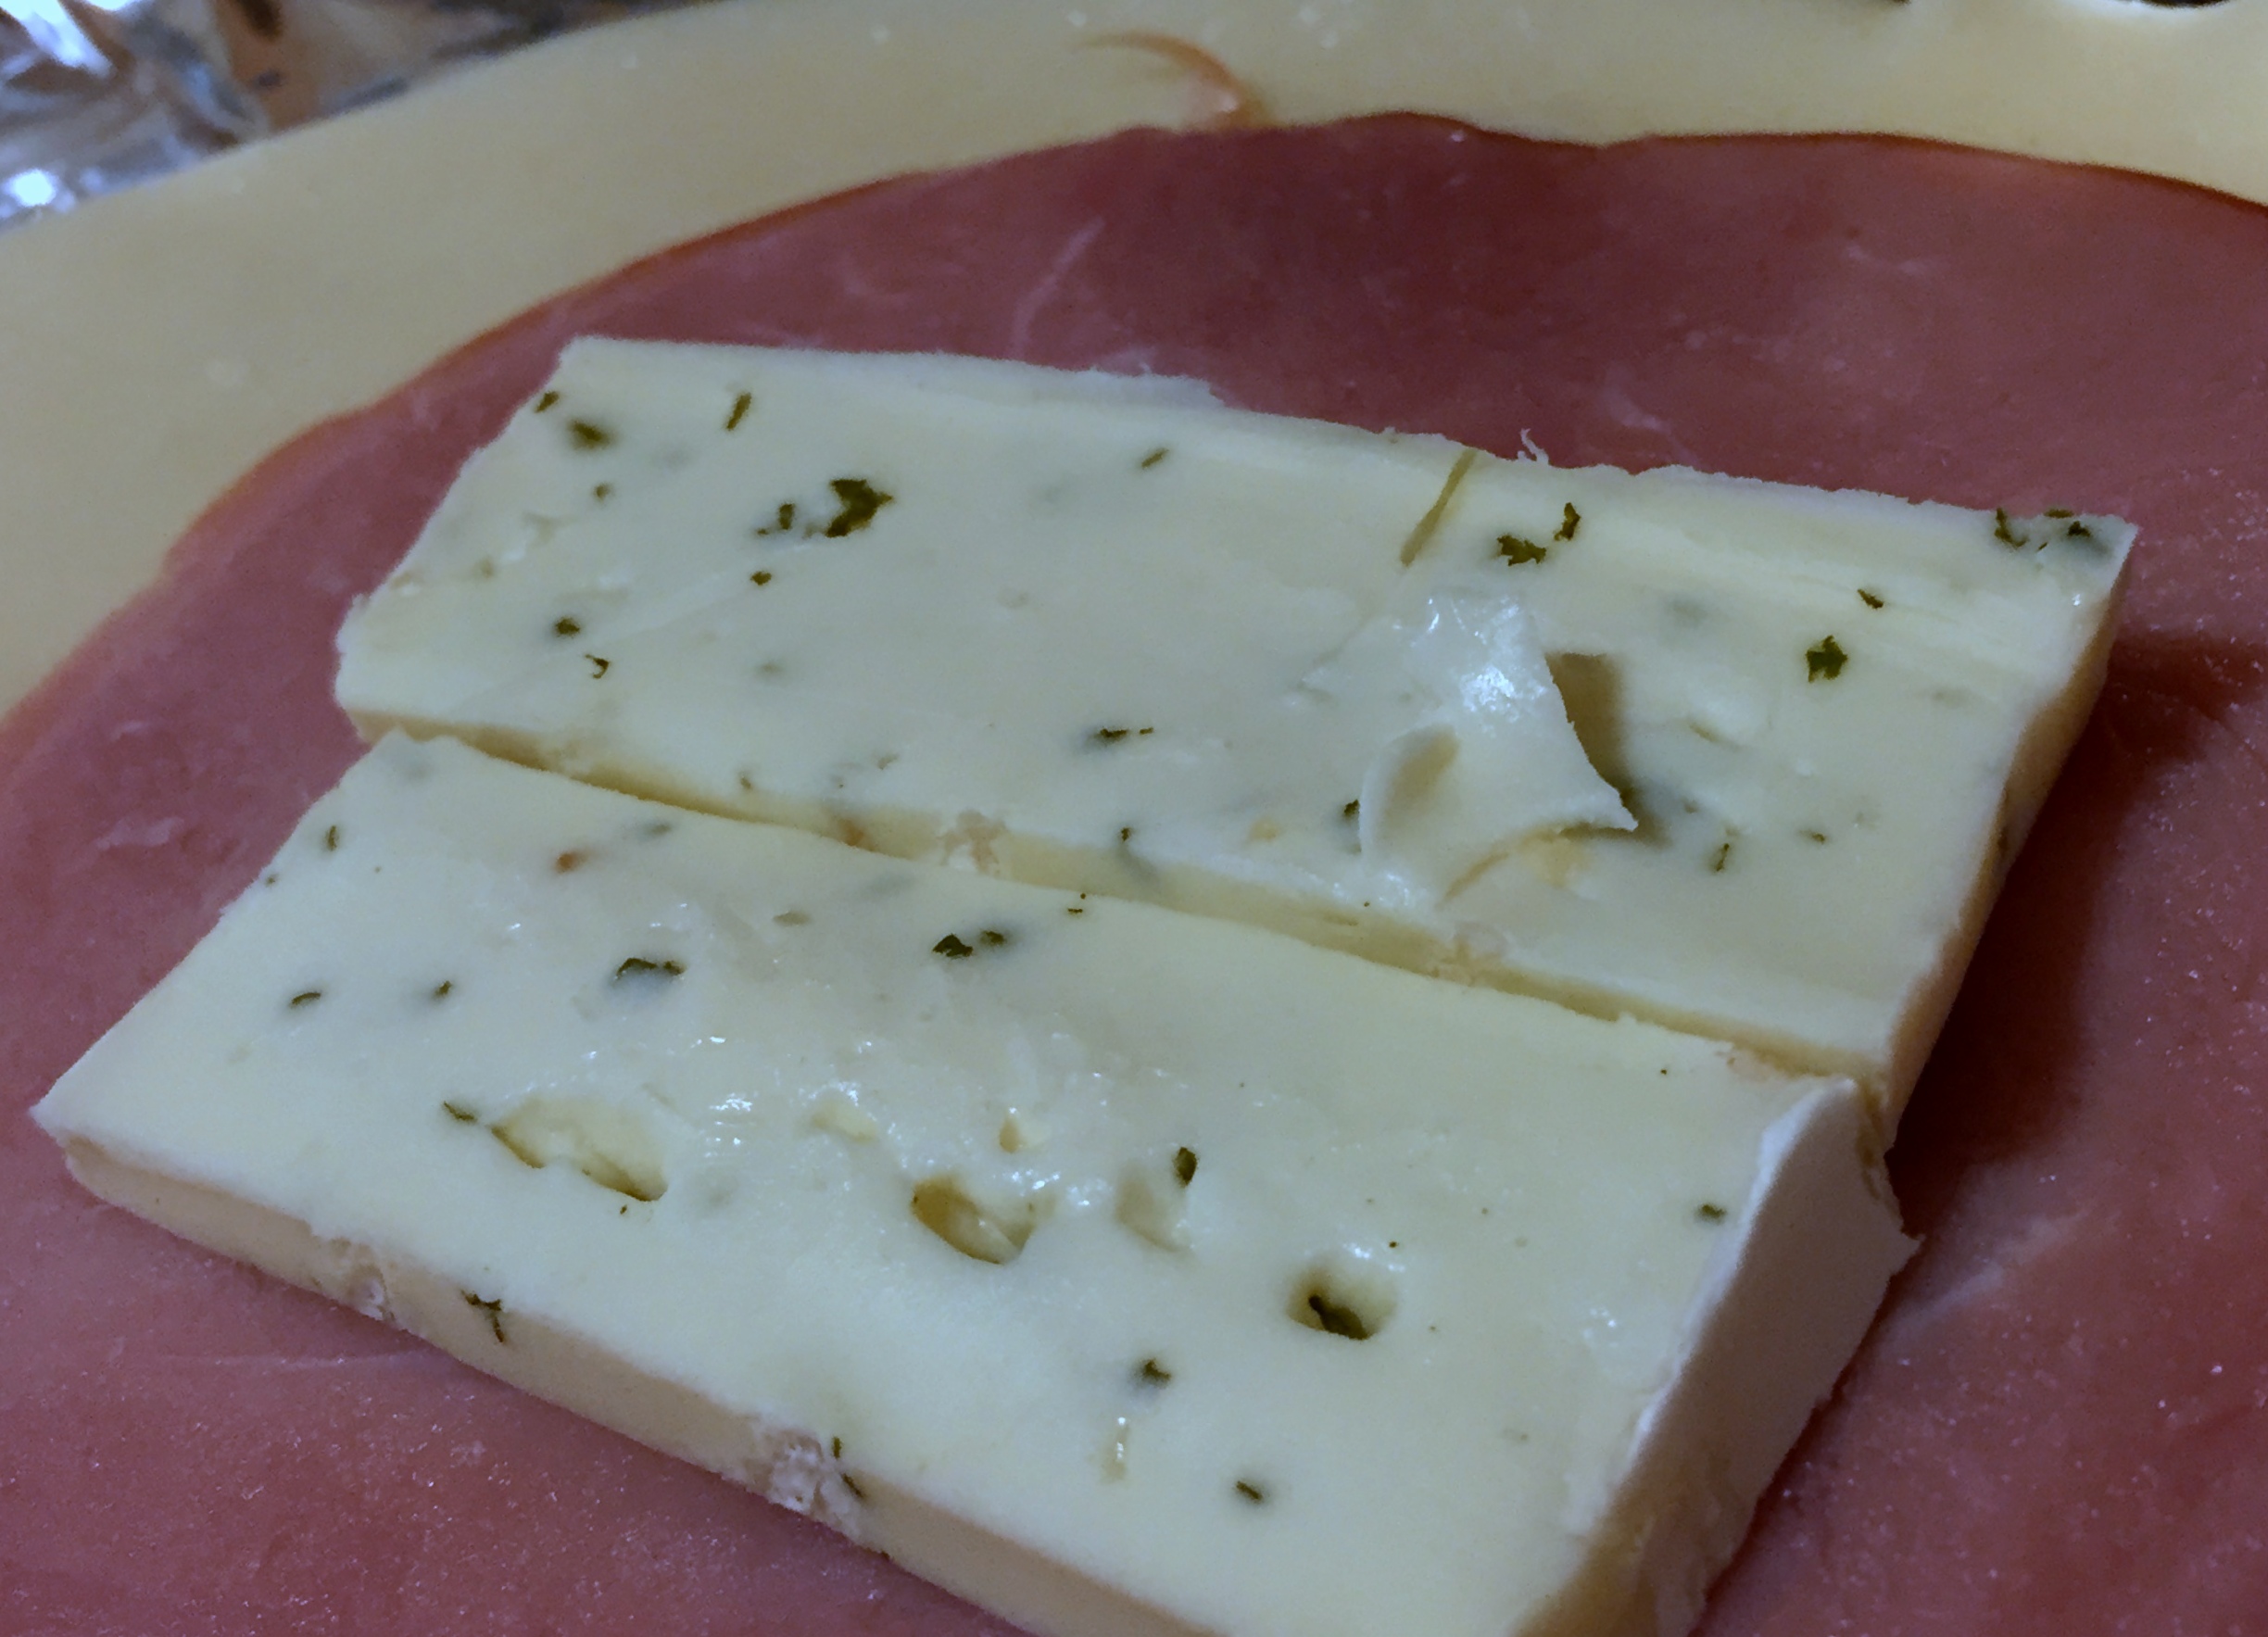
… and cheese.
In the center of the crust, place your ham. On top of that, place your brie. I was feeling saucy, so I put two slices. There is the possibility (well, probability, really) that no matter how well you wrap your chicken, some of the melted brie is going to ooze out. So, starting with more will increase the amount we’re left with, right? Yup, logic sounds good to me.
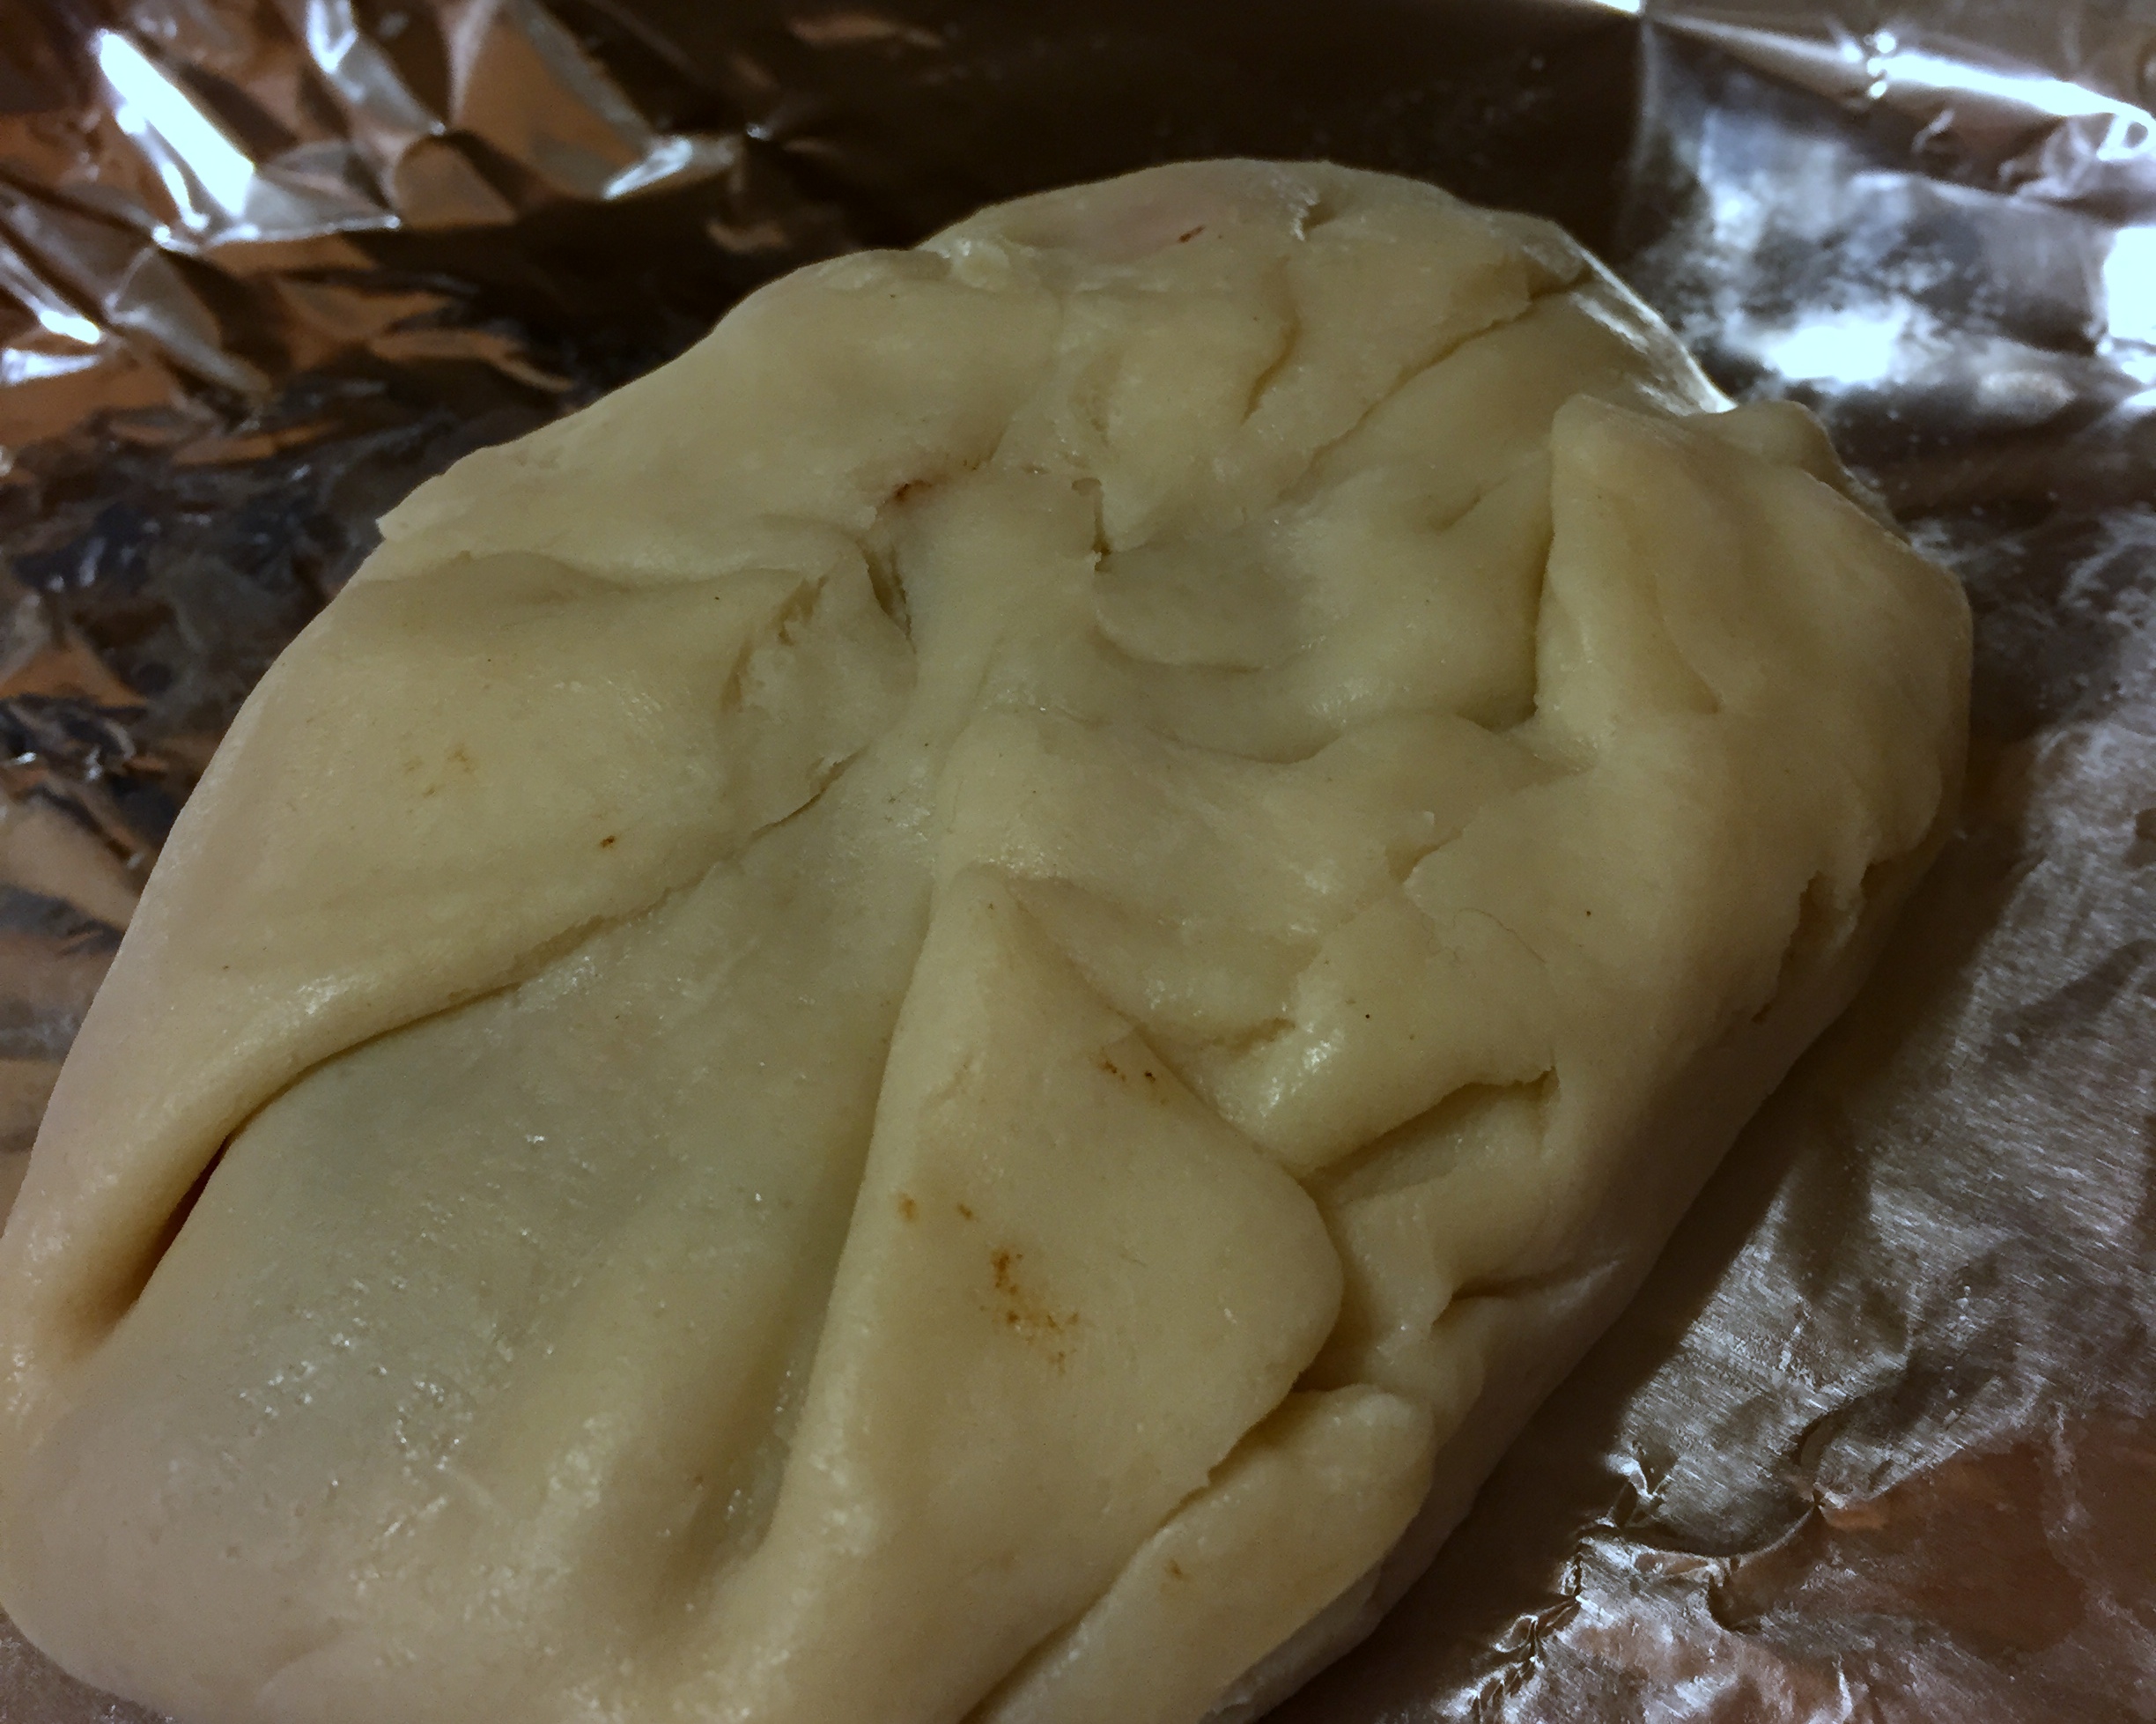
Ugly.
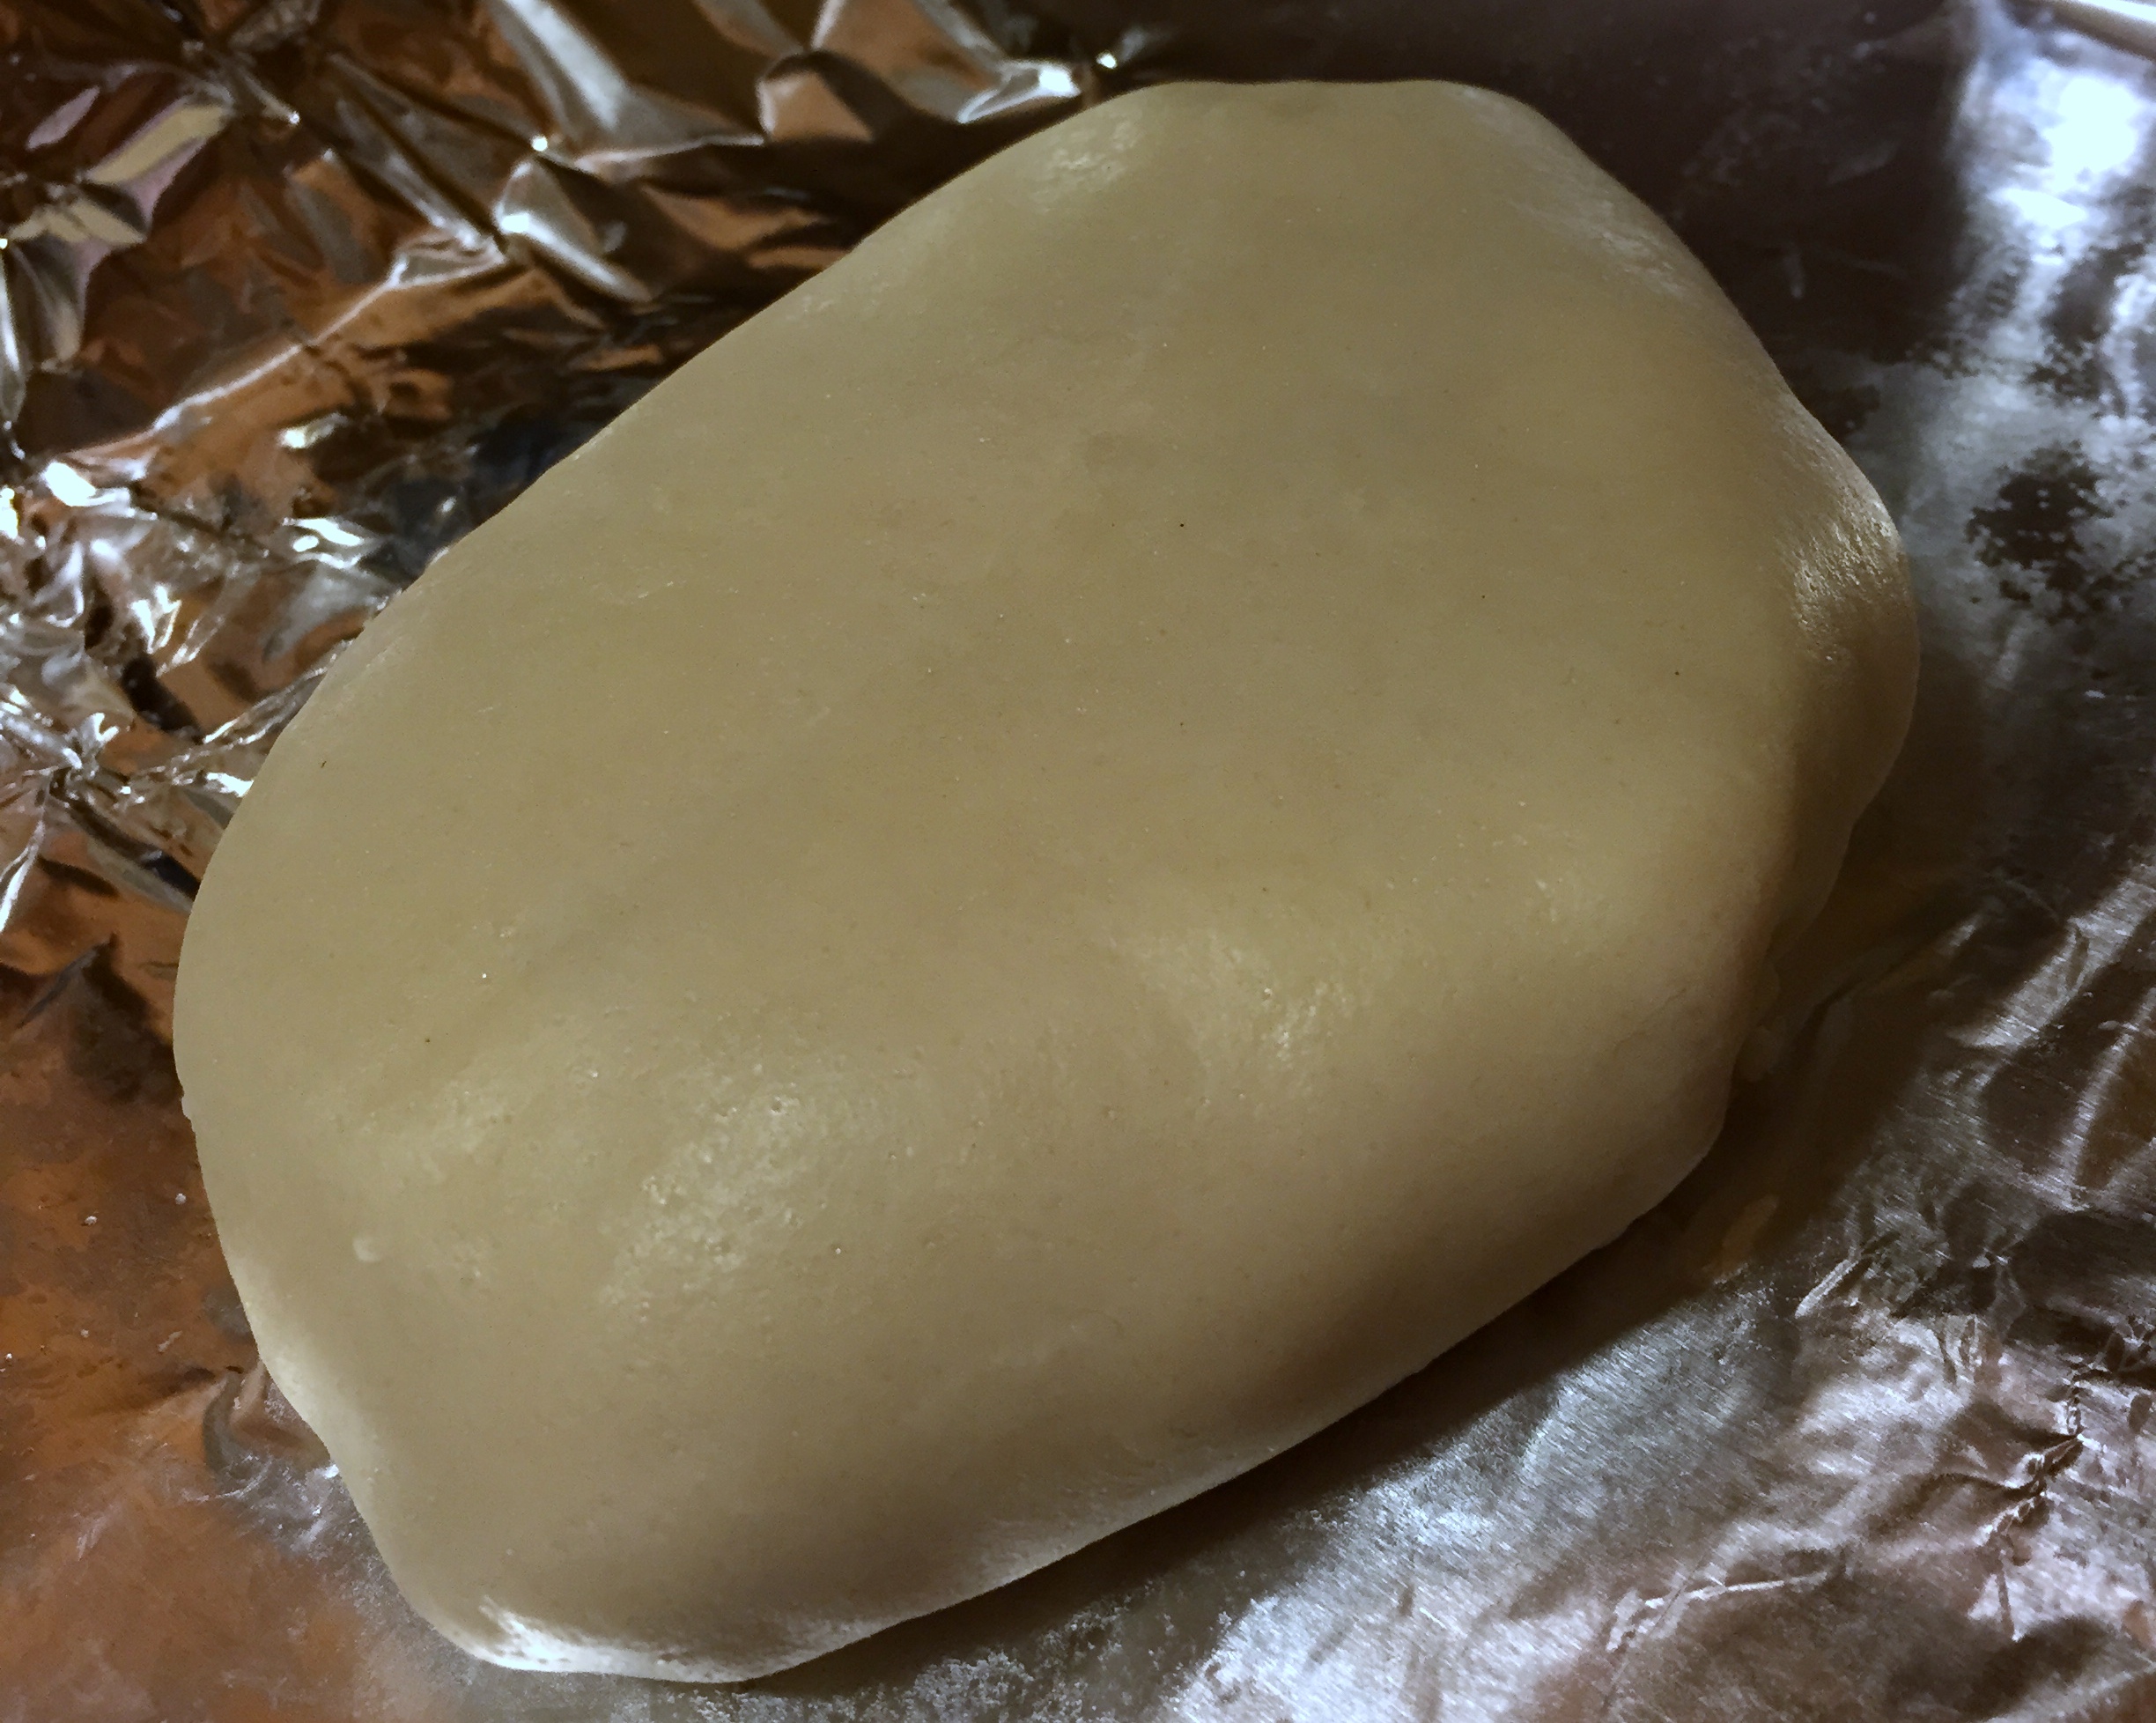
Pretty!
On top of the brie, place your browned chicken breast. Gently wrap up the edges of the pie crust. This is the part where you’ll realize that rerolling the crust to be the right shape might have made things easier. Never fear, however, it doesn’t matter how ugly this seam is because it will be on the bottom. Seal it as well as you can to keep the brie from escaping.
Ready to go!
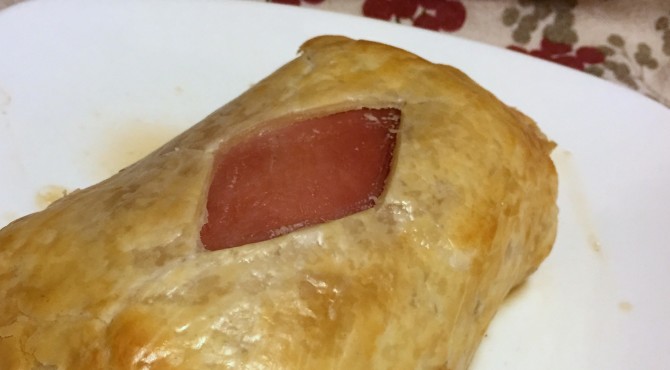
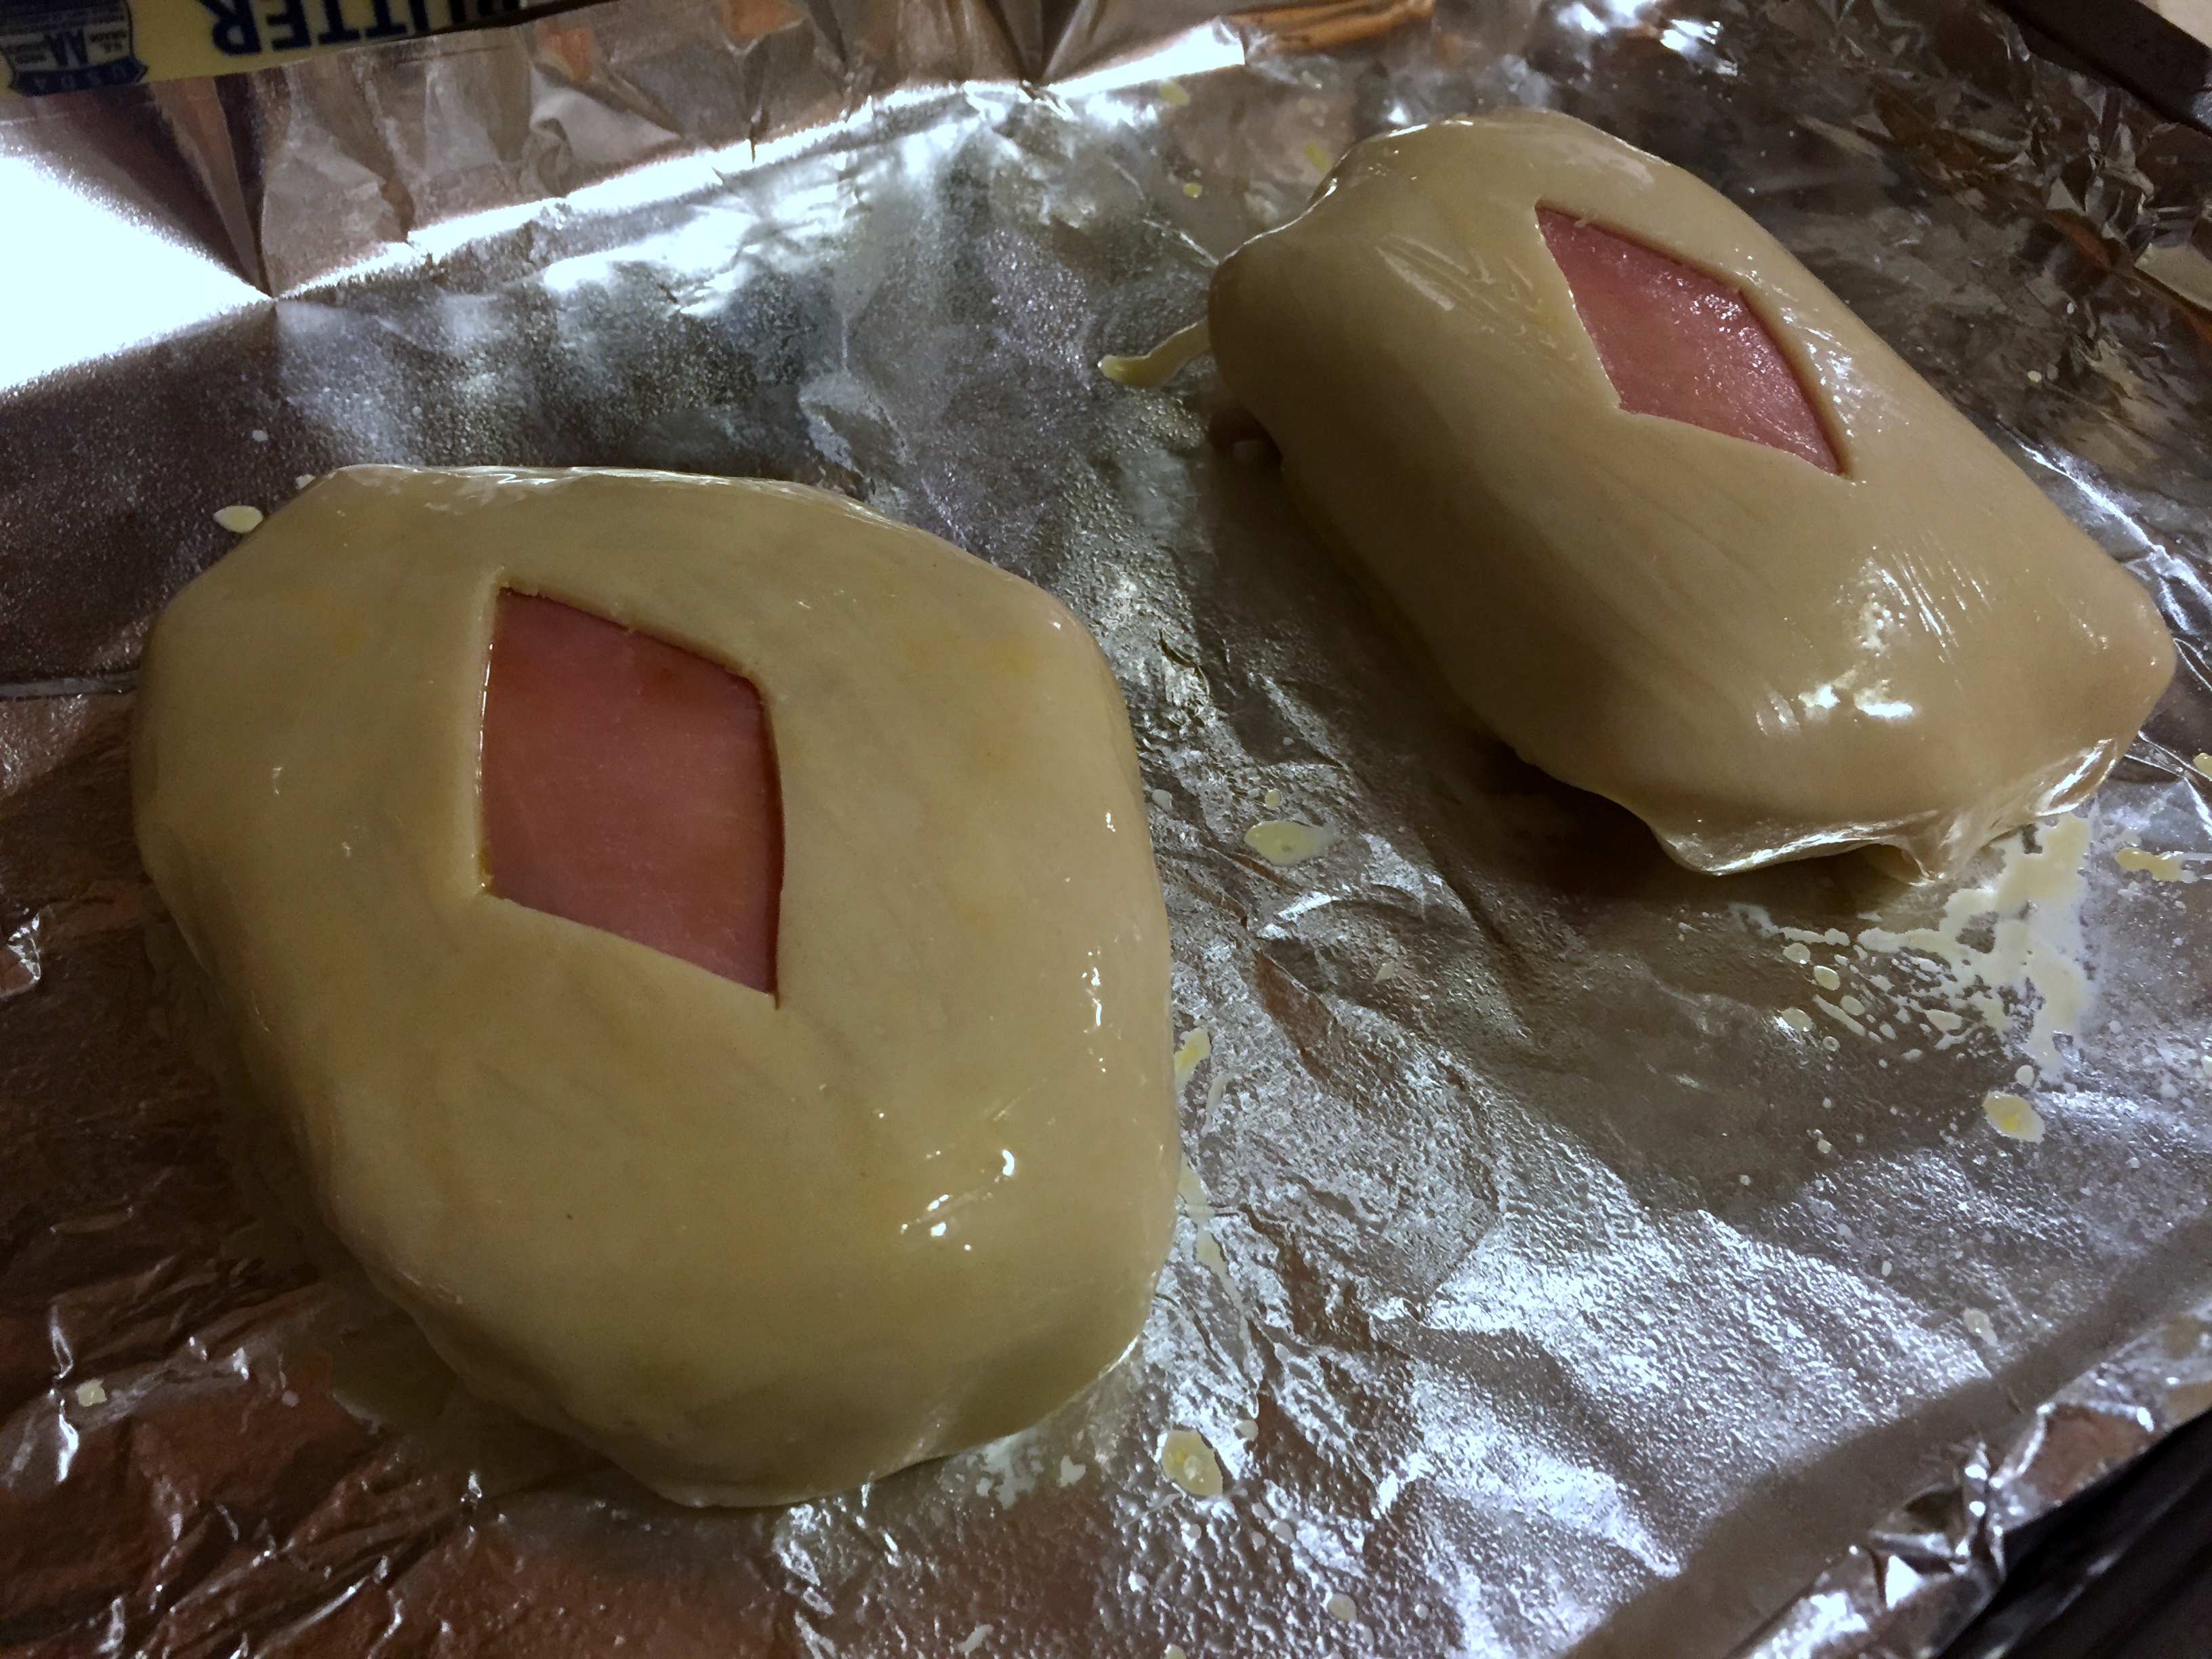
Place the packets seam side down on a baking sheet lined with foil (because escaping brie). If you’re feeling fancy, and I frequently am, you can use a paring knife to cut a diamond shape in the crust, exposing the ham underneath. Brush a quick egg wash on the crust to help give it a golden finish.
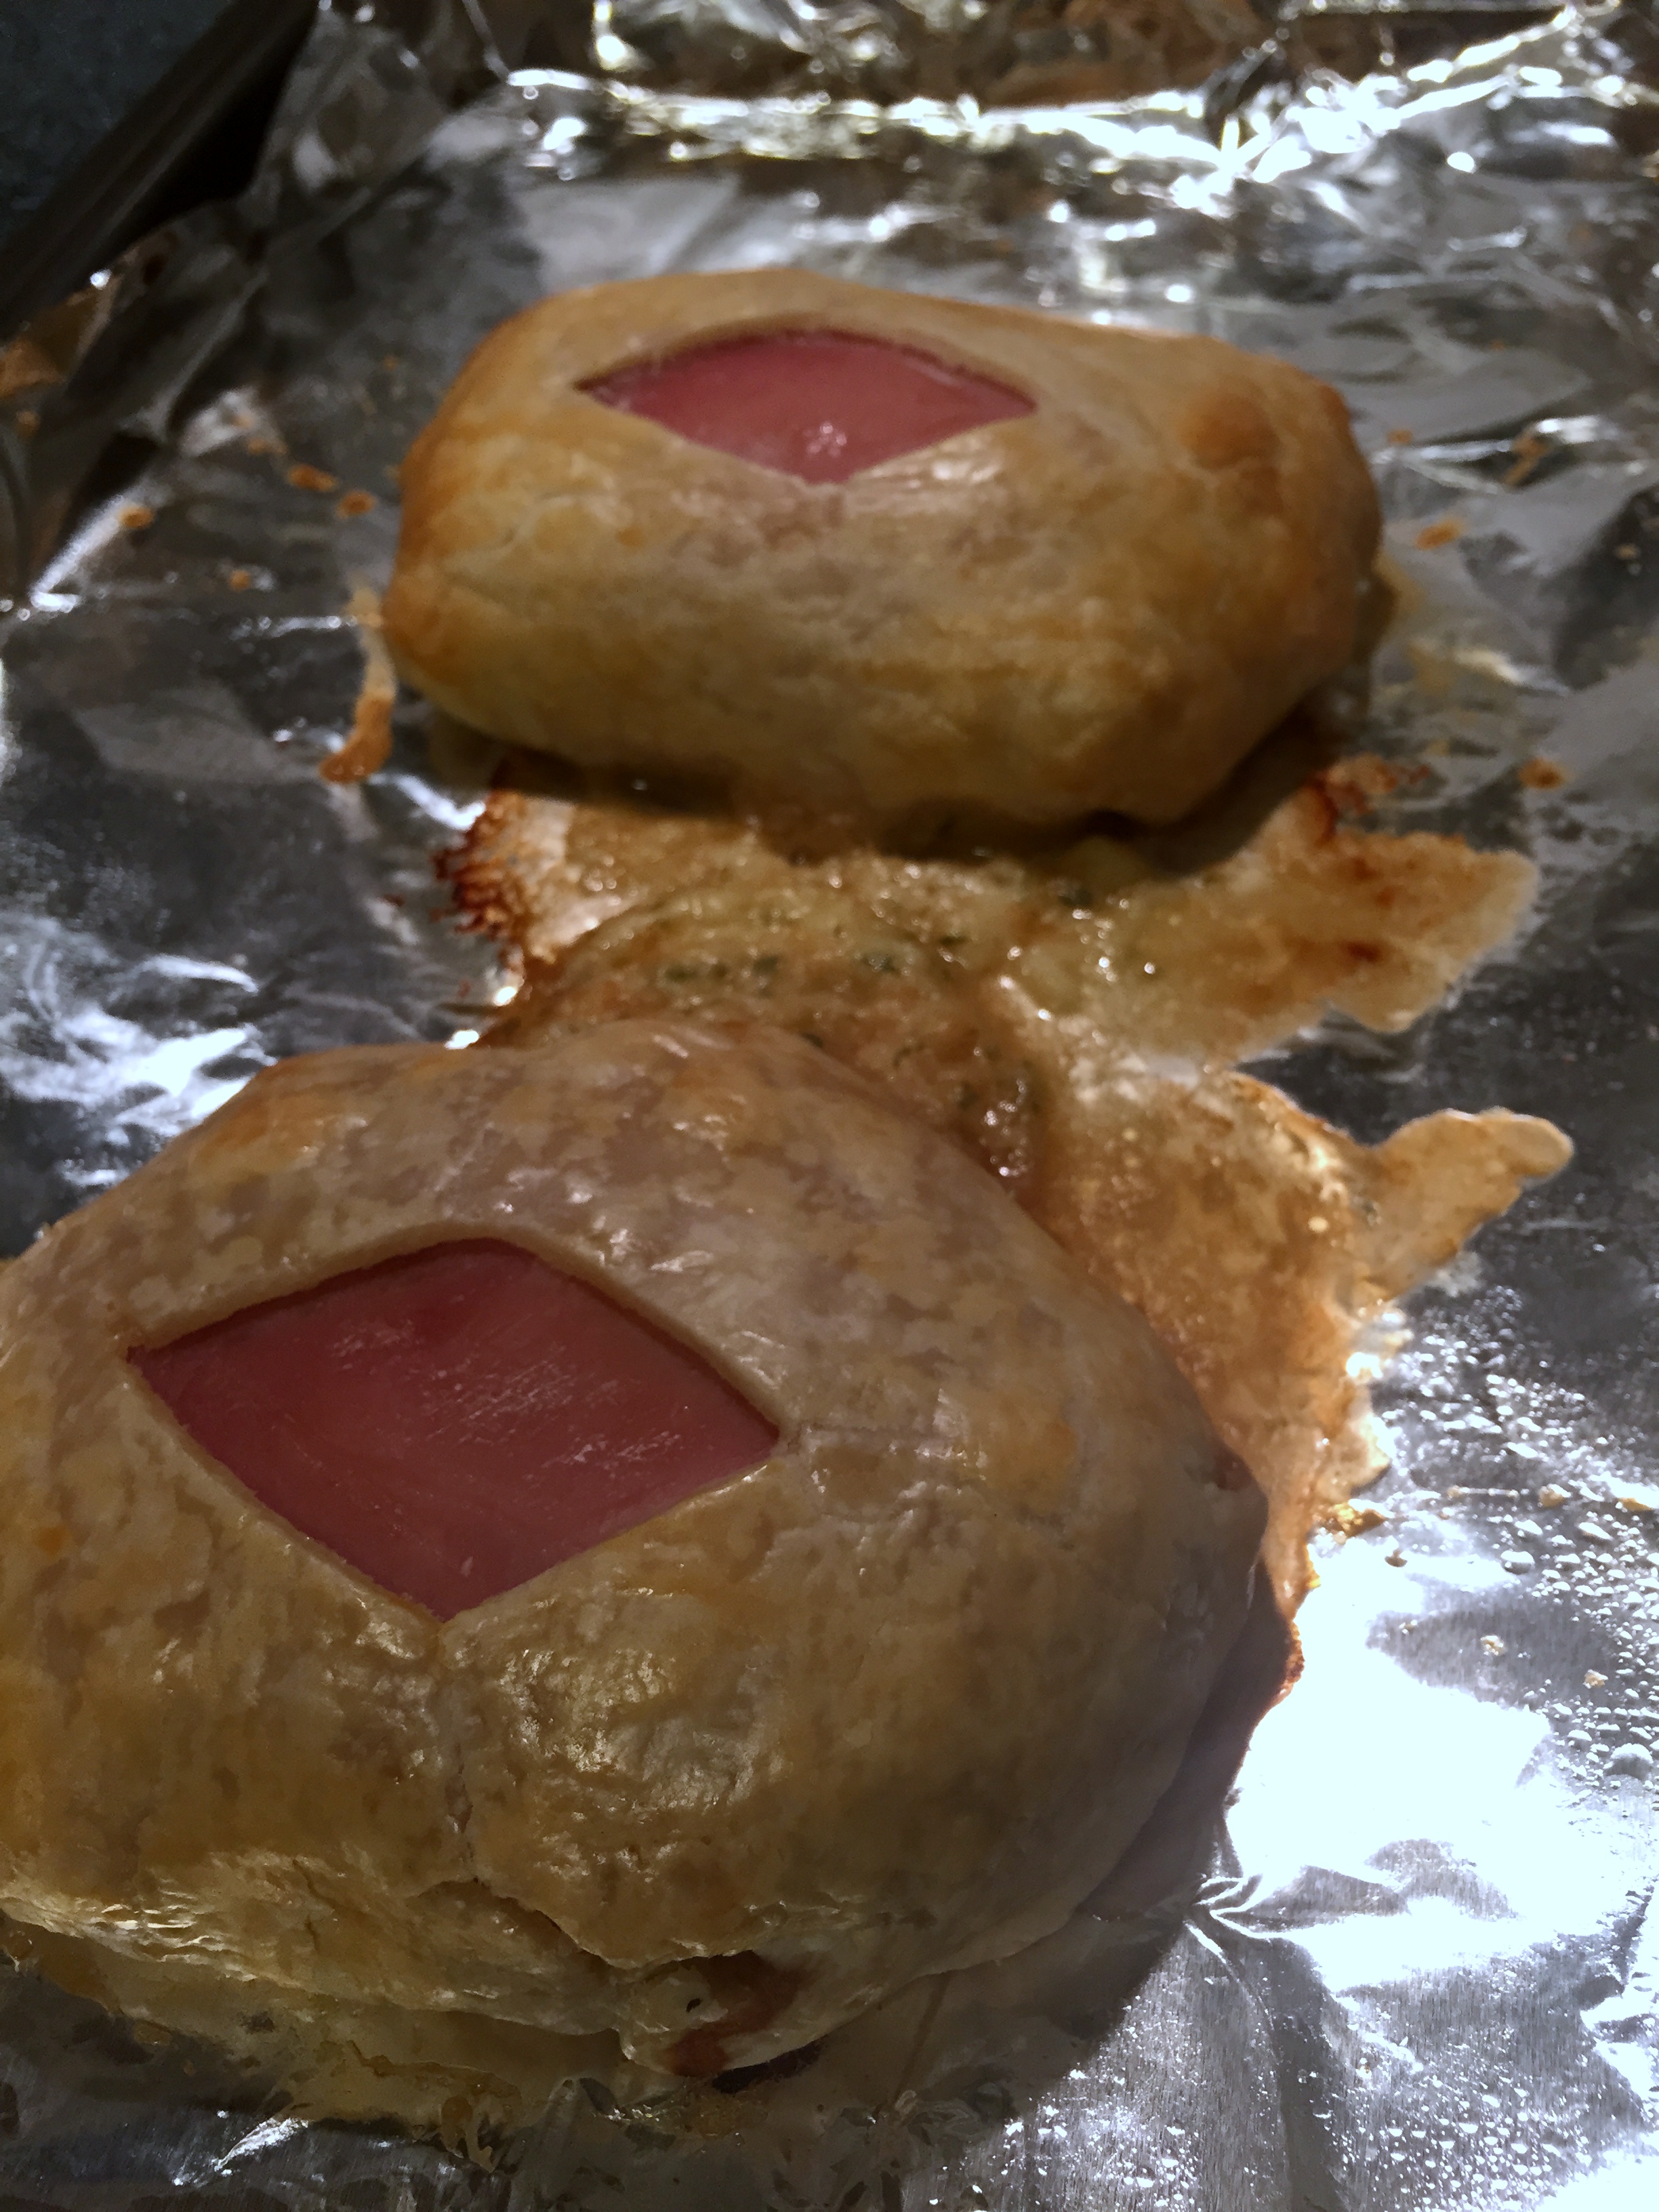
I warned you about the escaping brie.
Bake them in the oven for 25 – 30 minutes until the internal temperature of the chicken reaches 165°. Plate and serve. Simple. Elegant. Delicious.

