So, in the last post, we went over the basics of how marshmallows are made. Once you have a good grasp of the concept and a couple of successful batches under your belt, you can start expanding your marshmallow prowess.
Before I get back into the marvels of marshmallows, you’re gonna need something to do with the piles of them you’ll be creating. Sure, there are lots of possibilities. You can absolutely just eat them as they are. Dip them in chocolate or melt them on cookies. There are even entire cookbooks dedicated to various permutations of s’mores that can be made. As there is about two feet of snow outside my door right now, though, I’m going to suggest the classic choice:
Hot chocolate.
Here at the Nerdly Home, however, we do not stop at powdered packets of Swiss Miss. Not that there’s anything wrong with powdered hot chocolate. It is certainly convenient in a pinch, and many of them can be quite tasty. No, what I’m suggesting is actual drinking chocolate.
‘What’s the difference?” you may ask. And if you do, I’ll know that you’ve never had drinking chocolate before.
There seems to be no real consensus on the ‘proper’ way to make drinking chocolate. This actually works in our favor. We can now adapt the recipe entirely to our own personal preferences. Try new things. Experiment! With chocolate! For science!

It’s schmallow time!
The basic building blocks of drinking chocolate are 2 ounces of finely chopped chocolate and 8 ounces of milk. The milk is heated and the chocolate is melted into it. Simple enough, yes? Good. Now comes the fun part.
Your choices in chocolate are almost endless. You can choose your preference of milk or dark (or white, I suppose, but that’s not really chocolate). Or try a mix. Use leftover chocolate chips or candy bars. I’ve even used a few slices of a chocolate orange. Some recipes call for also adding cocoa powder and sugar to the mix. I personally haven’t found either of these necessary; I generally prefer to simply add more chocolate if it’s lacking flavor.
There are also options when it comes to your milk. Skim, whole, something in between, all fine. I haven’t tried using non-dairy milk, but I’m sure it would work just as well. Some even suggest using half and half, but that’s a bit much for me. A little splash of cream at the end is decadent. Whipped cream on top? Why not!
The final step is deciding if you’re going to add any extra flavorings to your chocolate. Cinnamon and chili turns it into Mayan chocolate. A tiny pinch of salt can help balance the sweetness of the chocolate. Cloves, cardamom, and allspice are also contenders. Maybe a shot of espresso to give it a kick. And you’ll rarely go amiss with a splash of vanilla. These are all options you can change based on your taste and mood.
Of course, there is one other way to add extra flavor to your already decadent drinking chocolate. You can always float a few flavored marshmallows on top. Yes, that’s right. Flavored marshmallows. While vanilla is a classic flavor, it is by no means the only one. The possibilities, I have discovered, are endless. Some are certainly more successful than others, but that shouldn’t stop us from trying things. Because science.
The simplest way of changing the flavor of your marshmallows is to substitute a different extract in place of the vanilla. Peppermint marshmallows are a popular choice, since mint and chocolate go so well together, and they are the result of this kind of simple swapping of flavorings. You can also add a couple of drops of food coloring to the mix to tint them, helping to indicate the flavor. There are a variety of other extracts available that you could use to make your marshmallows a little less ordinary.
I was looking for something a bit more involved.
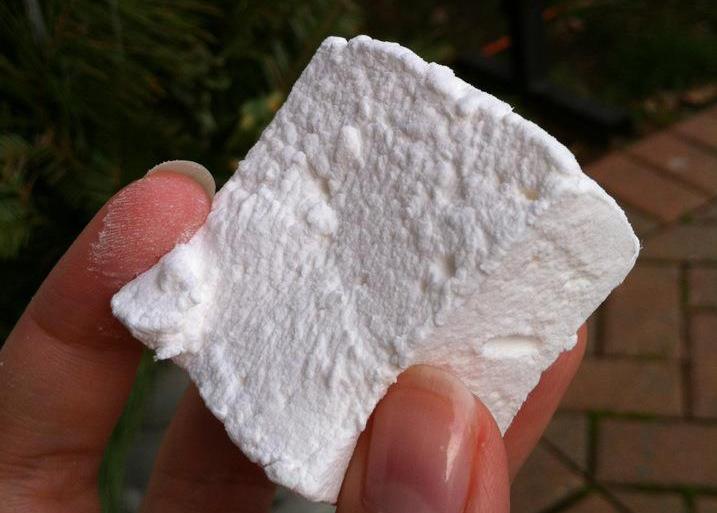
My first foray into alternatively flavored marshmallows was a big one. With my love of all things pumpkin, I took a leap and tried out pumpkin spice marshmallows.

It’s like a pumpkin pie, only light and fluffy.
The process was very similar to the vanilla marshmallows, just with the addition of pumpkin puree into the gelatin and the extra spices. The resulting marshmallows were yummy. They had that classic pumpkin spice flavor that I, as a dyed-in-the-wool New Englander, crave the second there’s that first hint of crisp autumn chill in the air. The consistency of these was tricky, though; they were extra sticky. No matter how many times I tossed them in the powdered sugar, they would inevitably wind up all stuck together into one mega marshmallow again. I have a feeling that this is the result of the extra moisture added by the pumpkin puree.
The less-than-ideal solution that I eventually stumbled upon was letting them sit out in the open air for a couple hours. This let the very outer layer get just stale enough to keep the moisture contained. They lost some of that heavenly soft texture, but they didn’t stick together anymore.
Browsing through marshmallow recipes, I found lots of interesting options. The next one that caught my eye enough for me to decide to give it a try was a gift from my new favorite organization: the Federation of Quebec Maple Syrup Producers (seriously, they have maple recipes for everything). Yup, that’s right. Maple marshmallows.
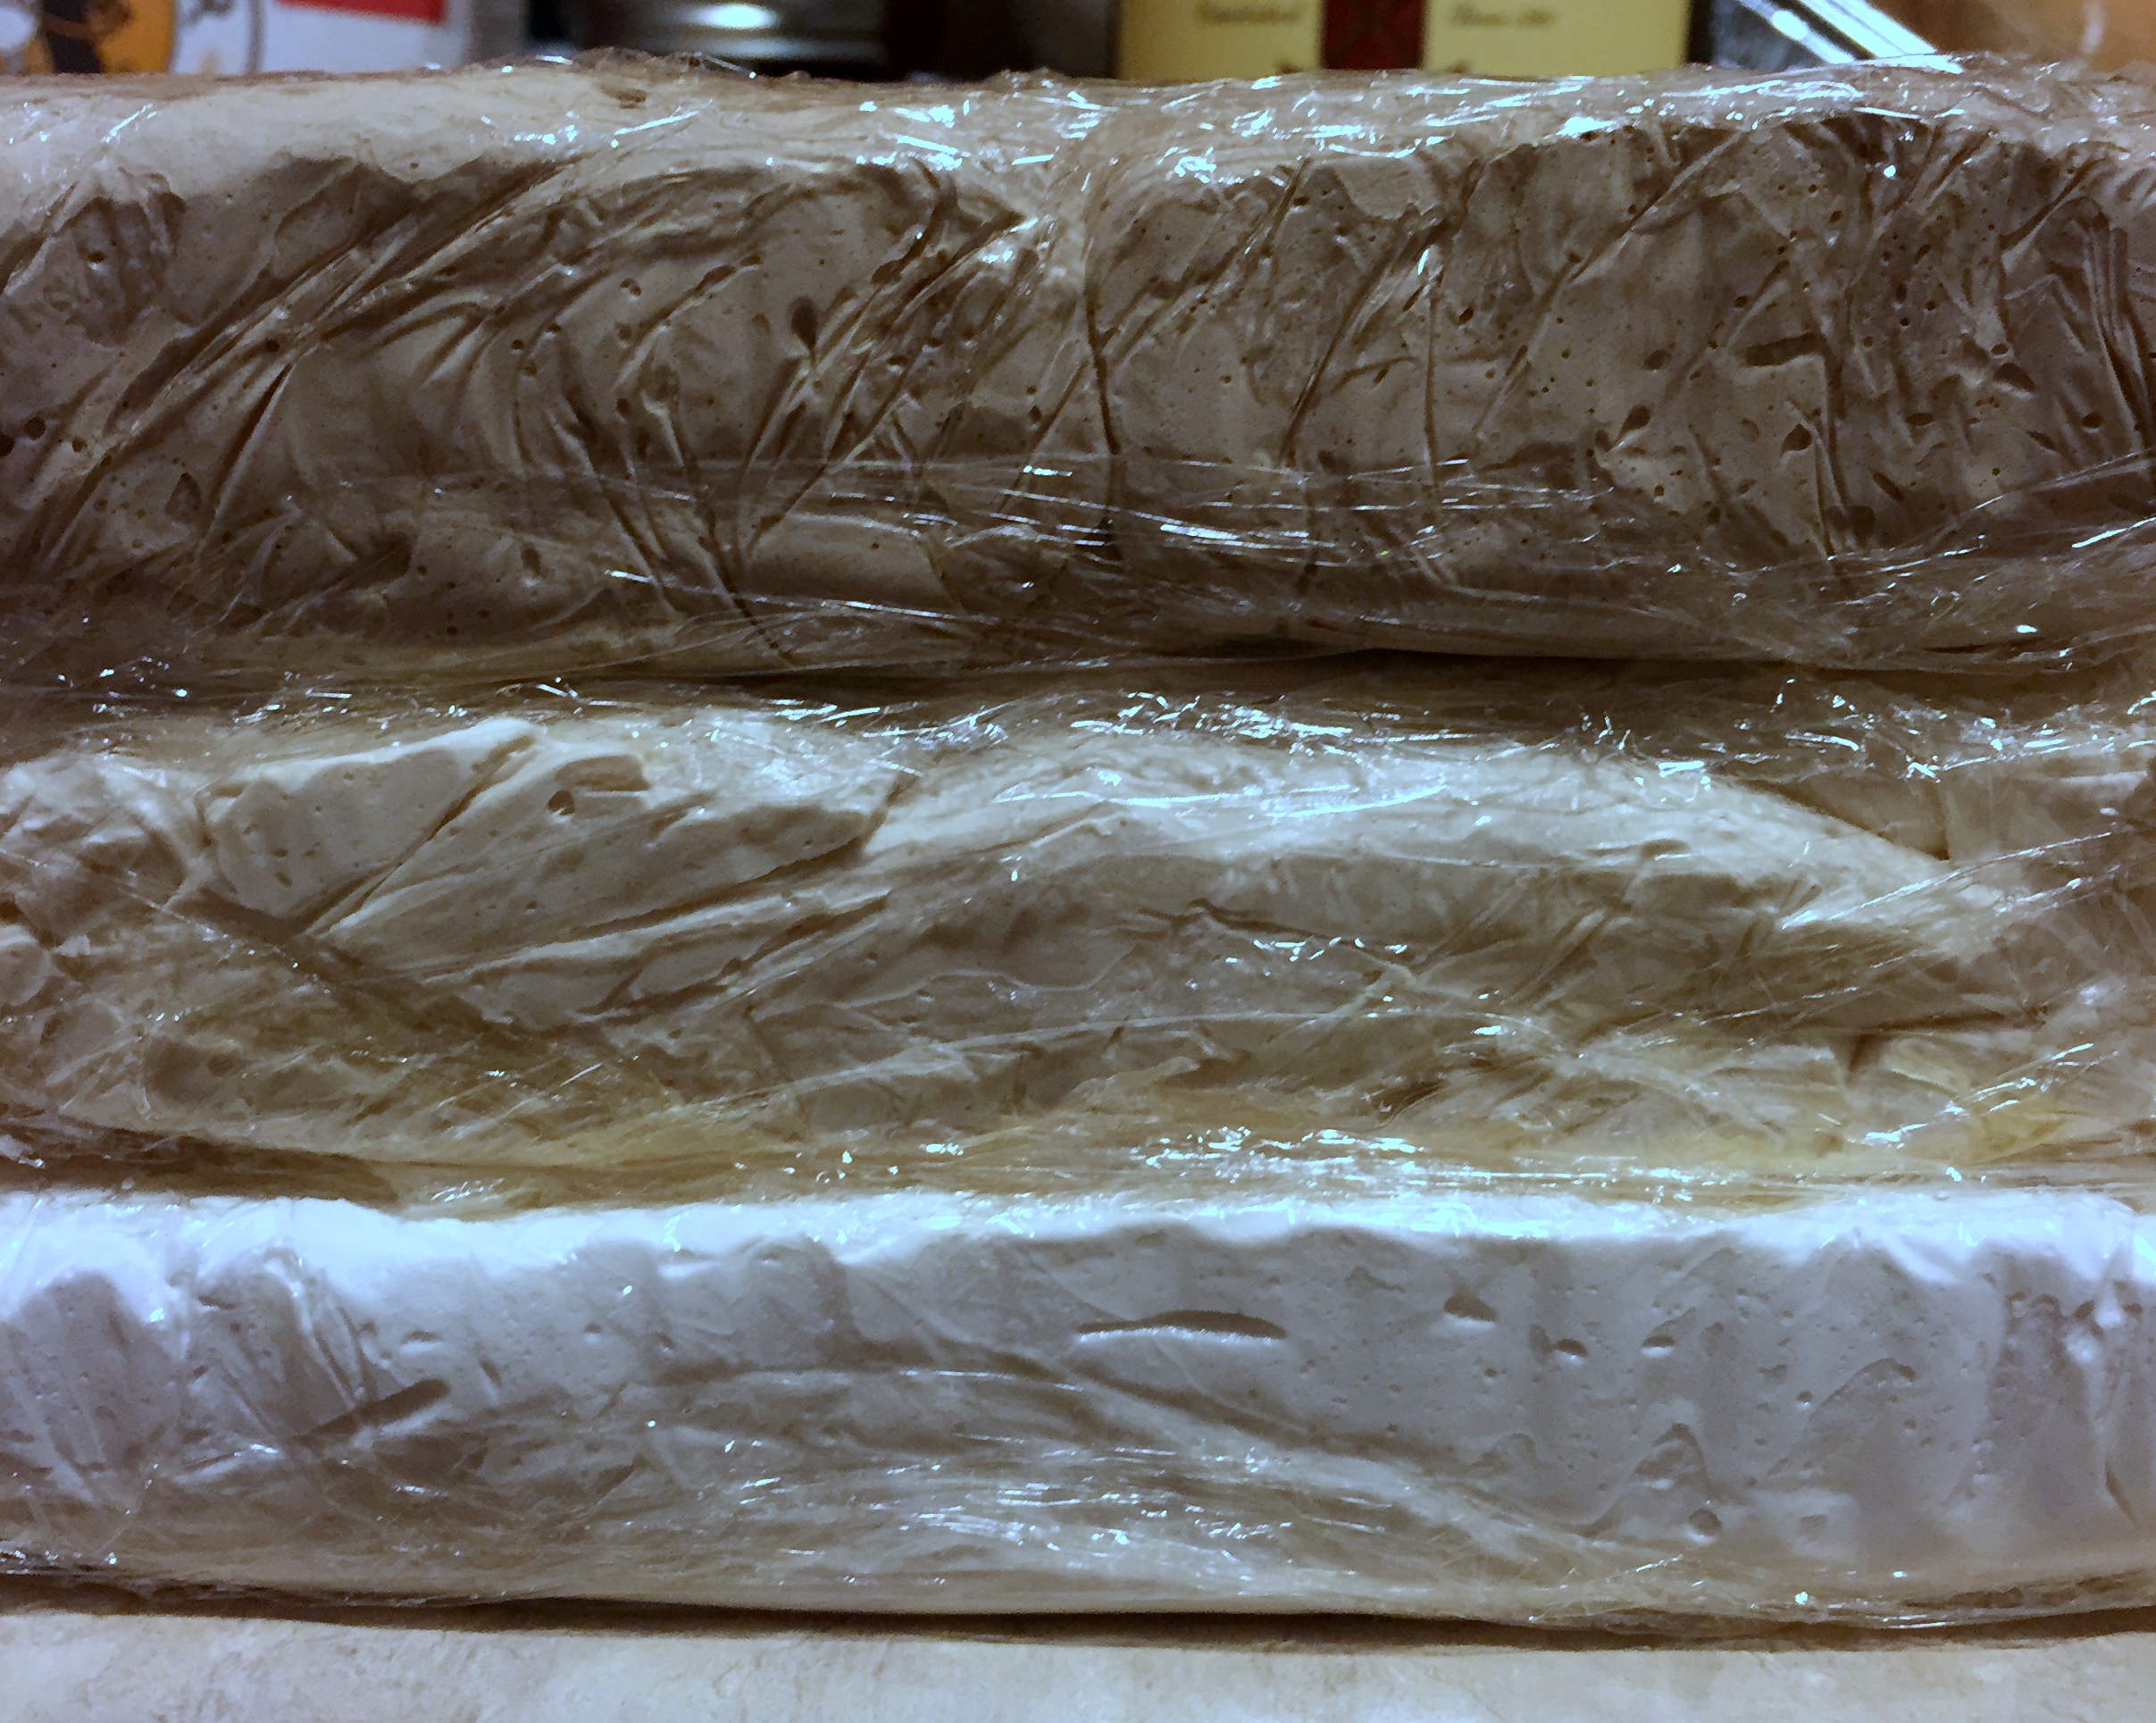
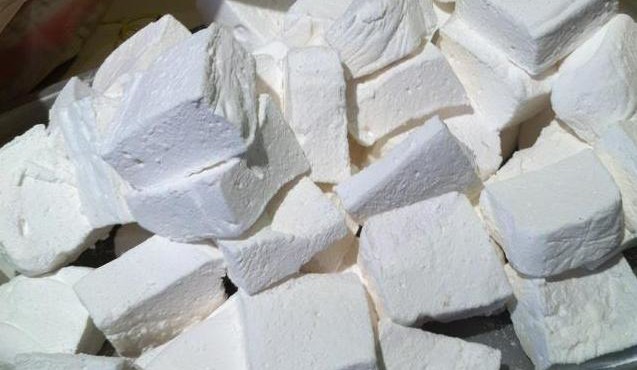
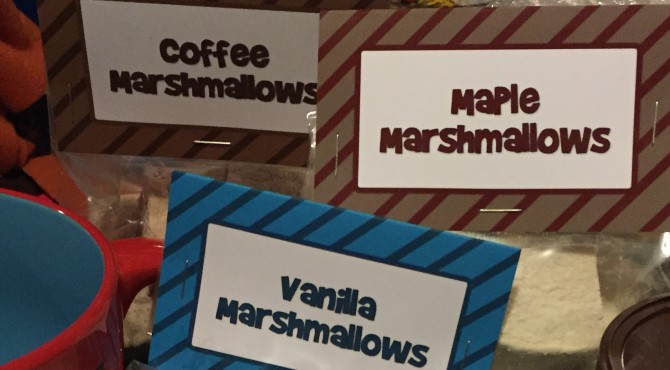
From top to botom:
Coffee, maple, vanilla
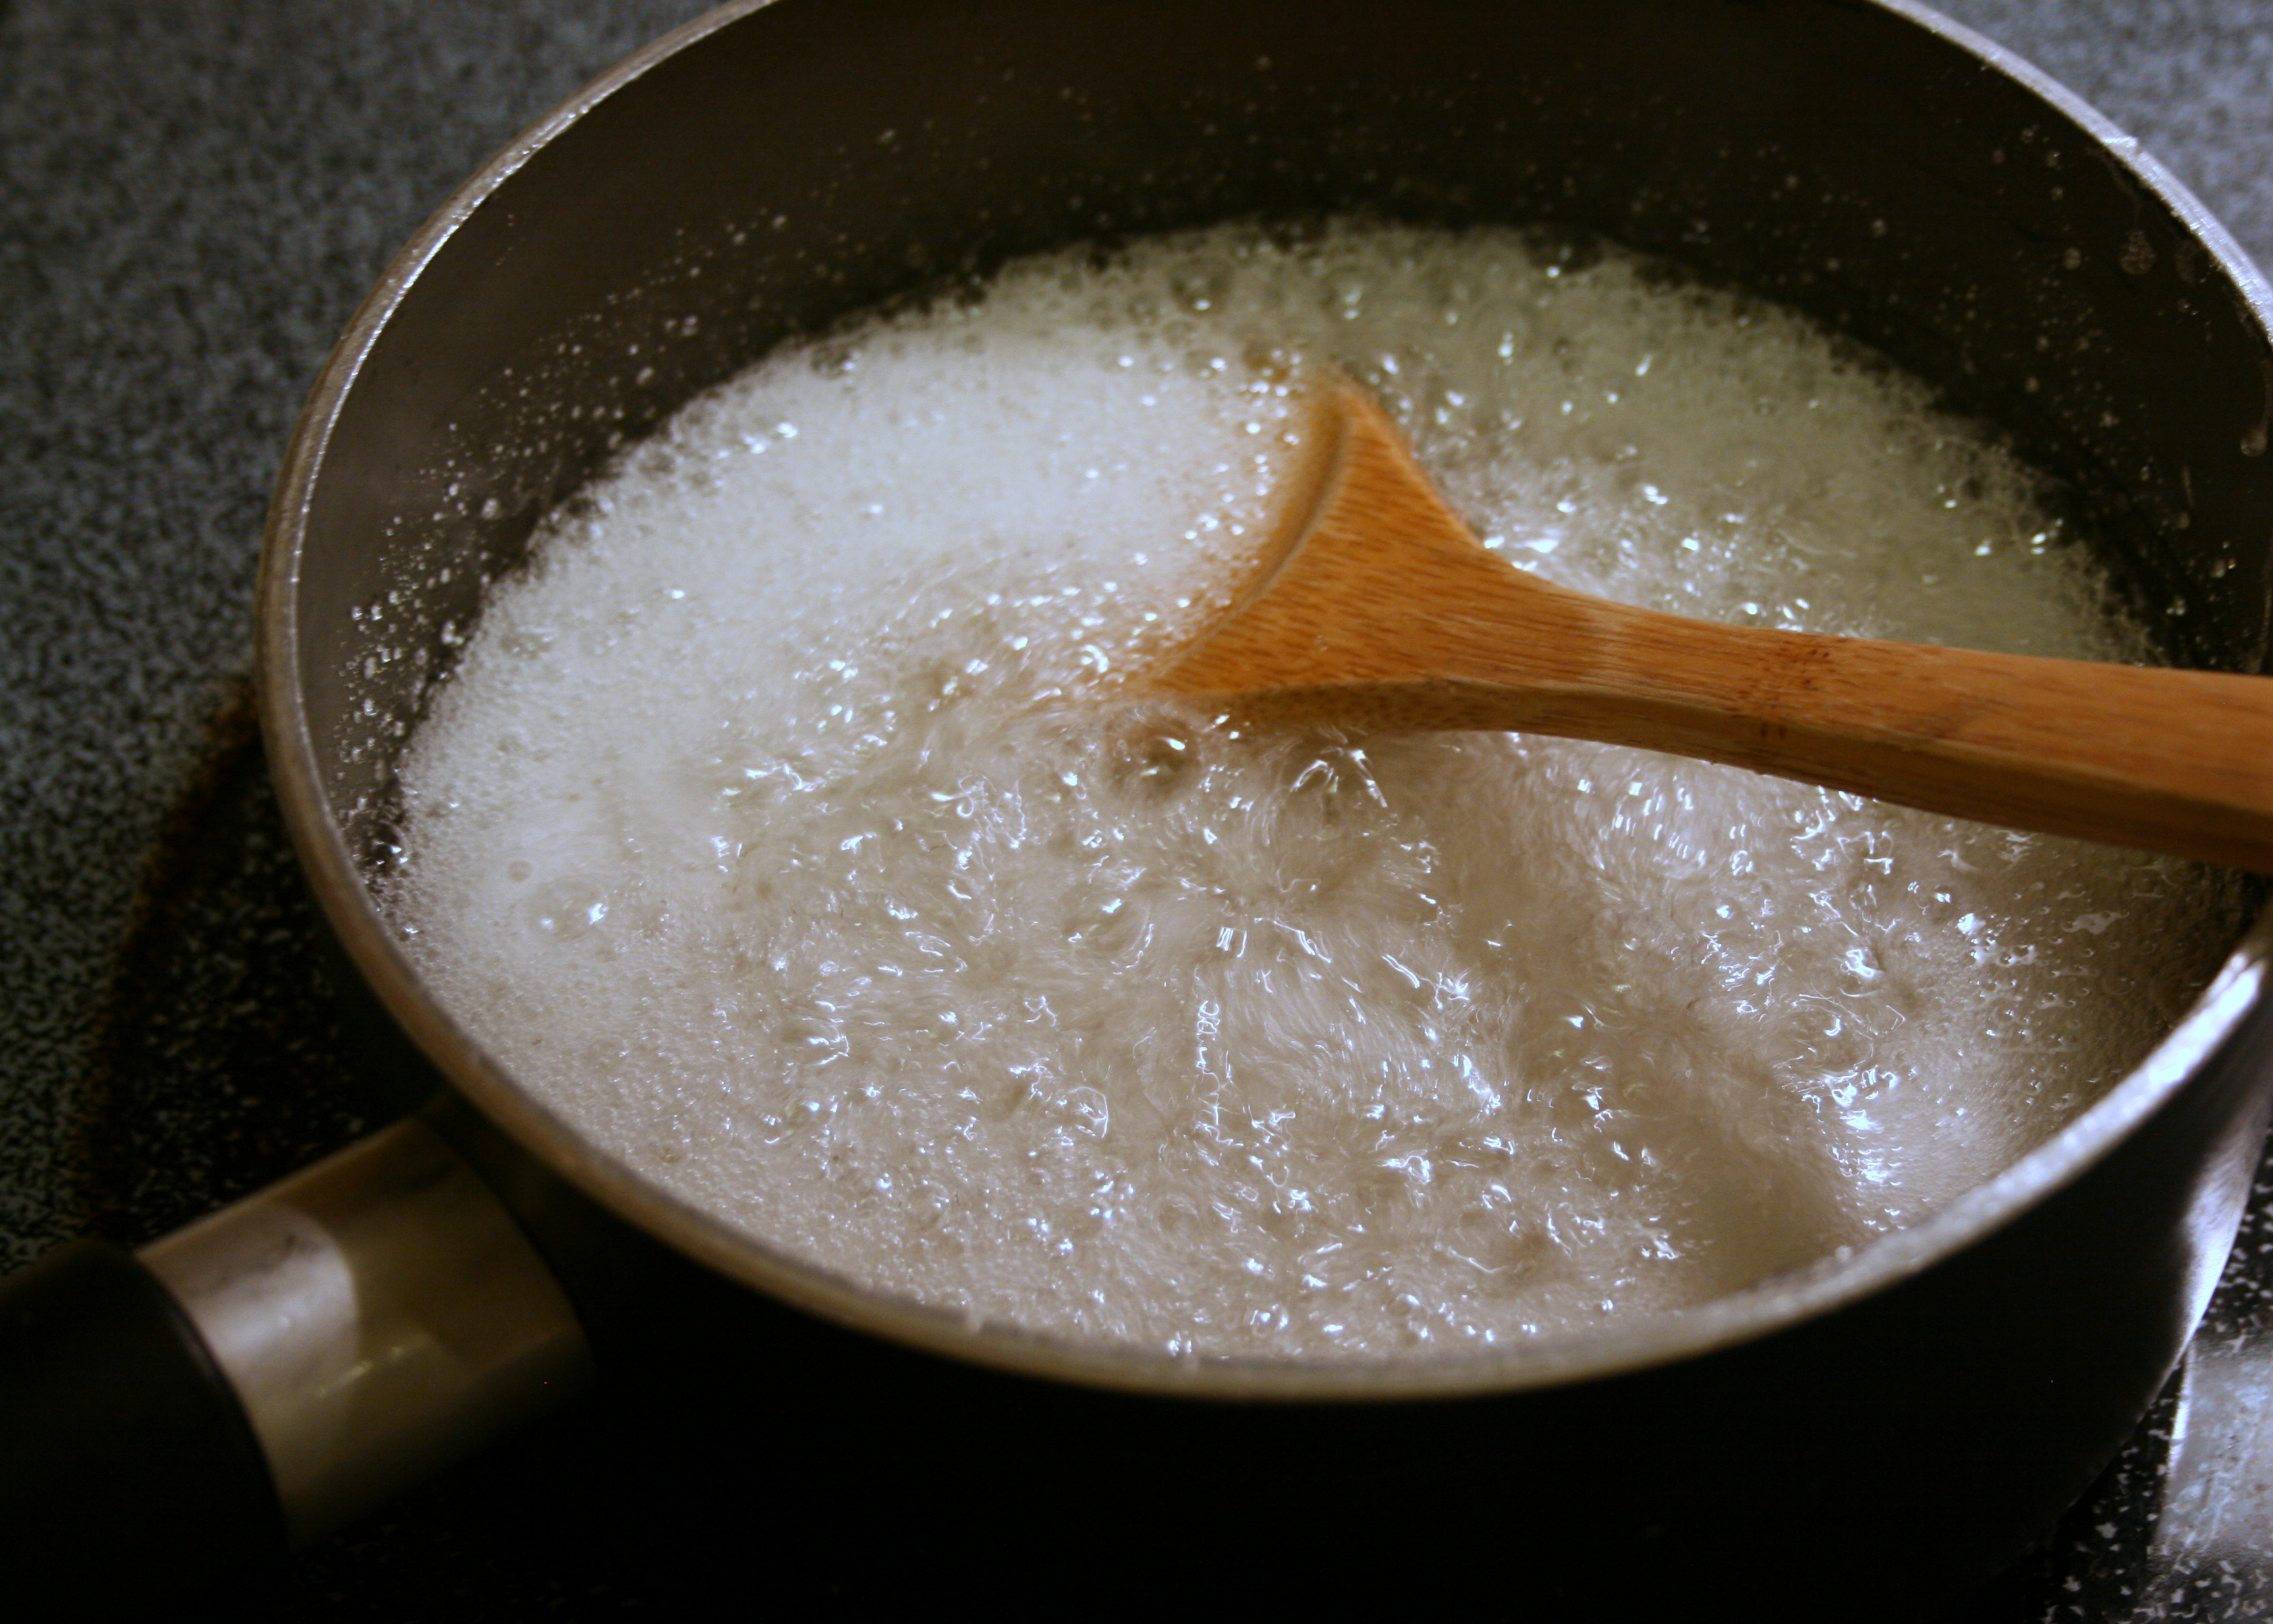
The cool thing about this recipe is that you replace the sugar and the corn syrup with maple syrup, which you then cook down. For this recipe, I do recommend using the candy thermometer as recommended. It’s basically the only way to know when you’ve boiled enough water out of the syrup. Added benefit of making these: the house smells like maple syrup for hours. Delicious.
I happened to have some leftover maple sugar in the cabinet from a previous baking project. I remembered learning that if you found yourself in need of powdered sugar, you could put granulated sugar in a food processor and pulverize it. I was a little concerned about the confectioners’ sugar overpowering the maple flavor, so I did make a little bit of maple powdered sugar to mix in. It worked perfectly, with one exception. I opened the top of the food processor too soon and inhaled quite a cloud of maple powder. It’s alright, though. I have Canadian heritage; that stuff’s probably in my blood already.
The third and final marshmallow adventure for this round was completely irresistible. Coffee marshmallows. When melted into a nice, rich hot chocolate, the resulting beverage is a mocha delight.
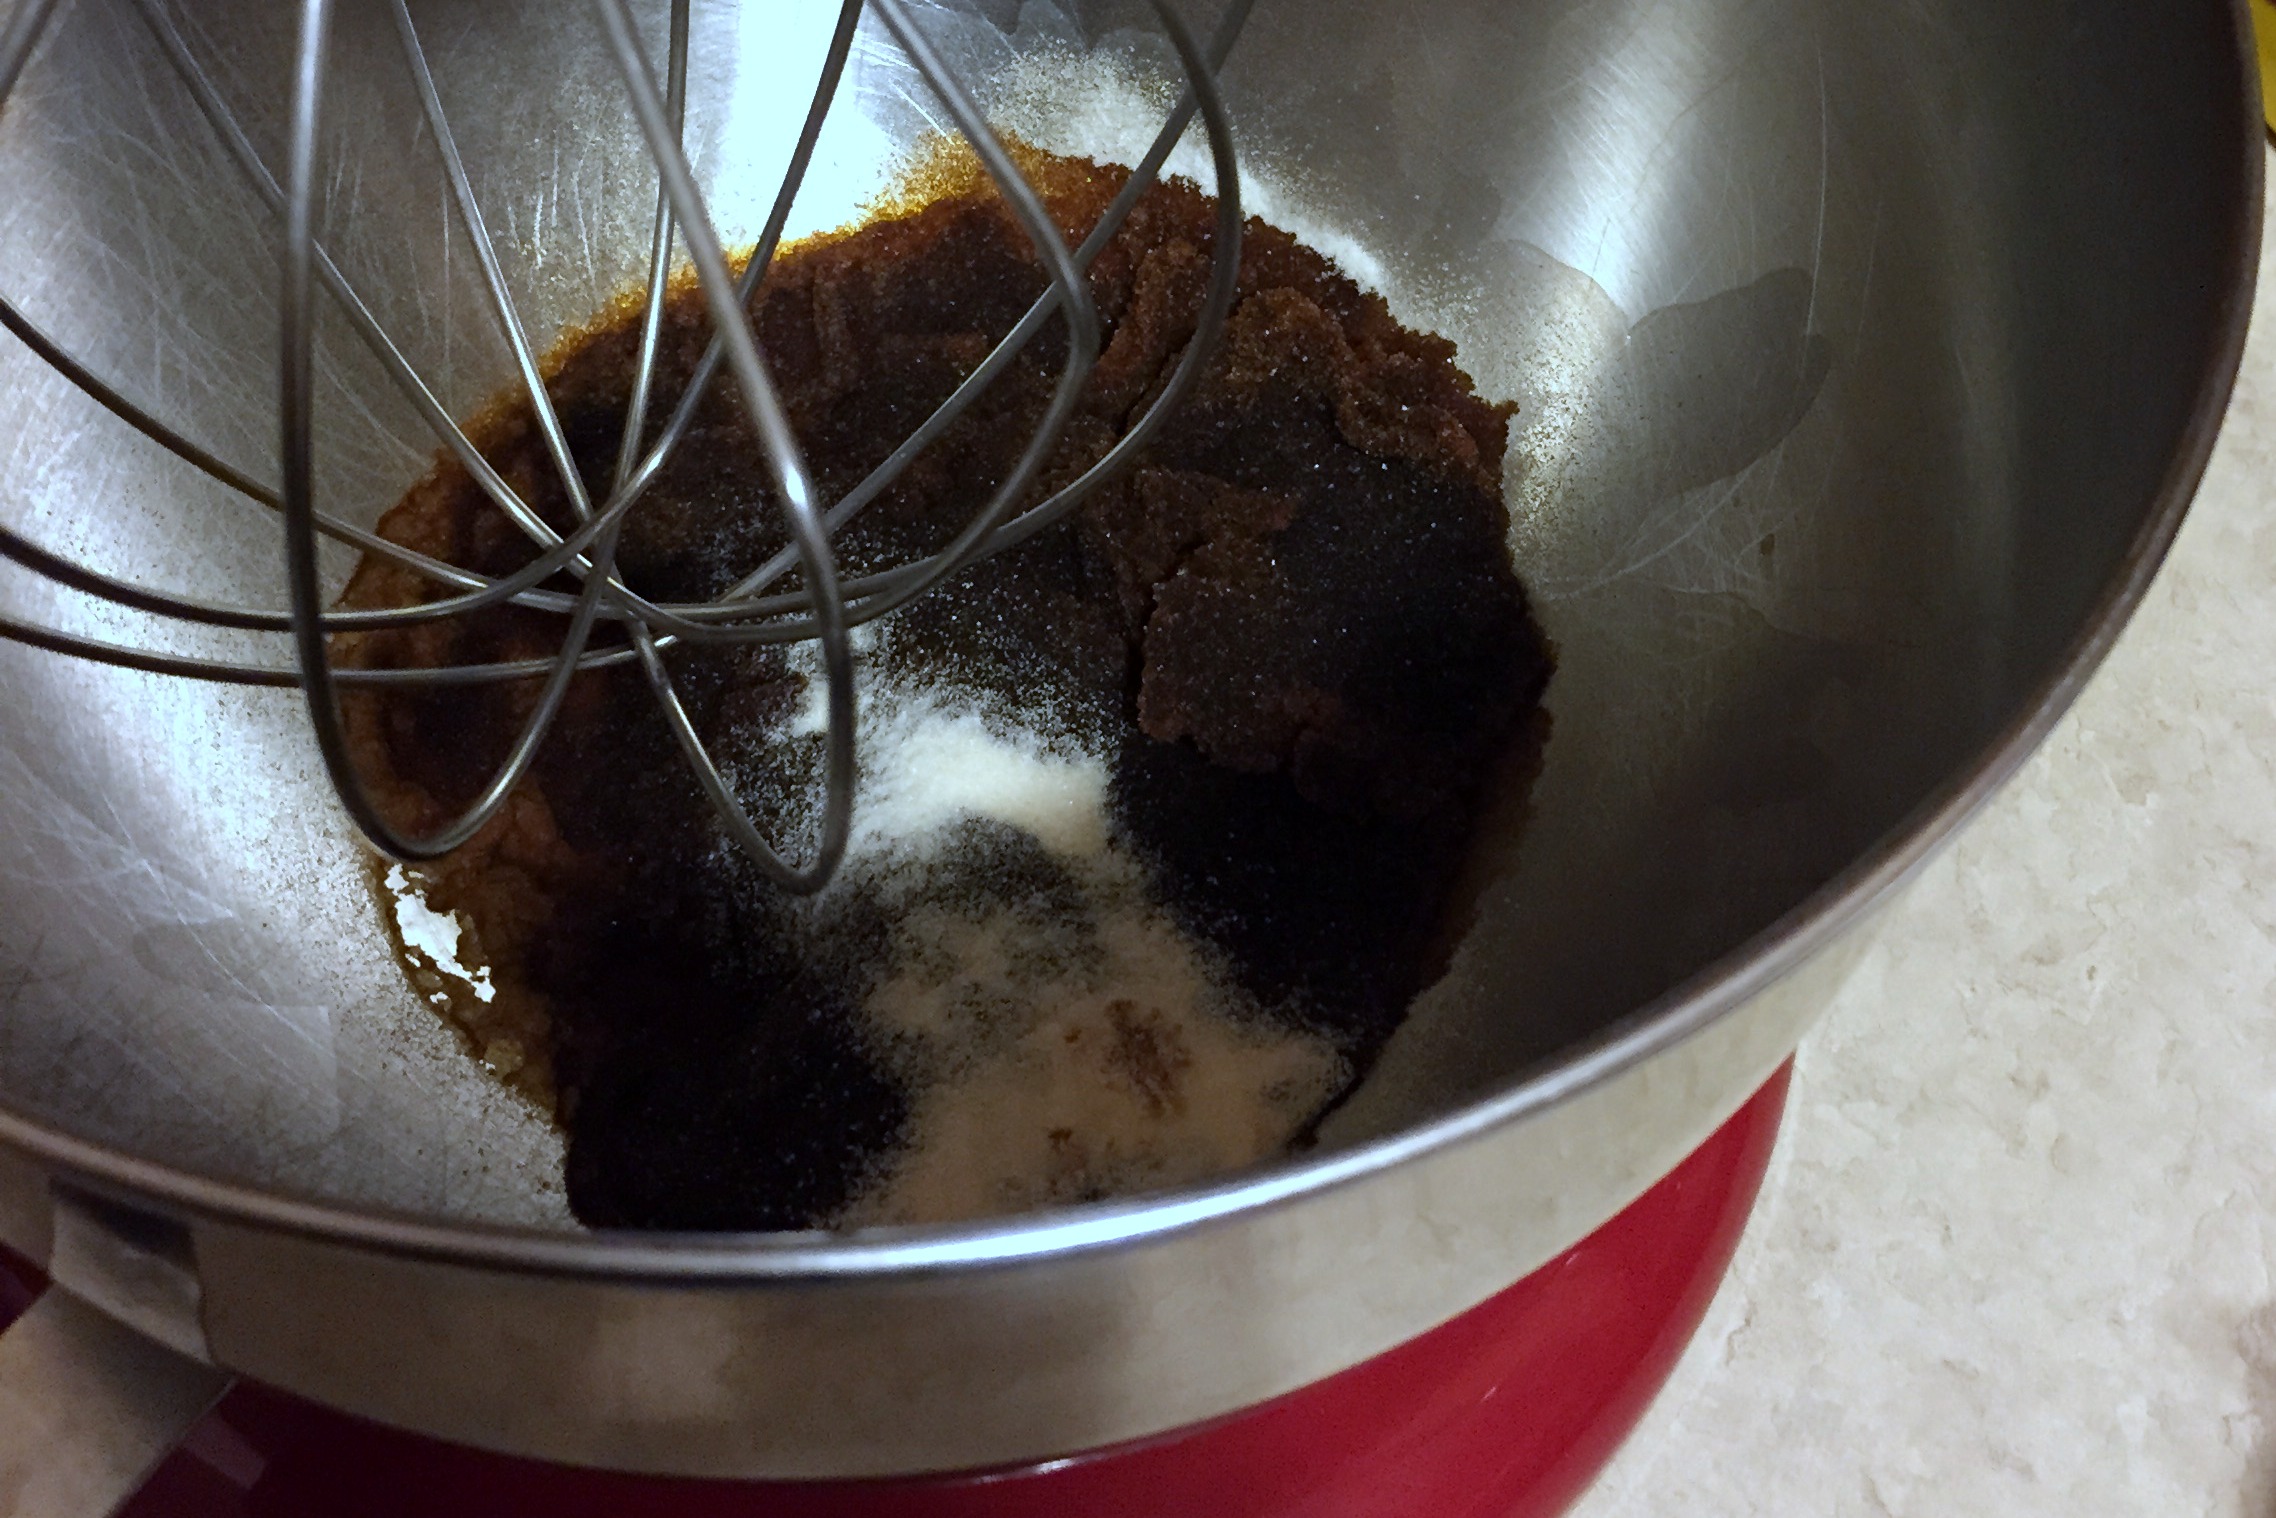
Gelatin blooming in cold espresso.
The flavoring for these beauties comes from replacing the cold water used to bloom the gelatin with strong, cold espresso. It’s a neat way to add flavor without changing the process or consistency. This recipe also adds a little cocoa powder. This helps add color to the finished marshmallows and balance out the harsh coffee flavor with smooth chocolate notes. I also added some cocoa powder to the powered sugar I used for dusting. It helped them retain their identity as ‘not vanilla’ marshmallows and added just a little more flavor.
This is certainly not the last time we’ll talk about marshmallows. In case you hadn’t noticed, I’m rather a fan. I’ve got a lot of things that I still want to try. Almost any flavor out there, there’s probably a marshmallow recipe for it.