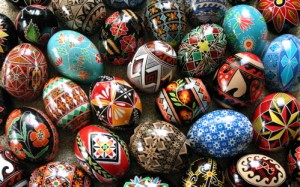
Each year when Easter approaches, I get it into my head that I am going to make Ukrainian eggs (otherwise known as pysanky).
 For those not in the know, Ukrainian eggs are made by meticulously covering the part of the design on an egg that you wish to remain white with beeswax, then dipping it in dye (usually yellow is first). Then parts of the design that are to remain yellow are masked off with wax and the egg is dipped in the next color. This continues with progressively darker dye colors until the final dip in black dye. After all the colors have been dyed, the wax is melted off over a candle to reveal the completed design.
There is a tremendously steep learning curve here, not only because of the technique of using the kistka to apply the wax is a little tricky, but also because you have to have planned your design out completely before you even start. This is the part I’ve never been good at. I’m always very eager to get started, but I never have a plan.
Wikipedia has a really good description of traditional pysanky motifs and color meanings. It’s a pretty good place to start when designing eggs of your own. Flickr also has a very large group devoted to Ukrainian eggs with some really beautiful examples. If you want to give this a try for yourself, there are plenty of places where you can pick up supplies. PysankyUSA has an exhaustive selection of tools and supplies, along with kits so you can get started right away. In terms of instruction, I really like LearnPysanky.com. The woman who writes it clearly has a passion for the art form. She’s got links to where you can buy supplies, helpful hints, and even where some workshops are being held.
Because of the amount of work that goes into creating one of these eggs, you’ll want to blow out the insides so that they can be kept from year to year. I’ve seen artists do this after the design is completed which seems absolutely crazy to me. I would hate to put in all that work only to have the egg crack while trying to empty it out. You can also purchase already blown eggs of all sizes, from quail to ostrich. The only tricky part about working with already blown eggs is that you’ll have to cover the holes with wax to prevent them from filling up with dye.
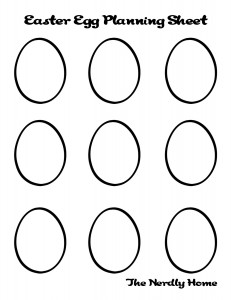
 Whether you’re going to try your hand at making these beautiful Ukrainian eggs or if you’ll be decorating some other way, I’ve made up a little egg design sheet so you can plan your eggs ahead. Maybe, just maybe, this will be the year when the stars align and I actually put wax to egg to try this out for myself.
This reminds me of a big pot of melted crayons from the first time we ever tried it :o)