I believe that the first time I ever saw anything needle felted was on an episode of the Martha Stewart show. It looked so simple and fun, and I was completely taken in by the old “here’s one I prepared earlier” trick. This is definitely something I’ve wanted to try for a while.
Things are never as easy as they seem on tv. As far as this craft goes, however, it’s not all that far off. It’s certainly going to take a bit of practice to get things right, but I think that my first attempts have turned out better than expected.
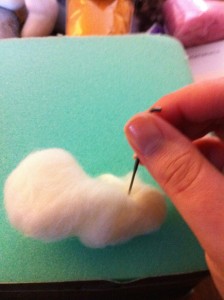
The art of needle felting involves taking bits of unspun wool roving, making it into shapes, and repeatedly stabbing it with a special needle. The needle has little barbs along the edges that help tangle the fibers together into one felted piece. I shudder to think what would happen if you stabbed yourself with said needle. In order to build a 3d felted object, you make multiple pieces and join them together (with more stabbing) and add details with tiny bits of roving. It’s really very entertaining and the repeated stabbing is quite relaxing.
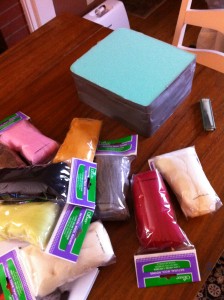
For this first attempt I had a book in hand, but I’ll admit that I didn’t really read the instructions. I mostly looked at the pictures for guidance. Secondly, we had a bit of a hard time finding the supplies at any of our local stores. There are certainly plenty of online retailers who will set you up with everything you need to begin needle felting, but for those of us seeking instant gratification, things are a bit trickier. I did try my local yarn and fiber store. While they had plenty of wonderful things, they did not have the supplies I was looking for. We eventually found everything we needed at a Joann Fabrics.
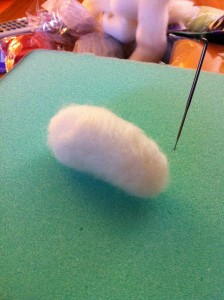
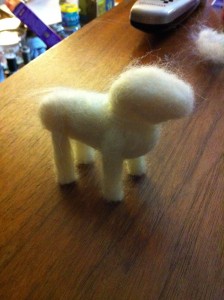
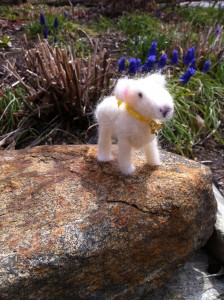
Supplies in hand, I set up shop at the table and started working on what would eventually turn out to be a sheep. Actually, I started out hoping to make a rabbit, but after I completed the body portion I realized that it looked nothing like a rabbit. It did, however, look somewhat like the body of a sheep. I went along with it. Keeping the roving in the shape you want is really tricky in the beginning. It’s very soft and silky and can get out of hand quickly. The other problem I had was tucking in the ends of the pieces of roving. They kept sticking out at crazy angles and were tricky to catch with the needle.
Getting the legs right was the hardest part. You’re working with a pretty small amount of roving, trying to make it as stable as possible while also trying desperately not to stab your fingers with the needle. In the end, I wound up making two long pieces that were pretty firm in the middle and cutting it in half. The other tricky part is making sure that you don’t over felt before you join pieces together. There has to be some loose fibers on one section that you can felt into the other. Once I got all the main pieces together, I added the smaller parts like ears and a tail. For a finishing touch, I sewed seed beads on for eyes and added a small bell with a ribbon. I have to say, I’m really pleased with the finished product.
As I said, I’m really excited to have gotten such a good result on a first try. I’m looking forward to playing with this stuff a bit more. If you want to check out some pretty awesome and non-traditional needle felted projects, check out this page on Deviant art. Crazy good. (And thanks to Jo for the link!)
