Are we glossing over the fact that I haven’t posted anything in over a year and a half? Yes, yes we are.
My little buddy Ava turned 4 this spring. She wanted to have a Hello Kitty themed birthday. She asked her mom if Auntie Mimi would make her a Hello Kitty cake. Of course Auntie Mimi would make her a Hello Kitty cake.
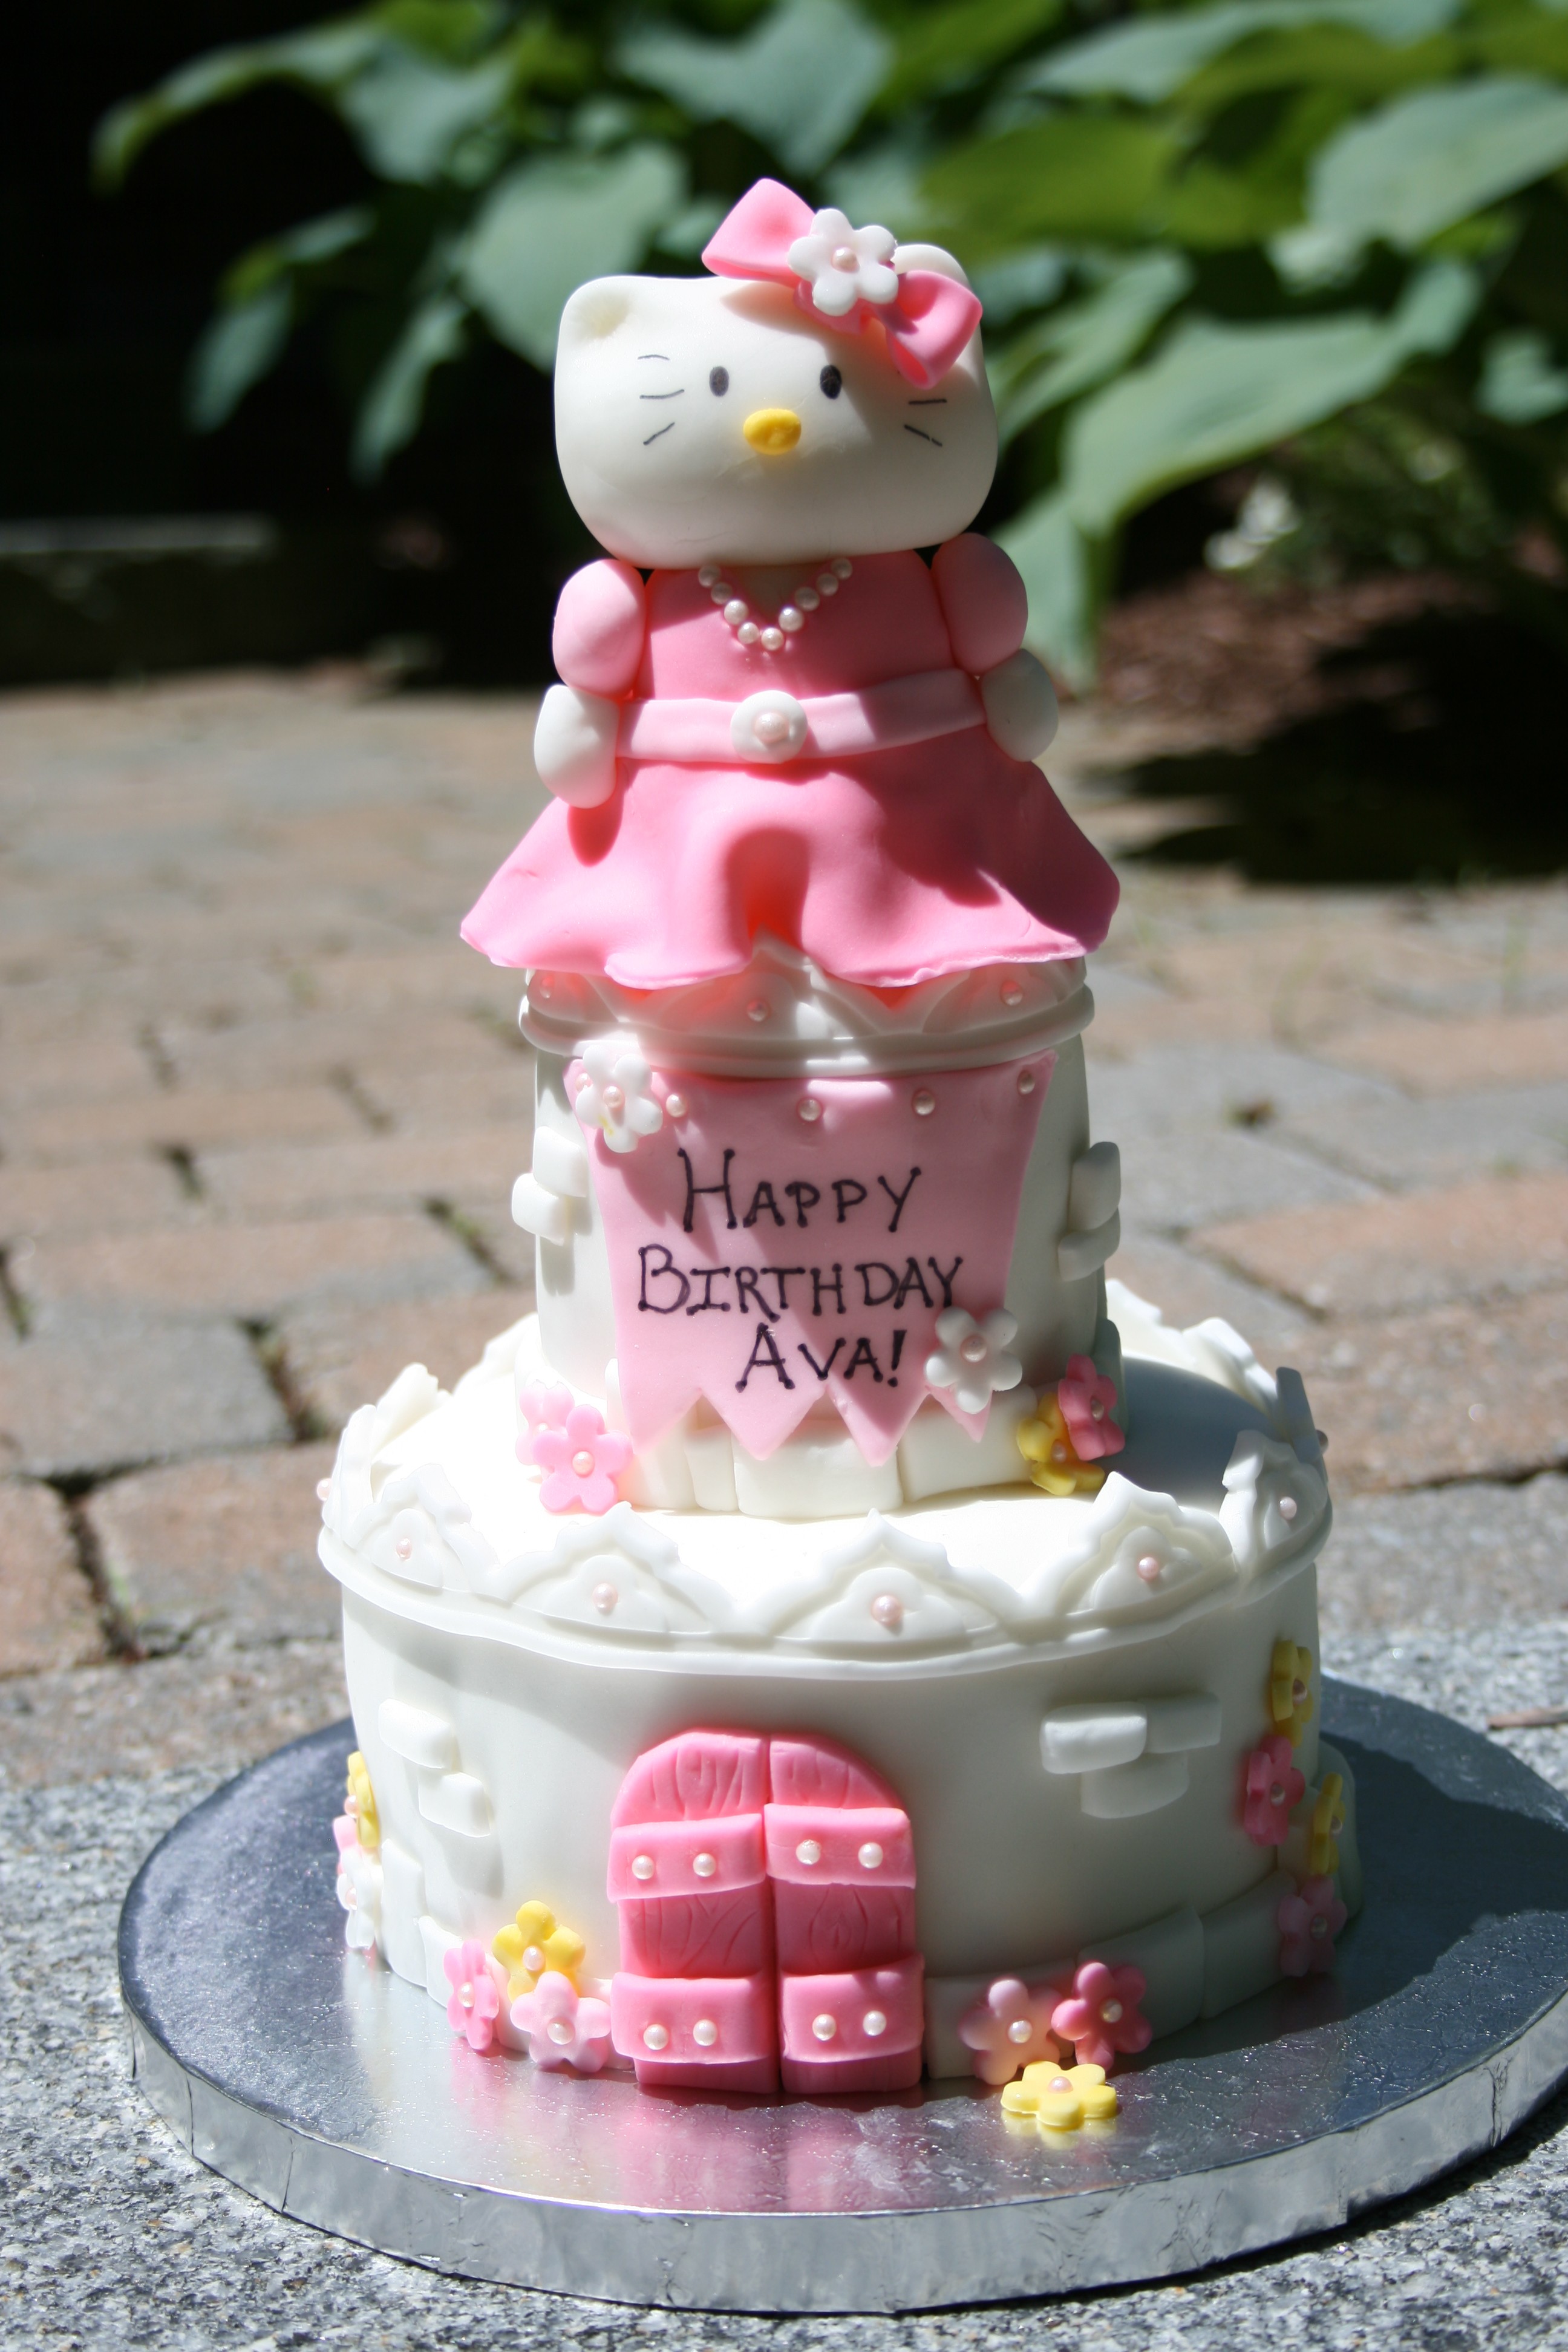
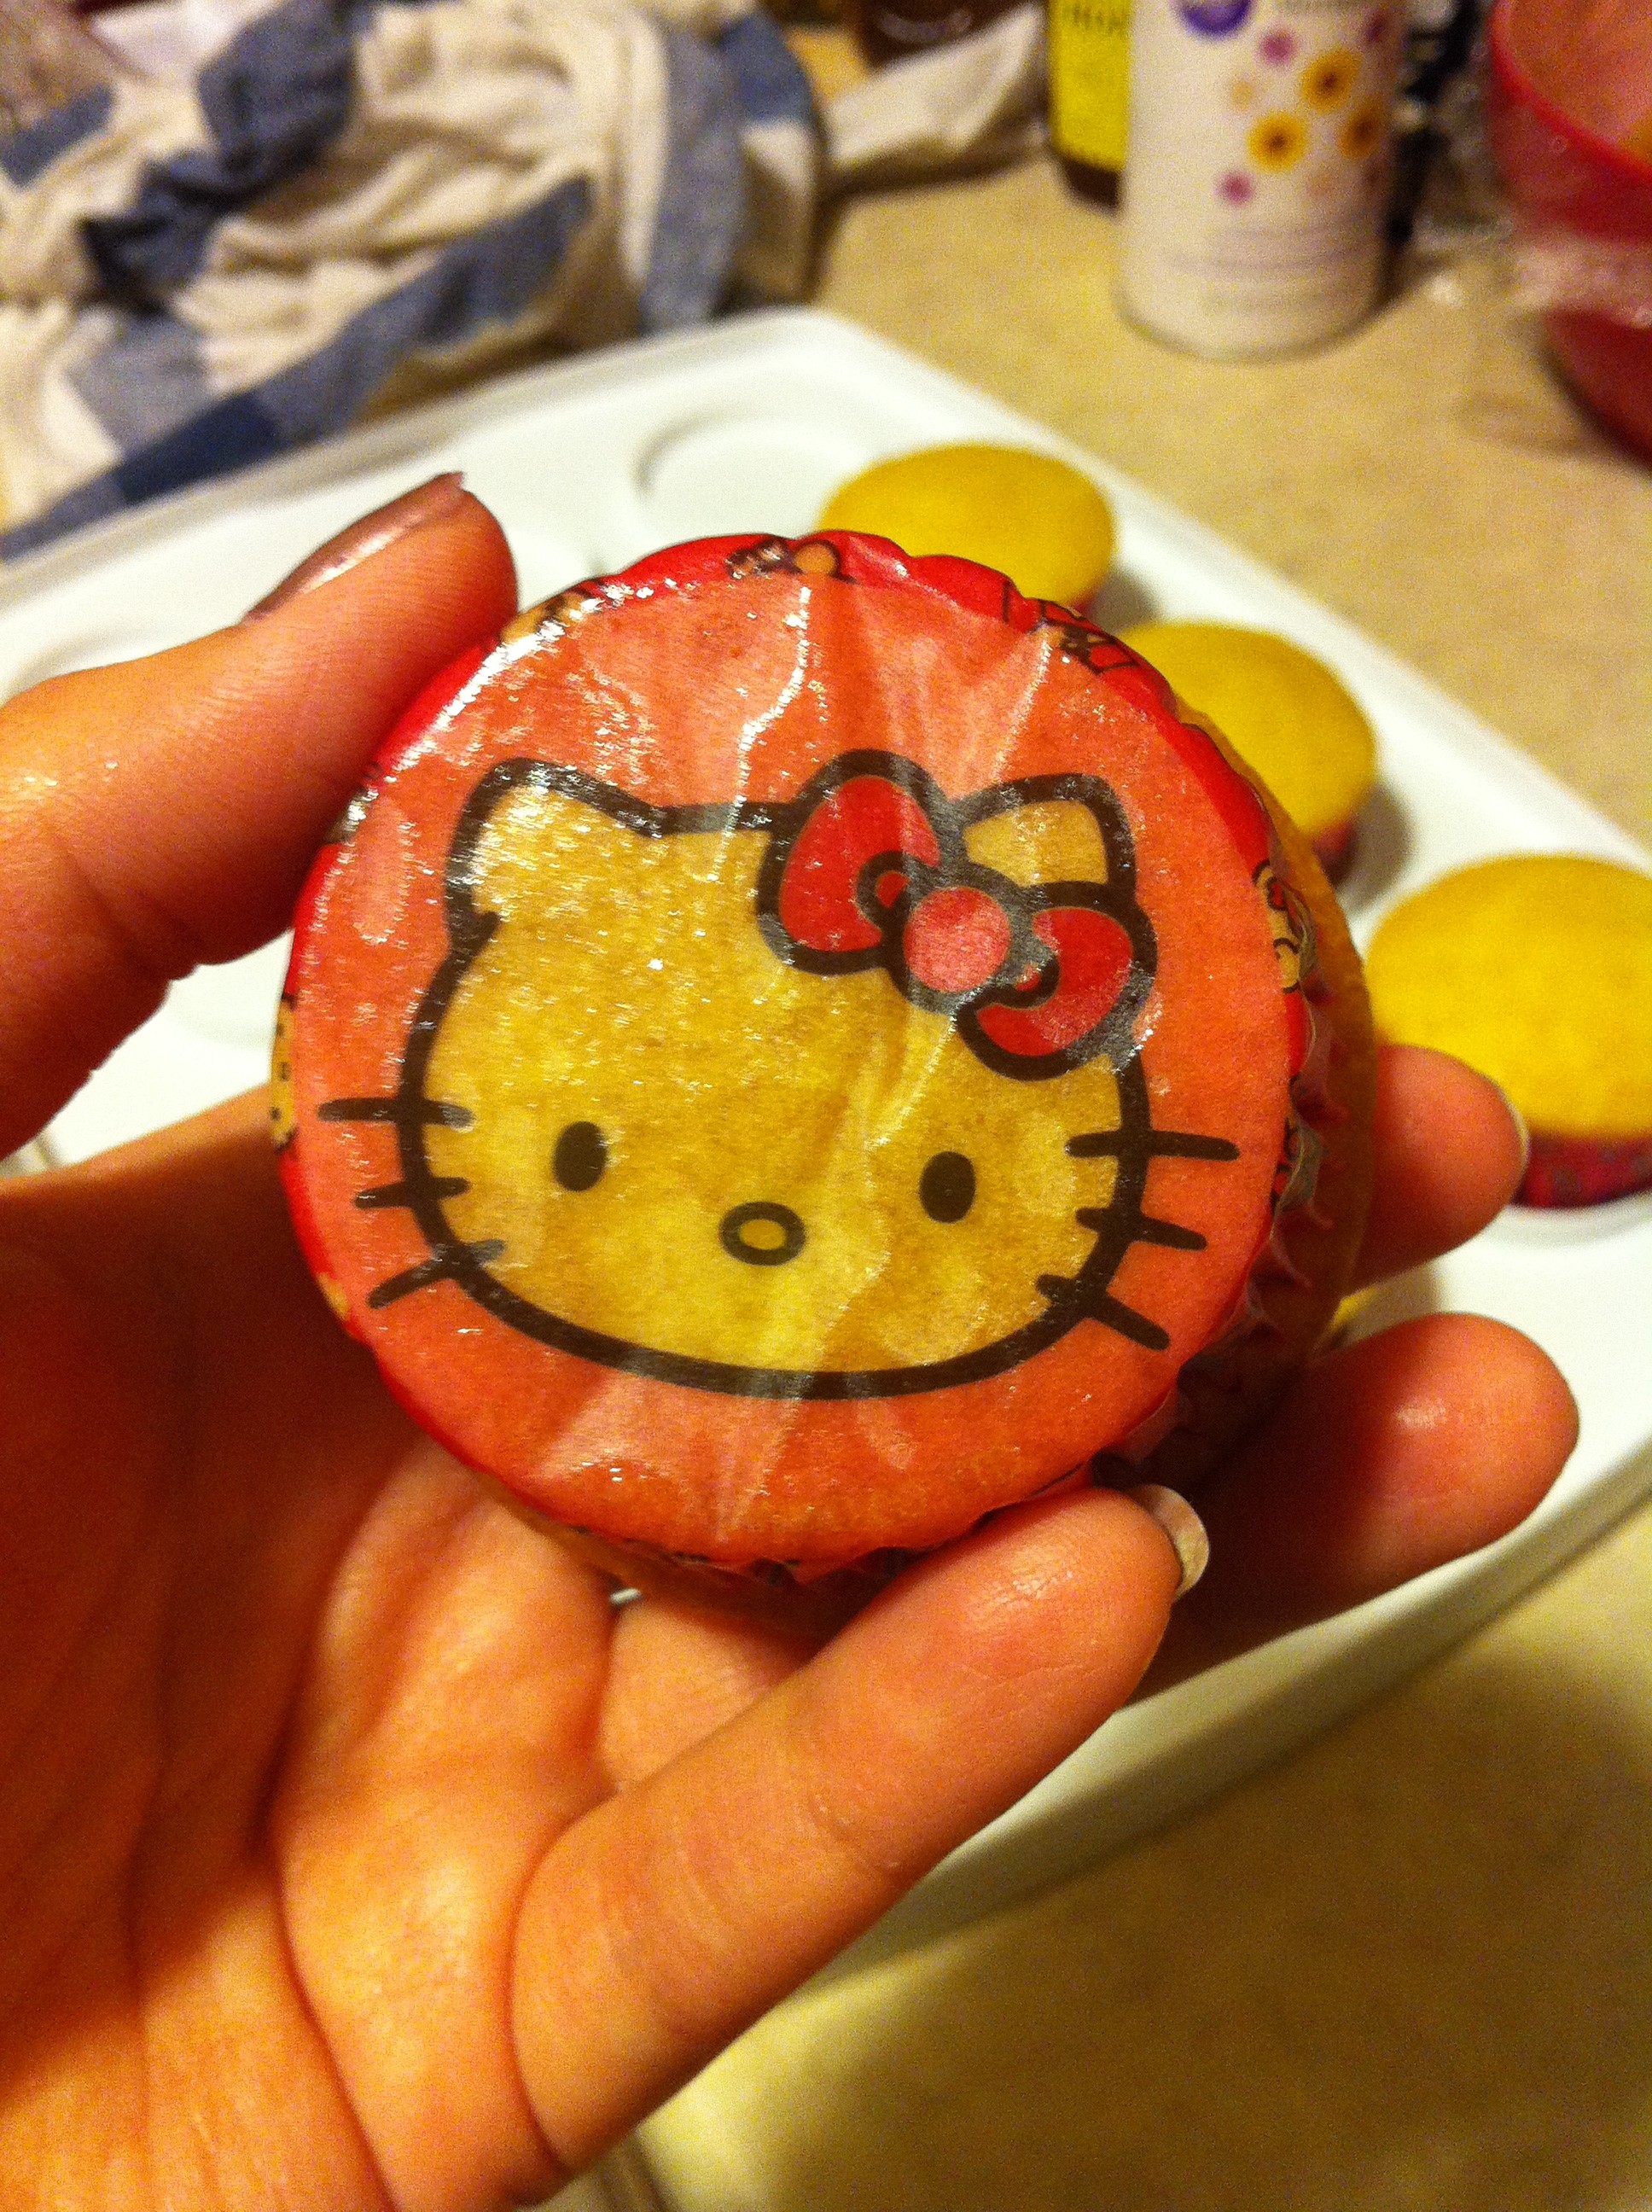
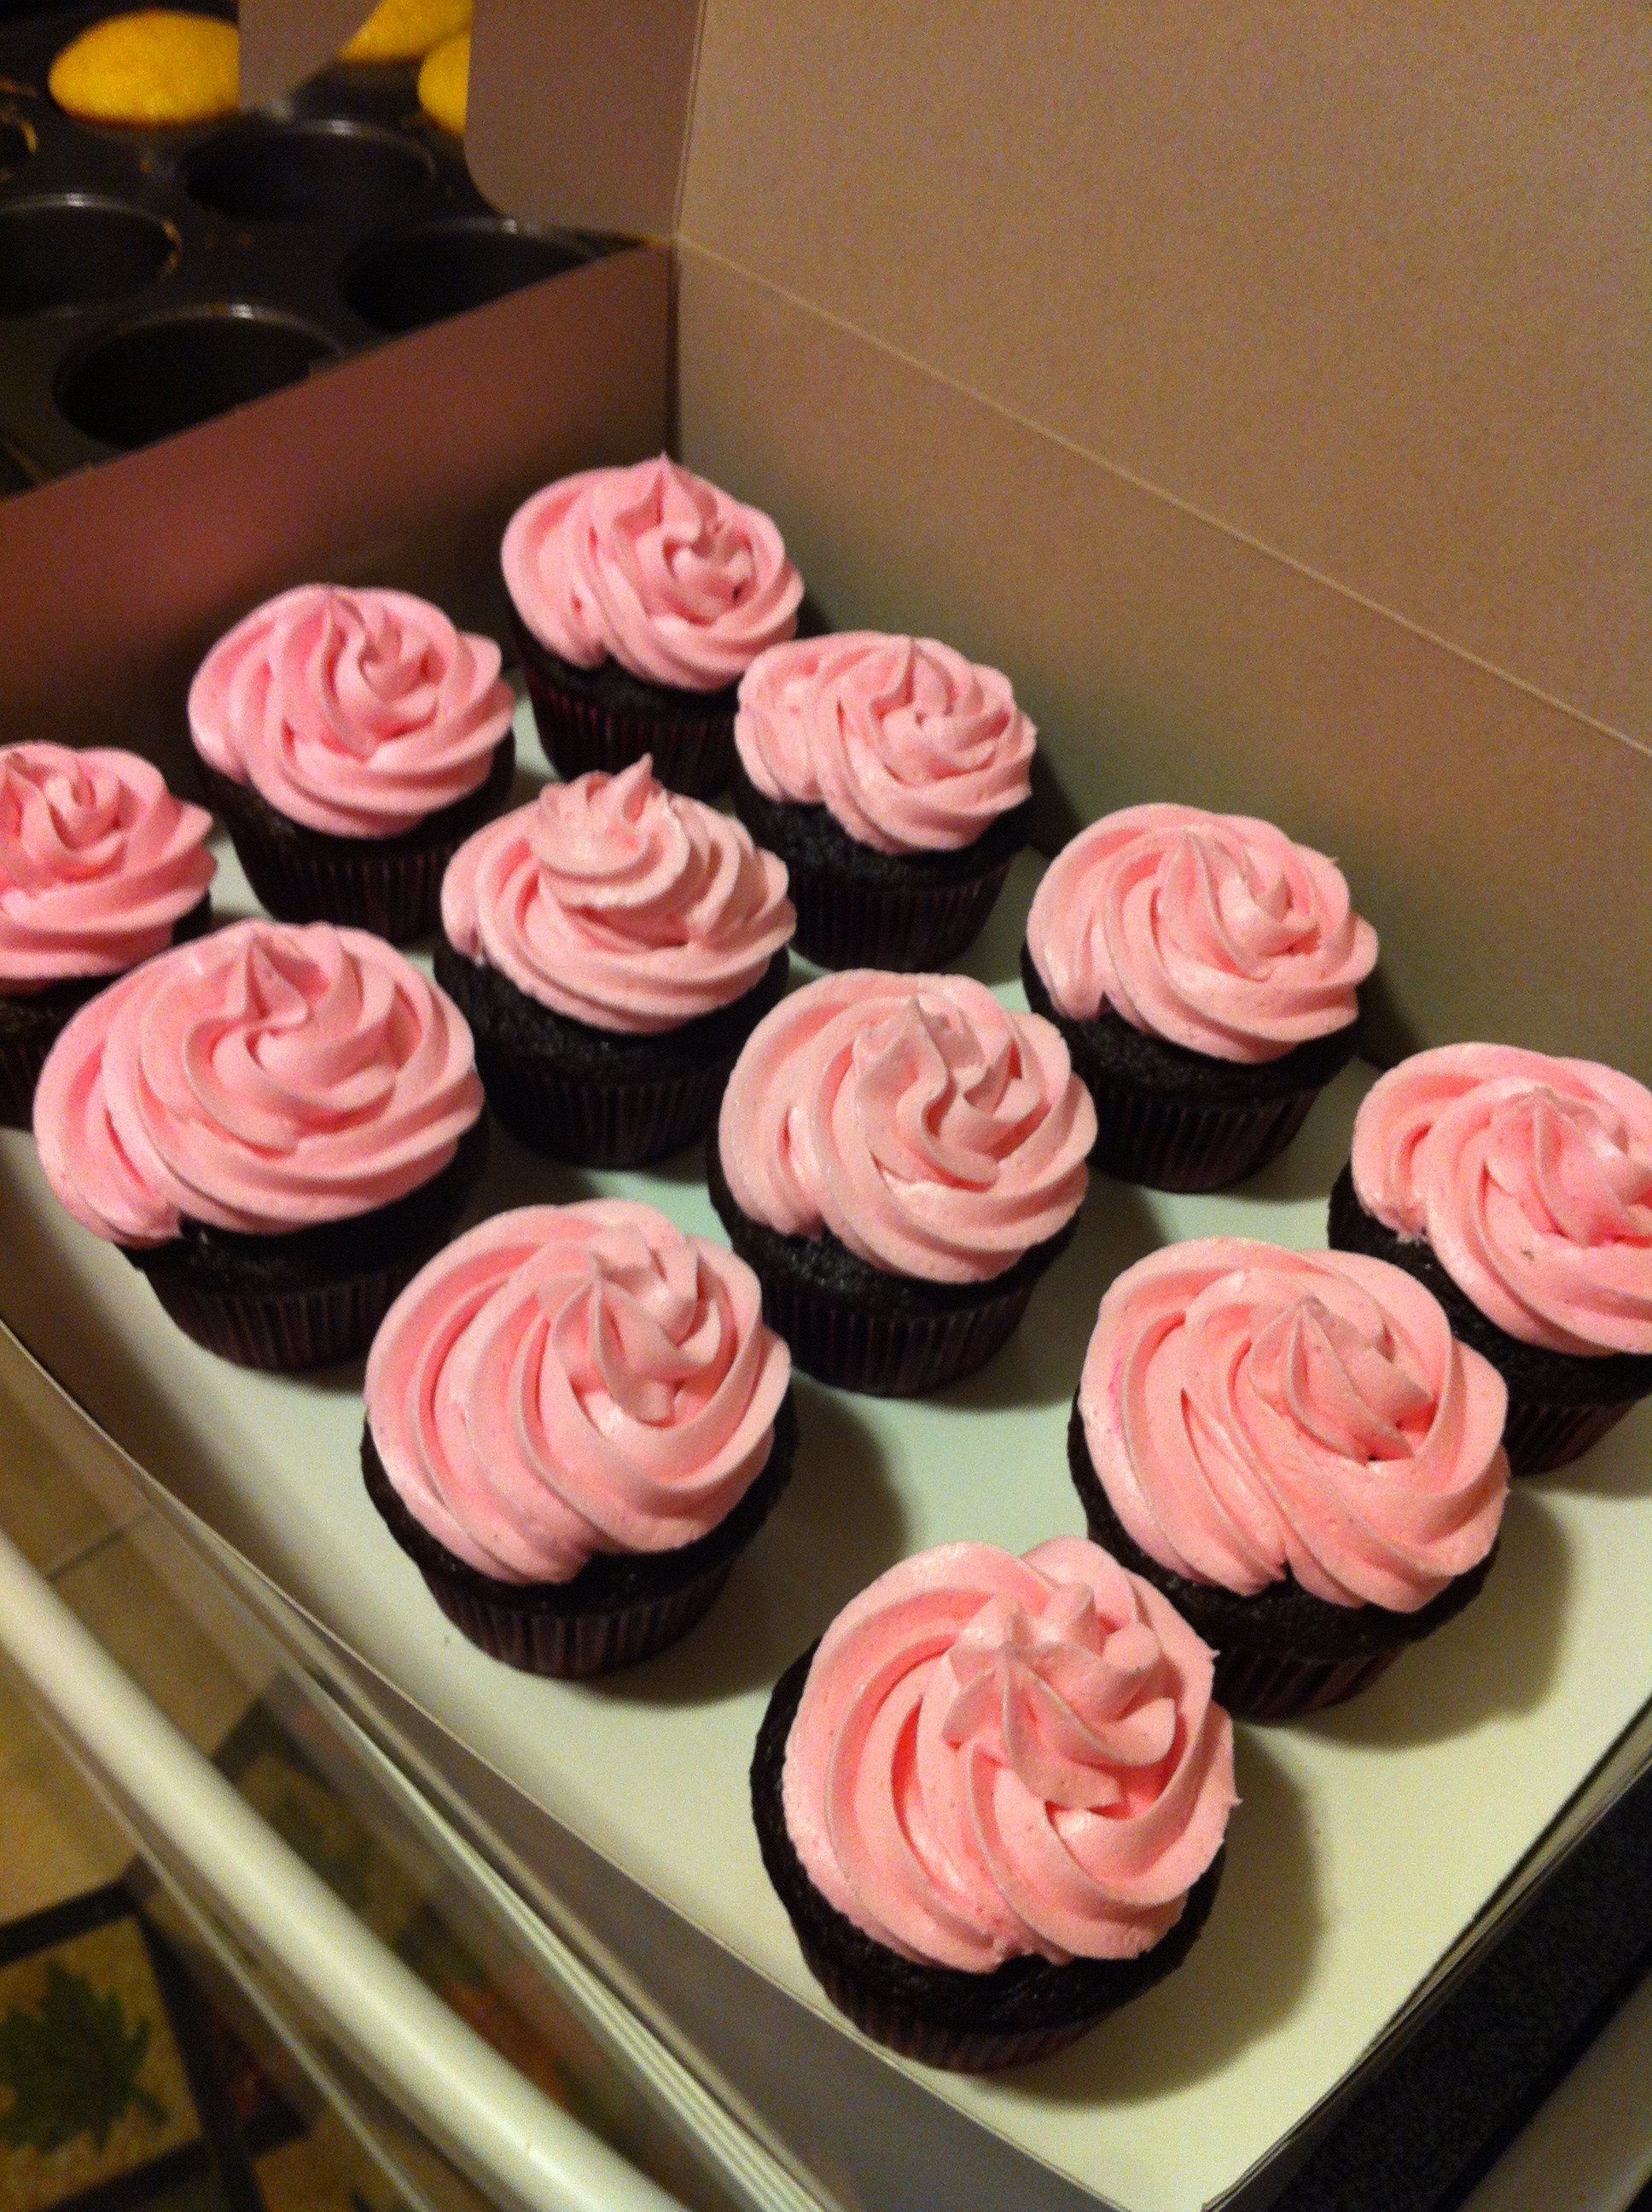
Since Ava is our little princess, a castle cake seemed to be the right answer. My girl loves pink too, obviously. Since there were going to be a whole bunch of people there, I went ahead and made some Hello Kitty cupcakes to go with it.
While I’m not the biggest fan of Wilton’s fondant (the taste, mostly), there were two Wilton products that I fell in LOVE with.
The first is one of their silicone fondant press molds (I used the global one). They’re super easy to use and make really beautiful impressions. All I did was loosely press a piece of fondant into the mold, then used a small plastic rolling pin to roll it flat into the mold. Once the excess fondant had been rolled out, I could just peel the pieces out of the mold and trim around the edges. Simple!
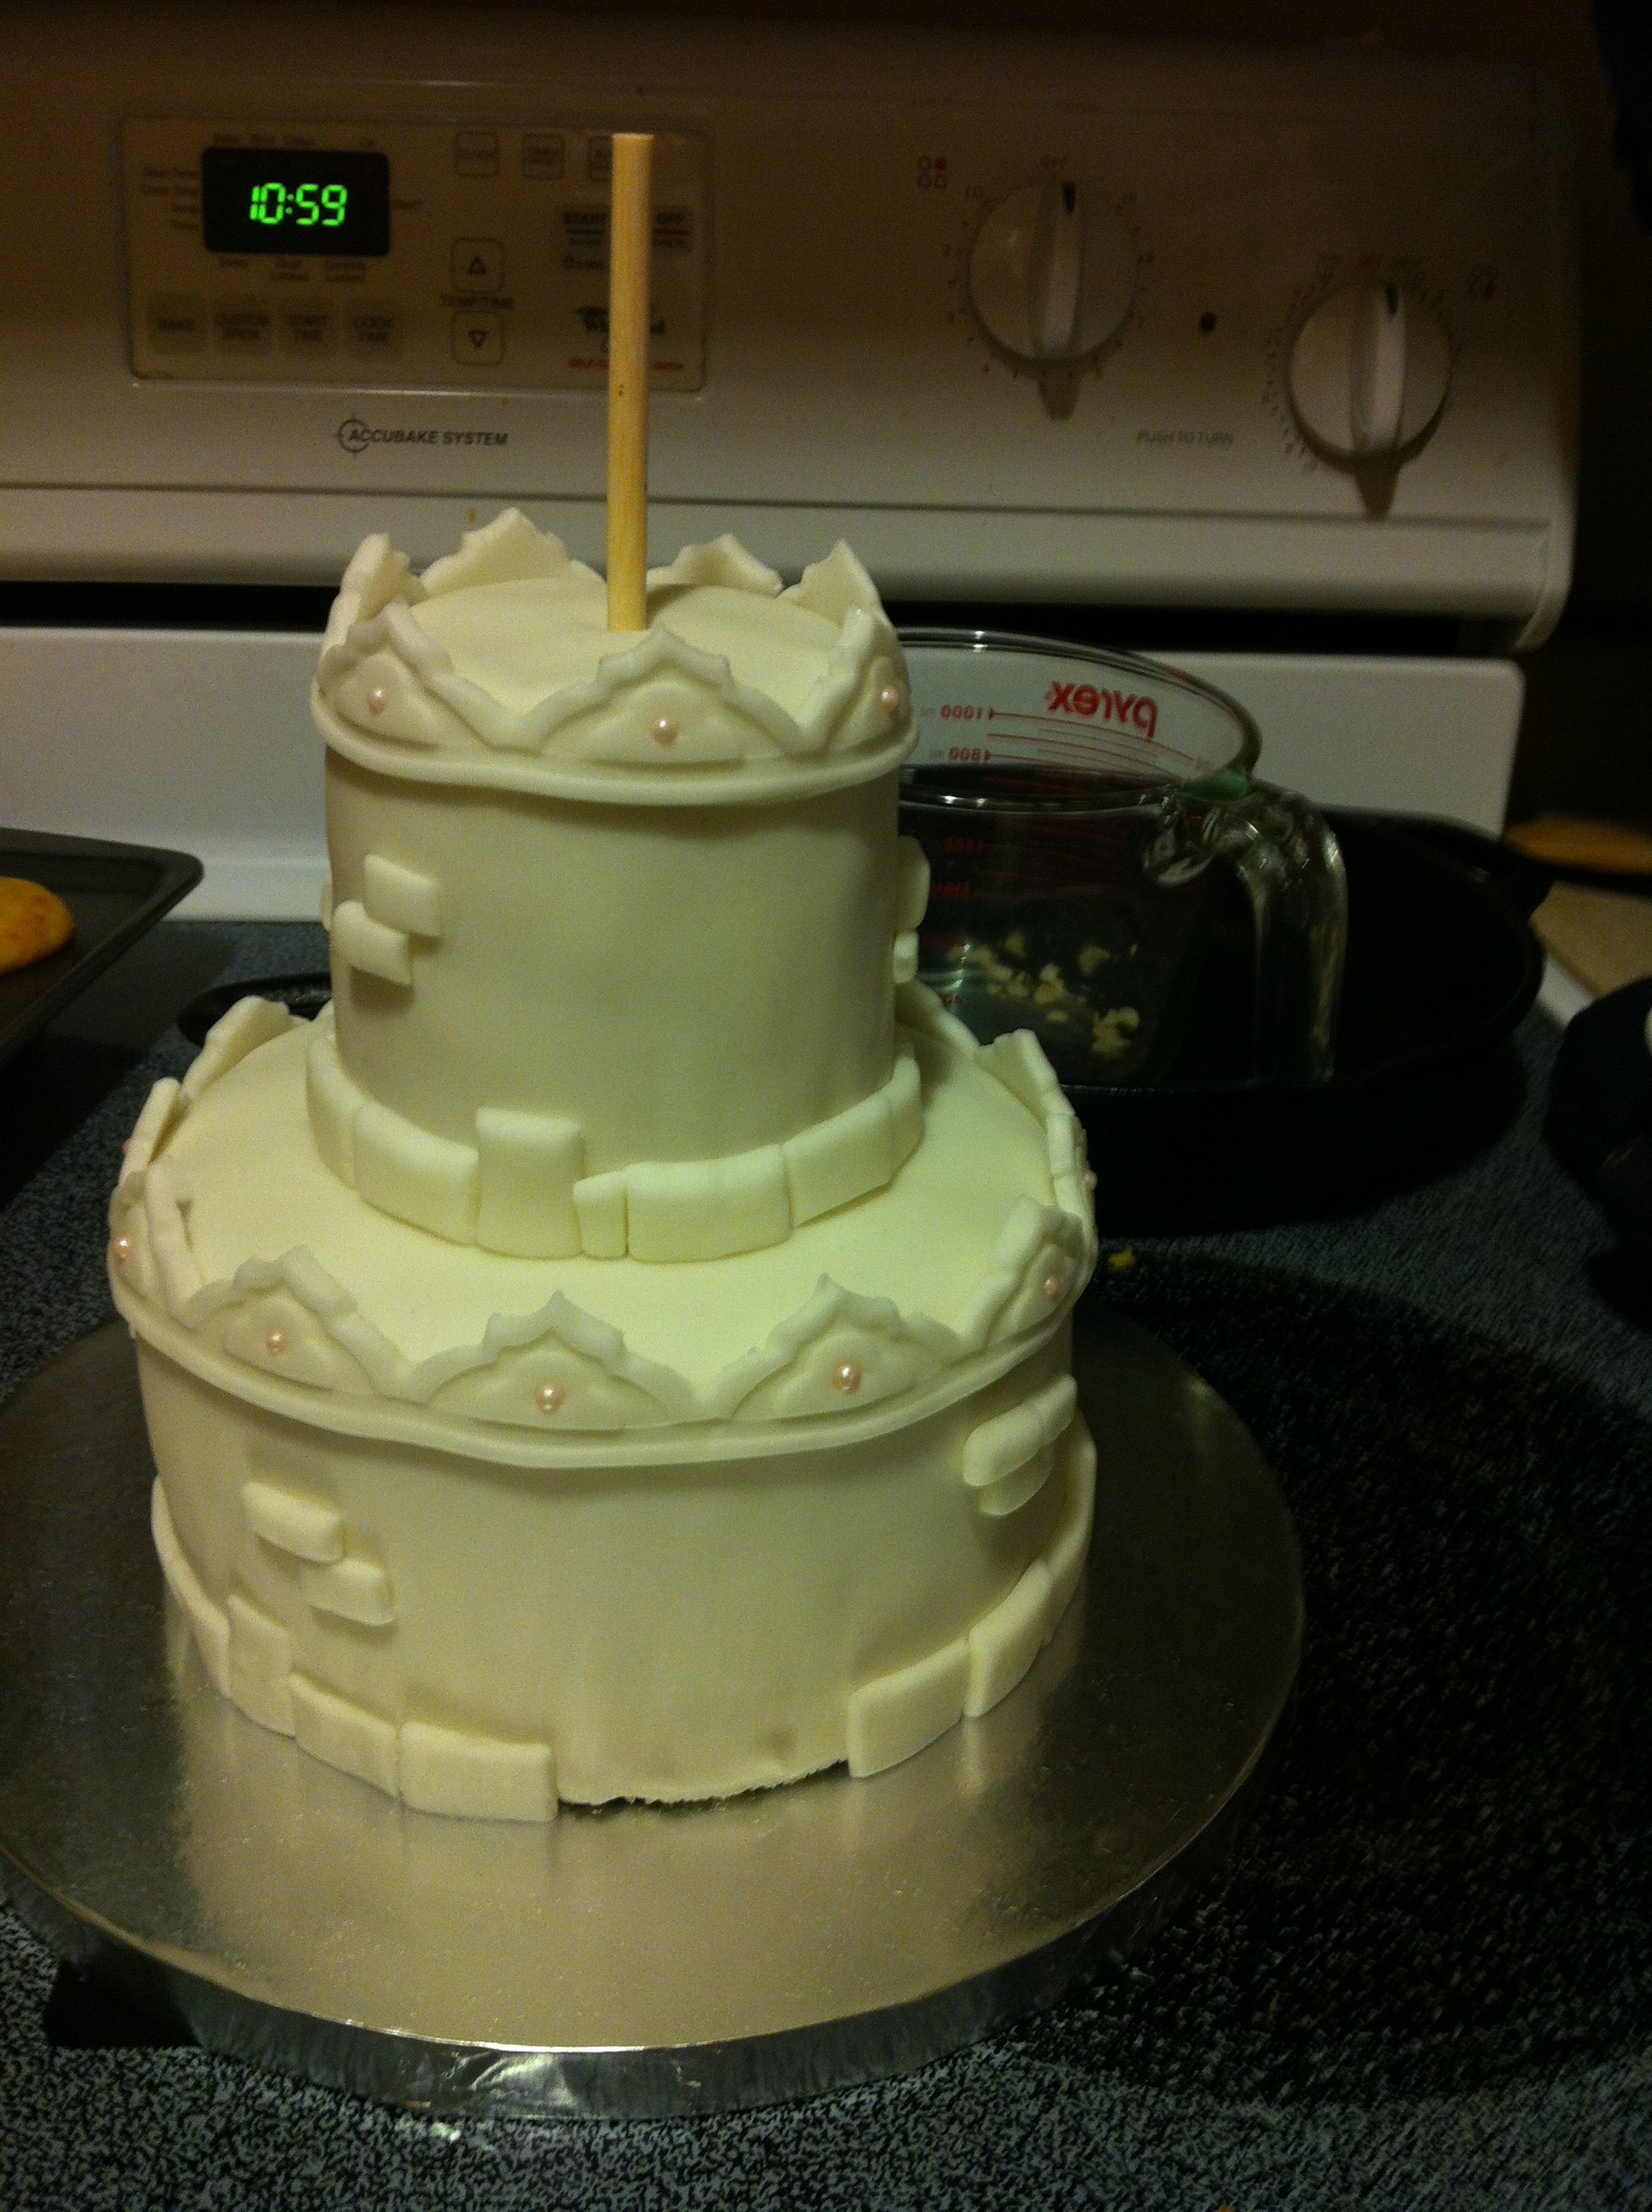
The basic castle shape. You can really see the details from the fondant mold.
The other are their sugar pearls. They come in a variety of soft colors (I got pink, of course). They were the perfect flower centers and accents to my fondant pieces. I just pressed them into the fondant while it was still soft, and they stuck perfectly. A word of caution. They are roly poly and will get away from you if you let them.
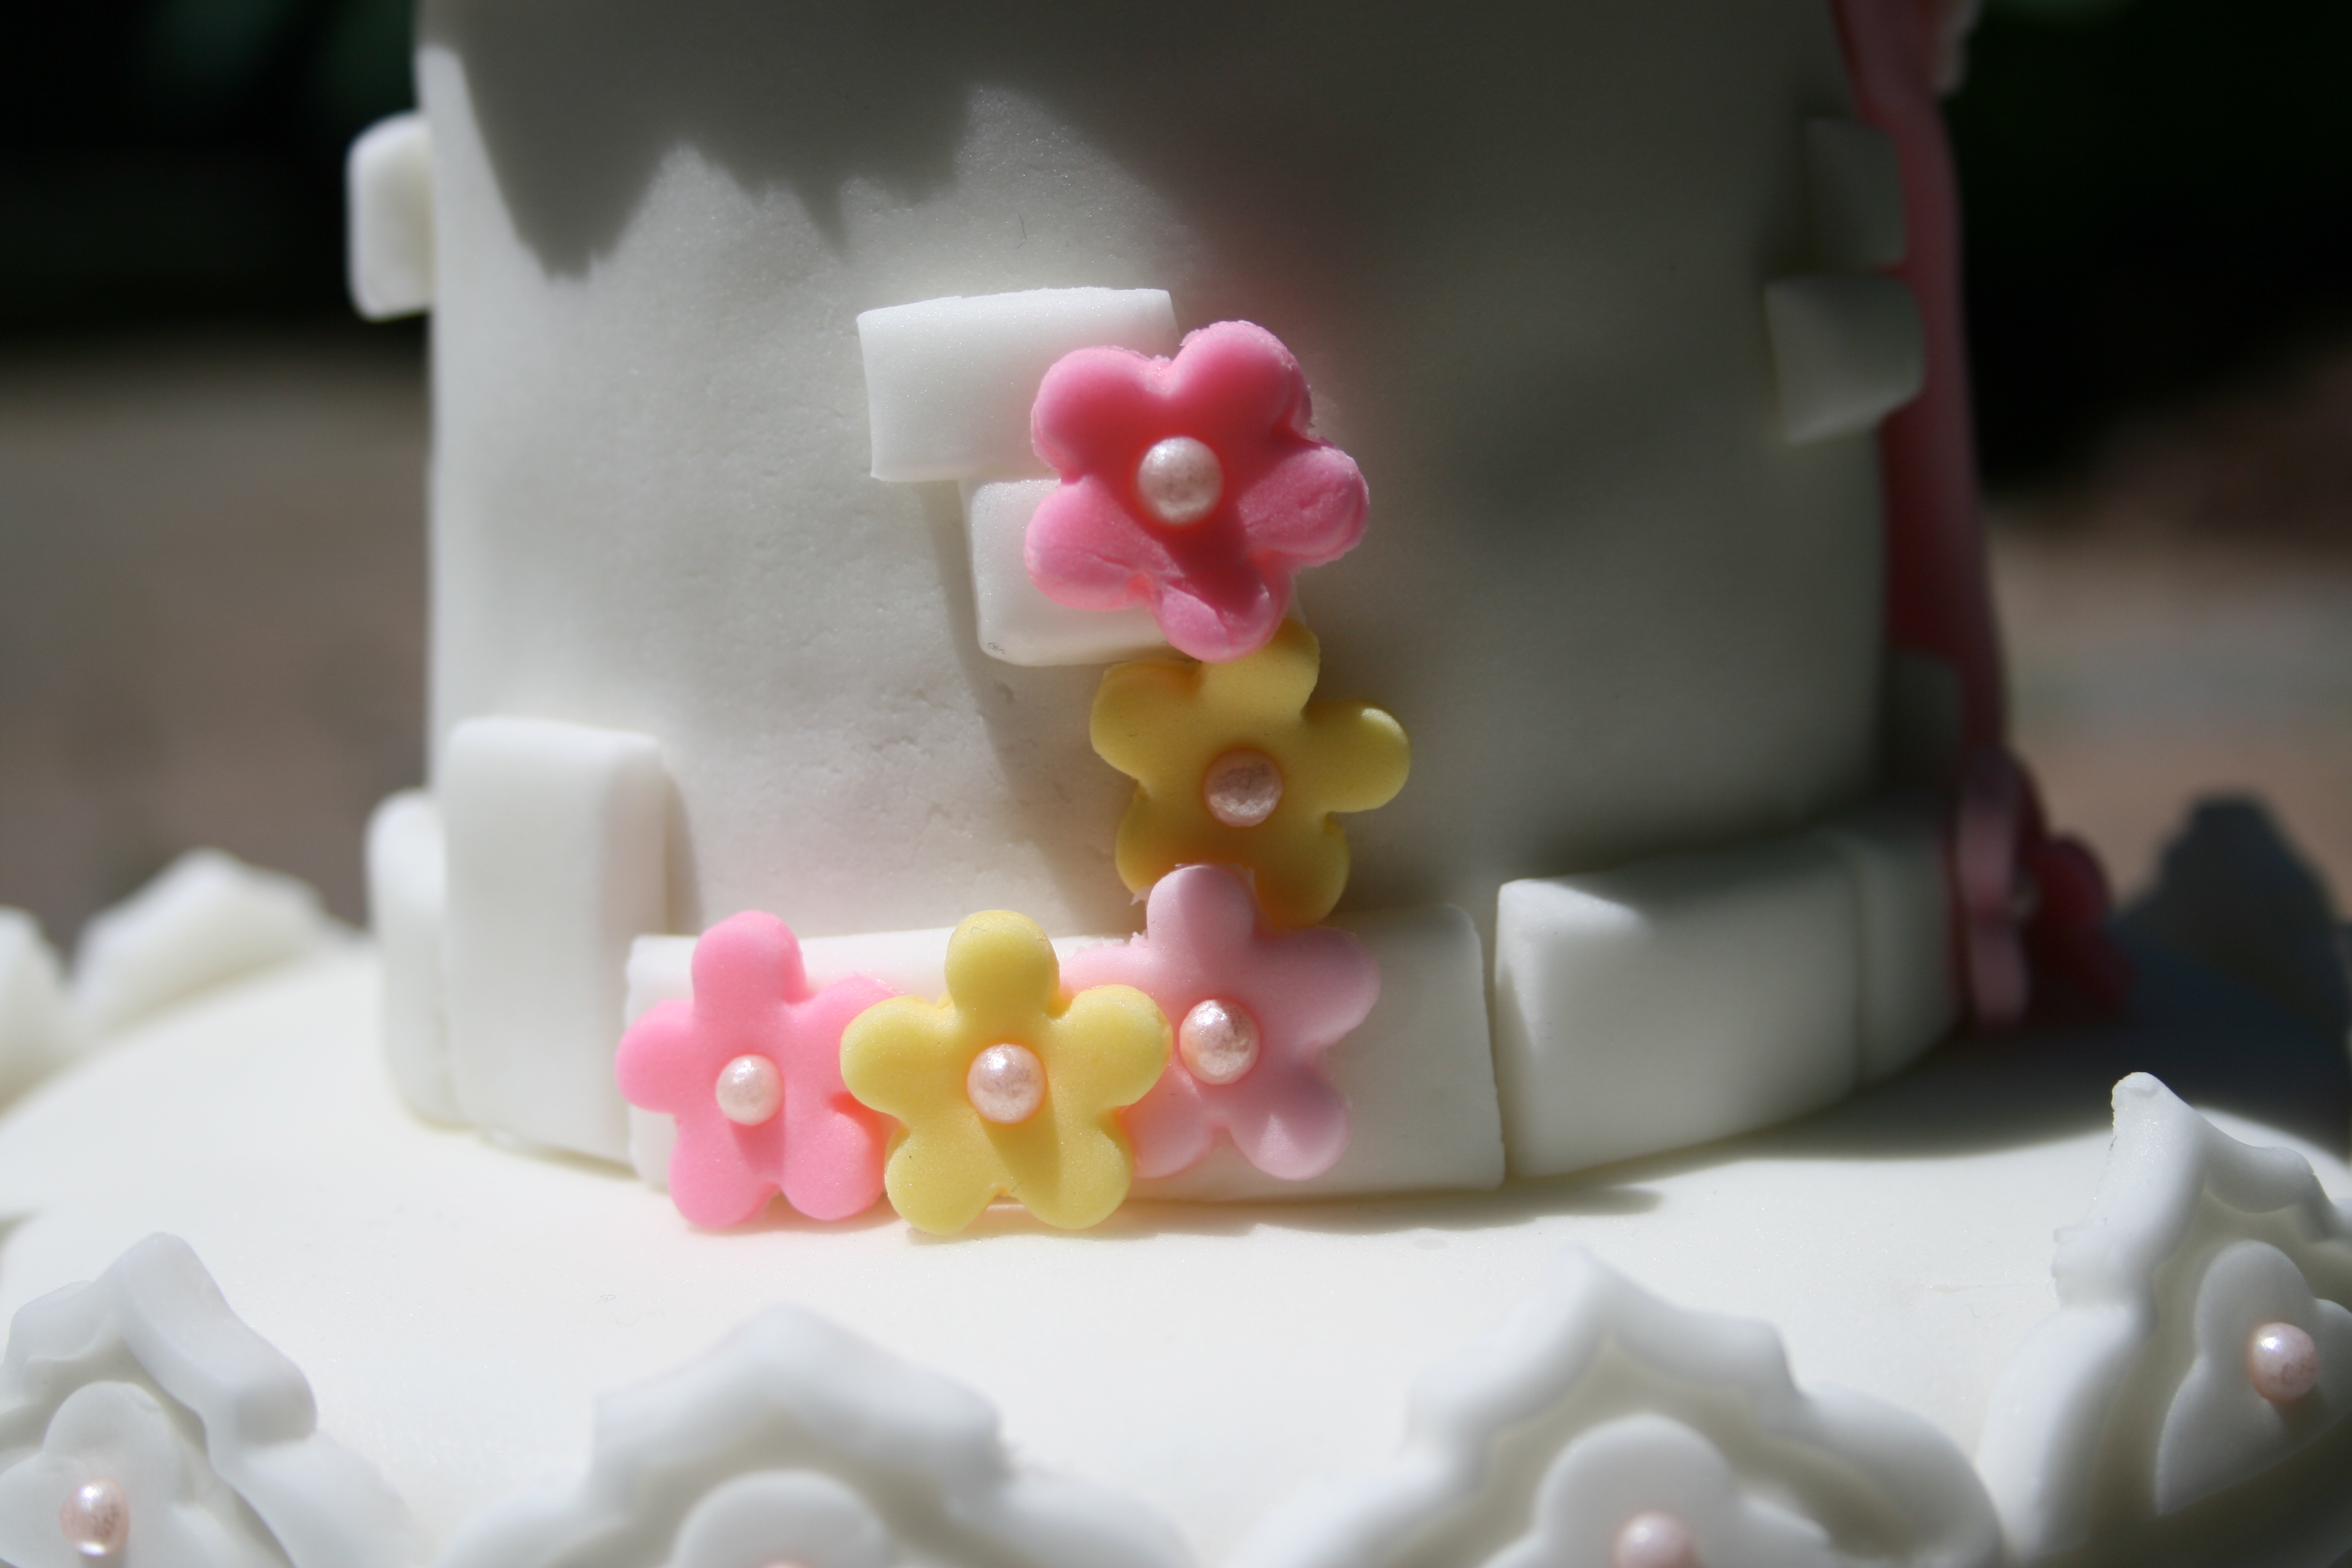
Perfect centers for flowers
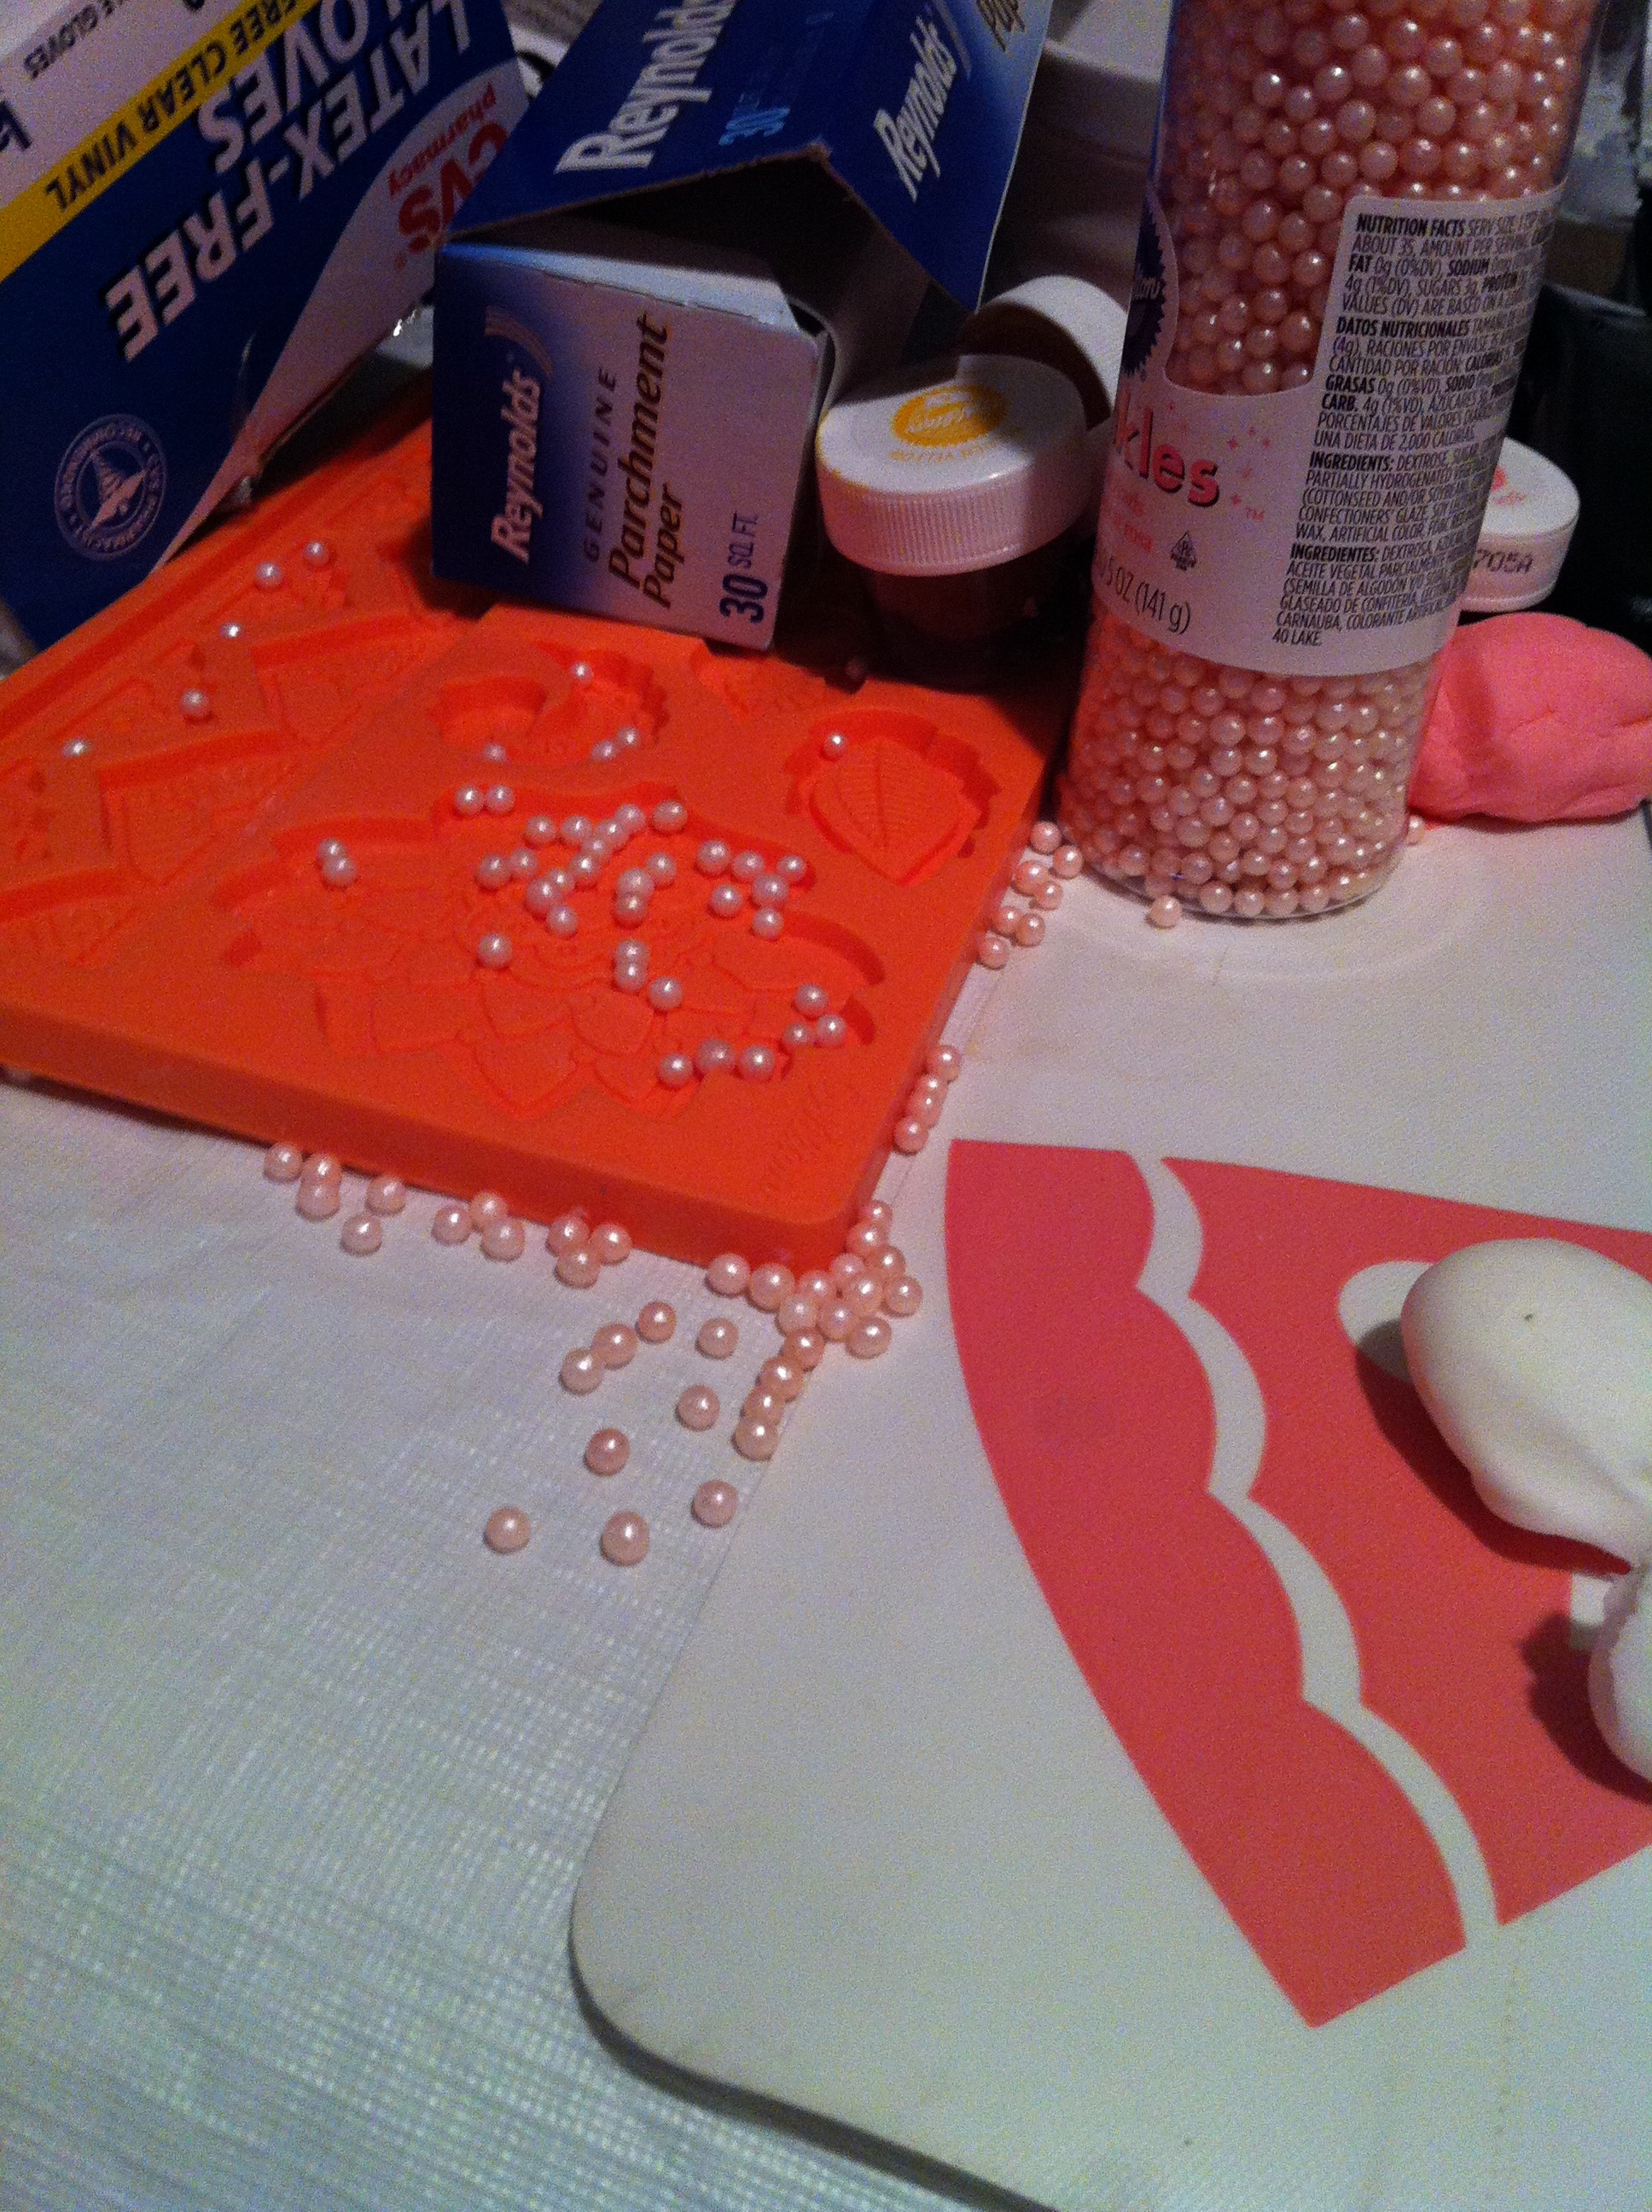
Sugar pearls….. everywhere.
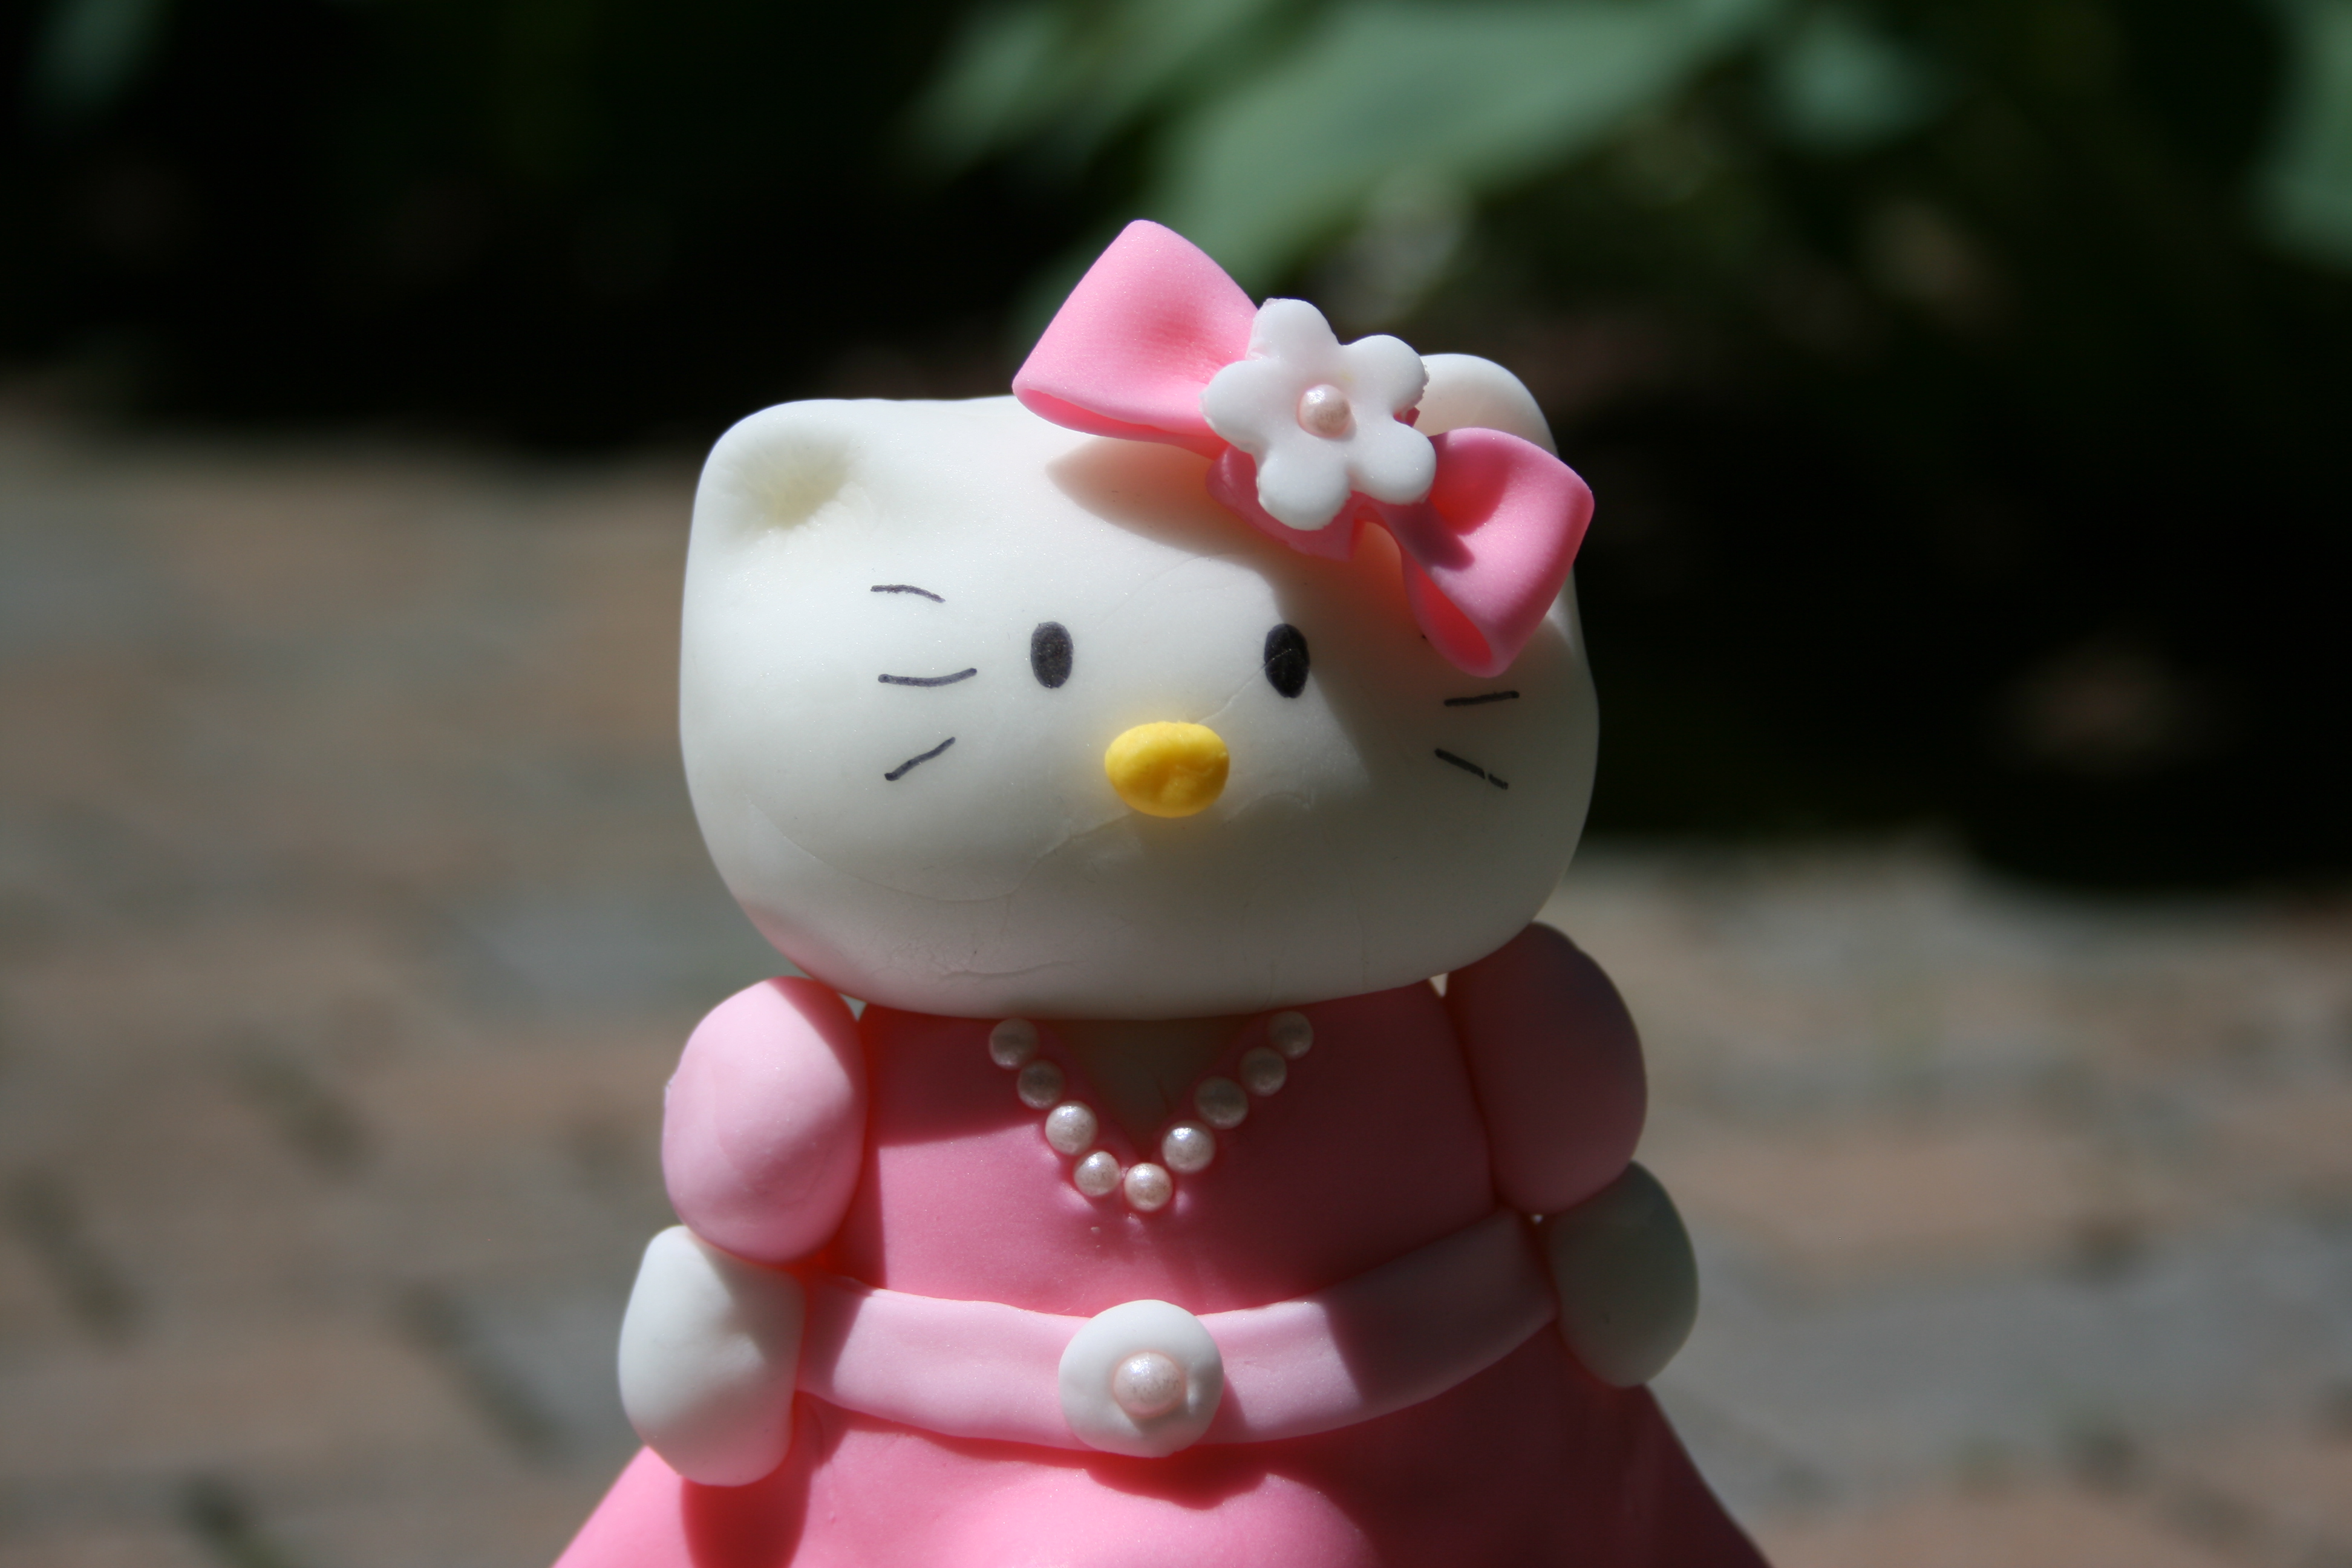
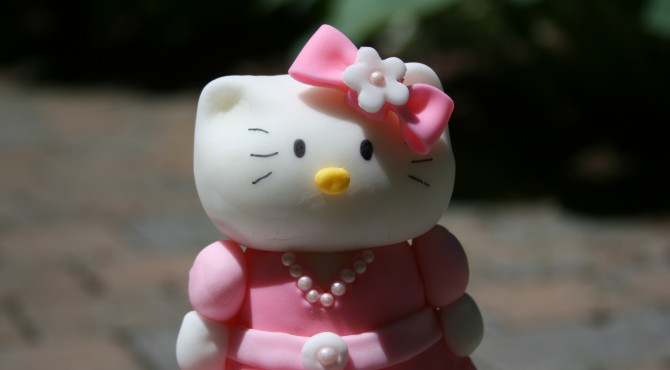
Kitty with a sugar pearl necklace.
In addition to the cake, because that’s never enough, I made a party dress for Ava.
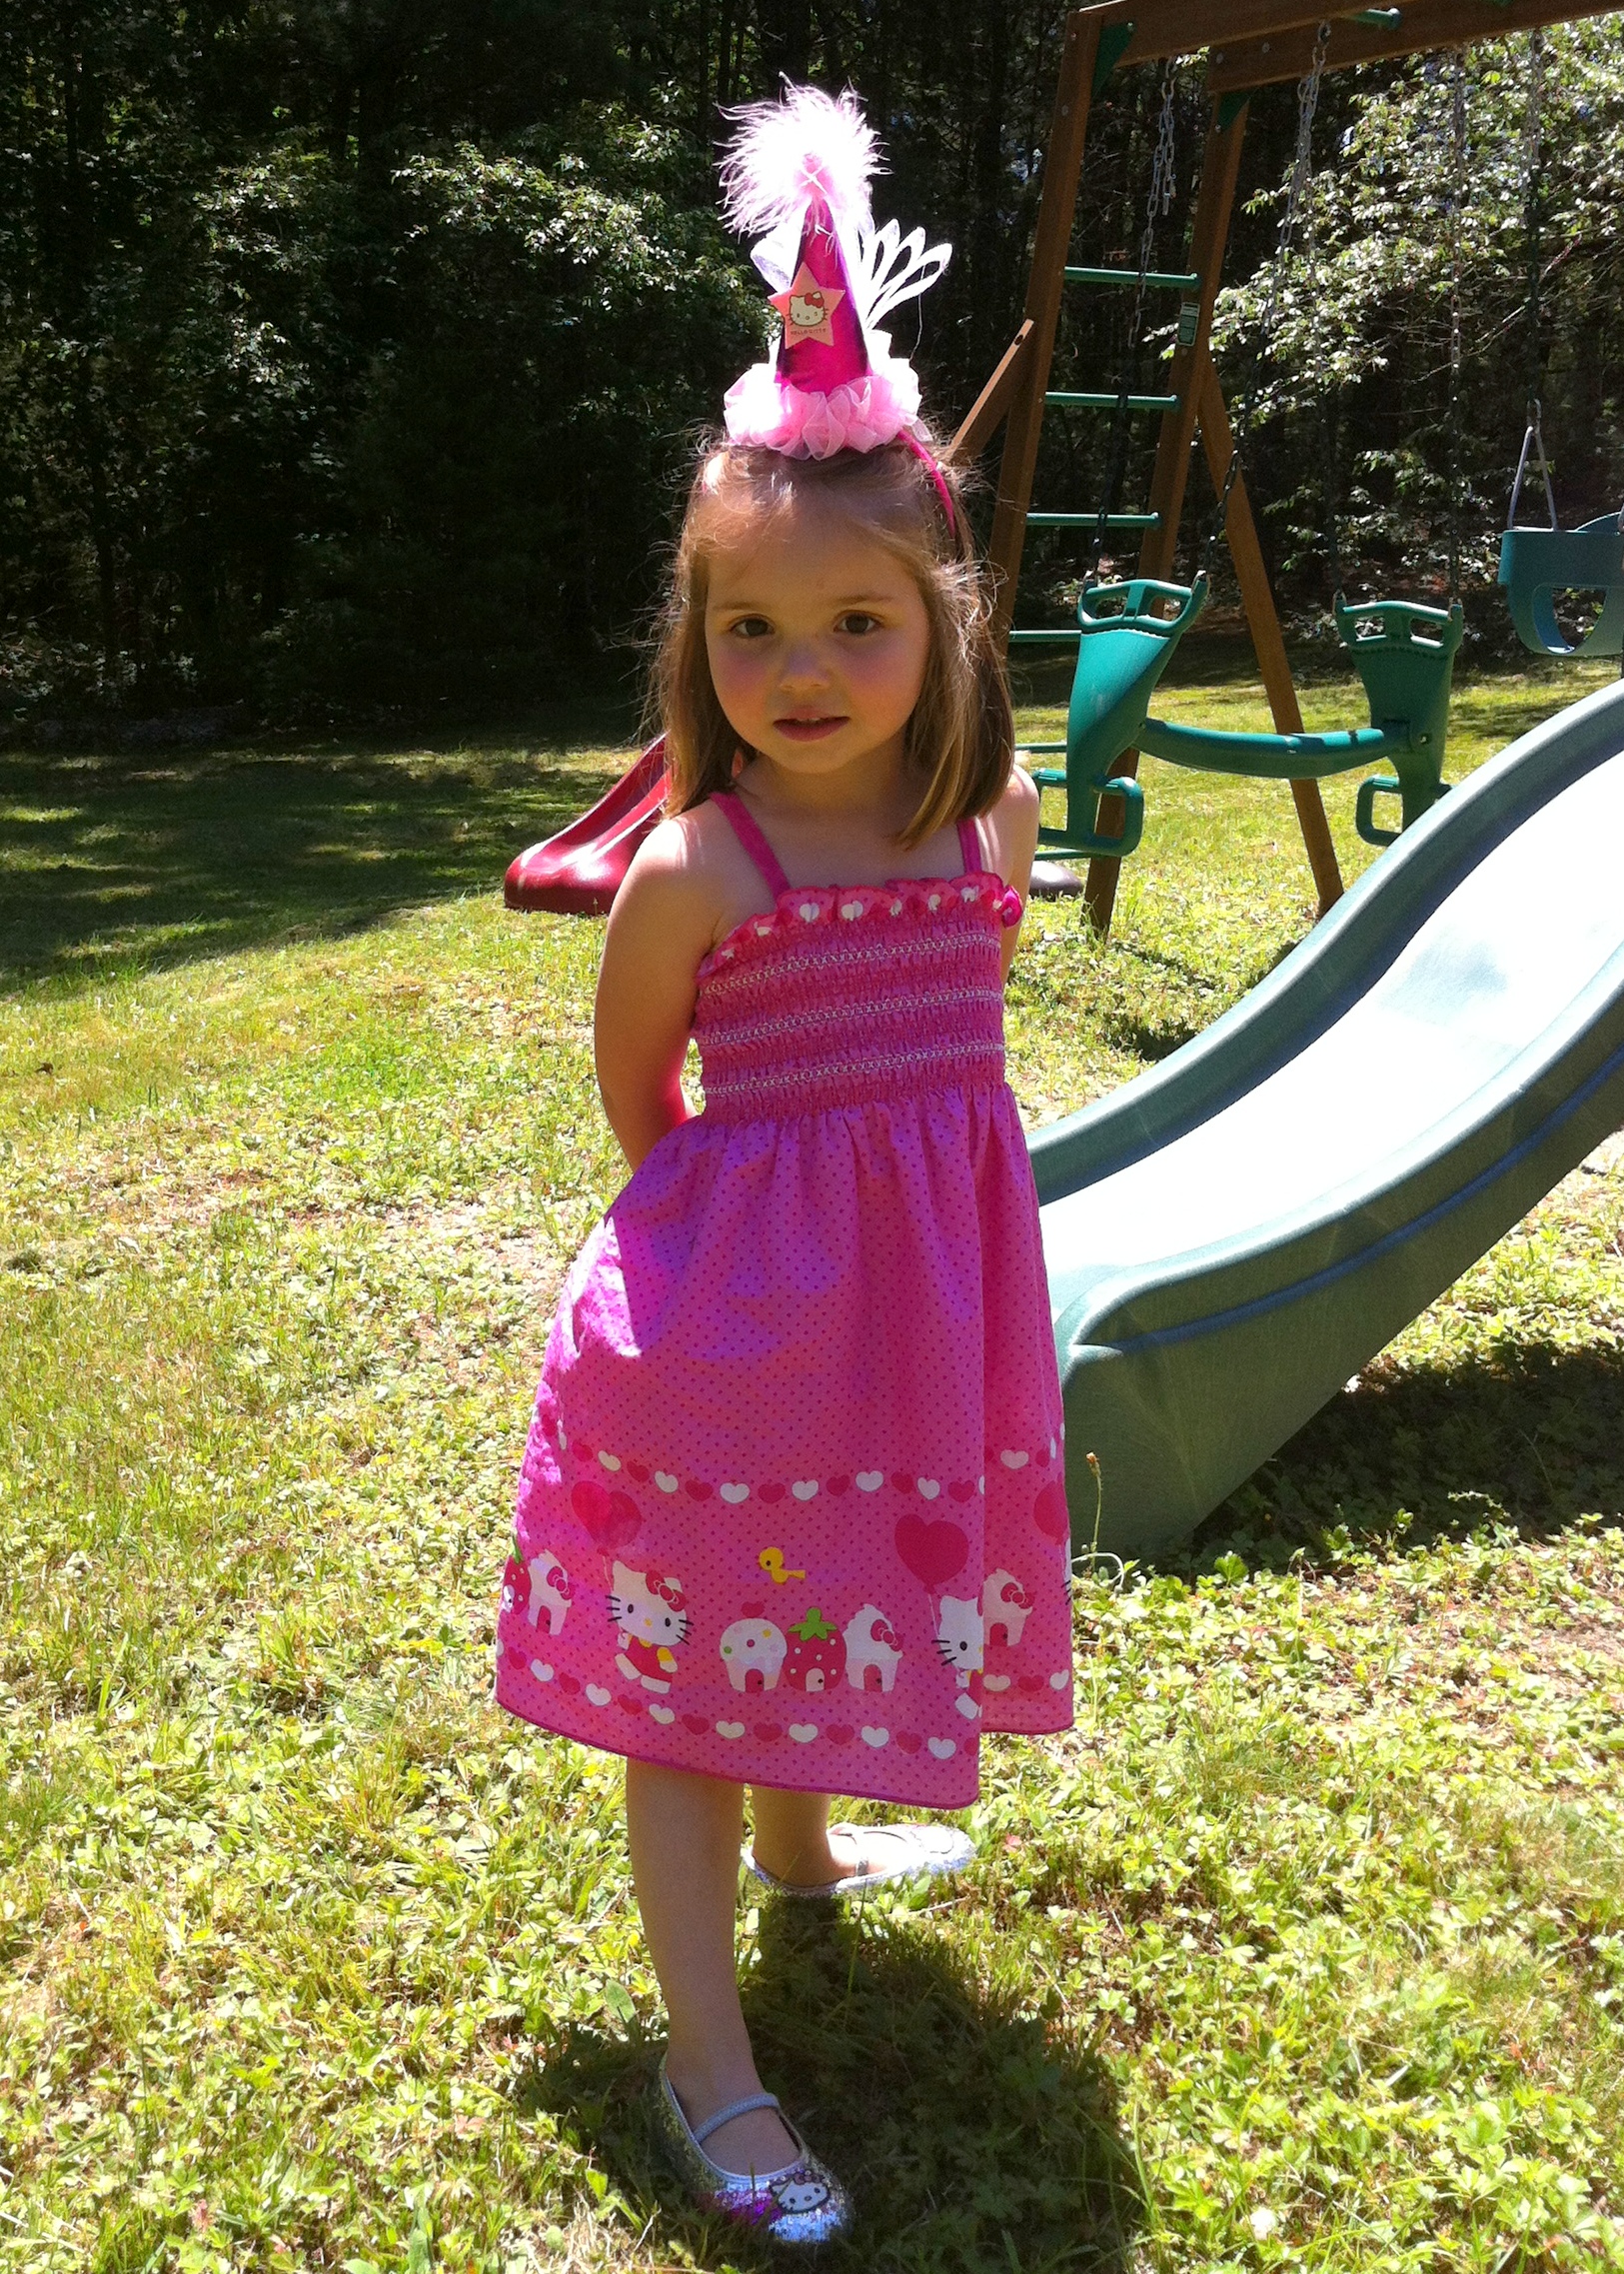
Pretty in pink.
It was my first time using the pre-smocked fabric. It was really super simple, but I don’t know that I’d do it again. It sort of feels like cheating. It’s really only one seam and sewing on the straps. It’s also fairly pricey, running around $0.50 an inch (I know that doesn’t sound like much, but it comes out to $18 a yard!) It did turn out pretty cute, though. Of course, the attitude sells it.
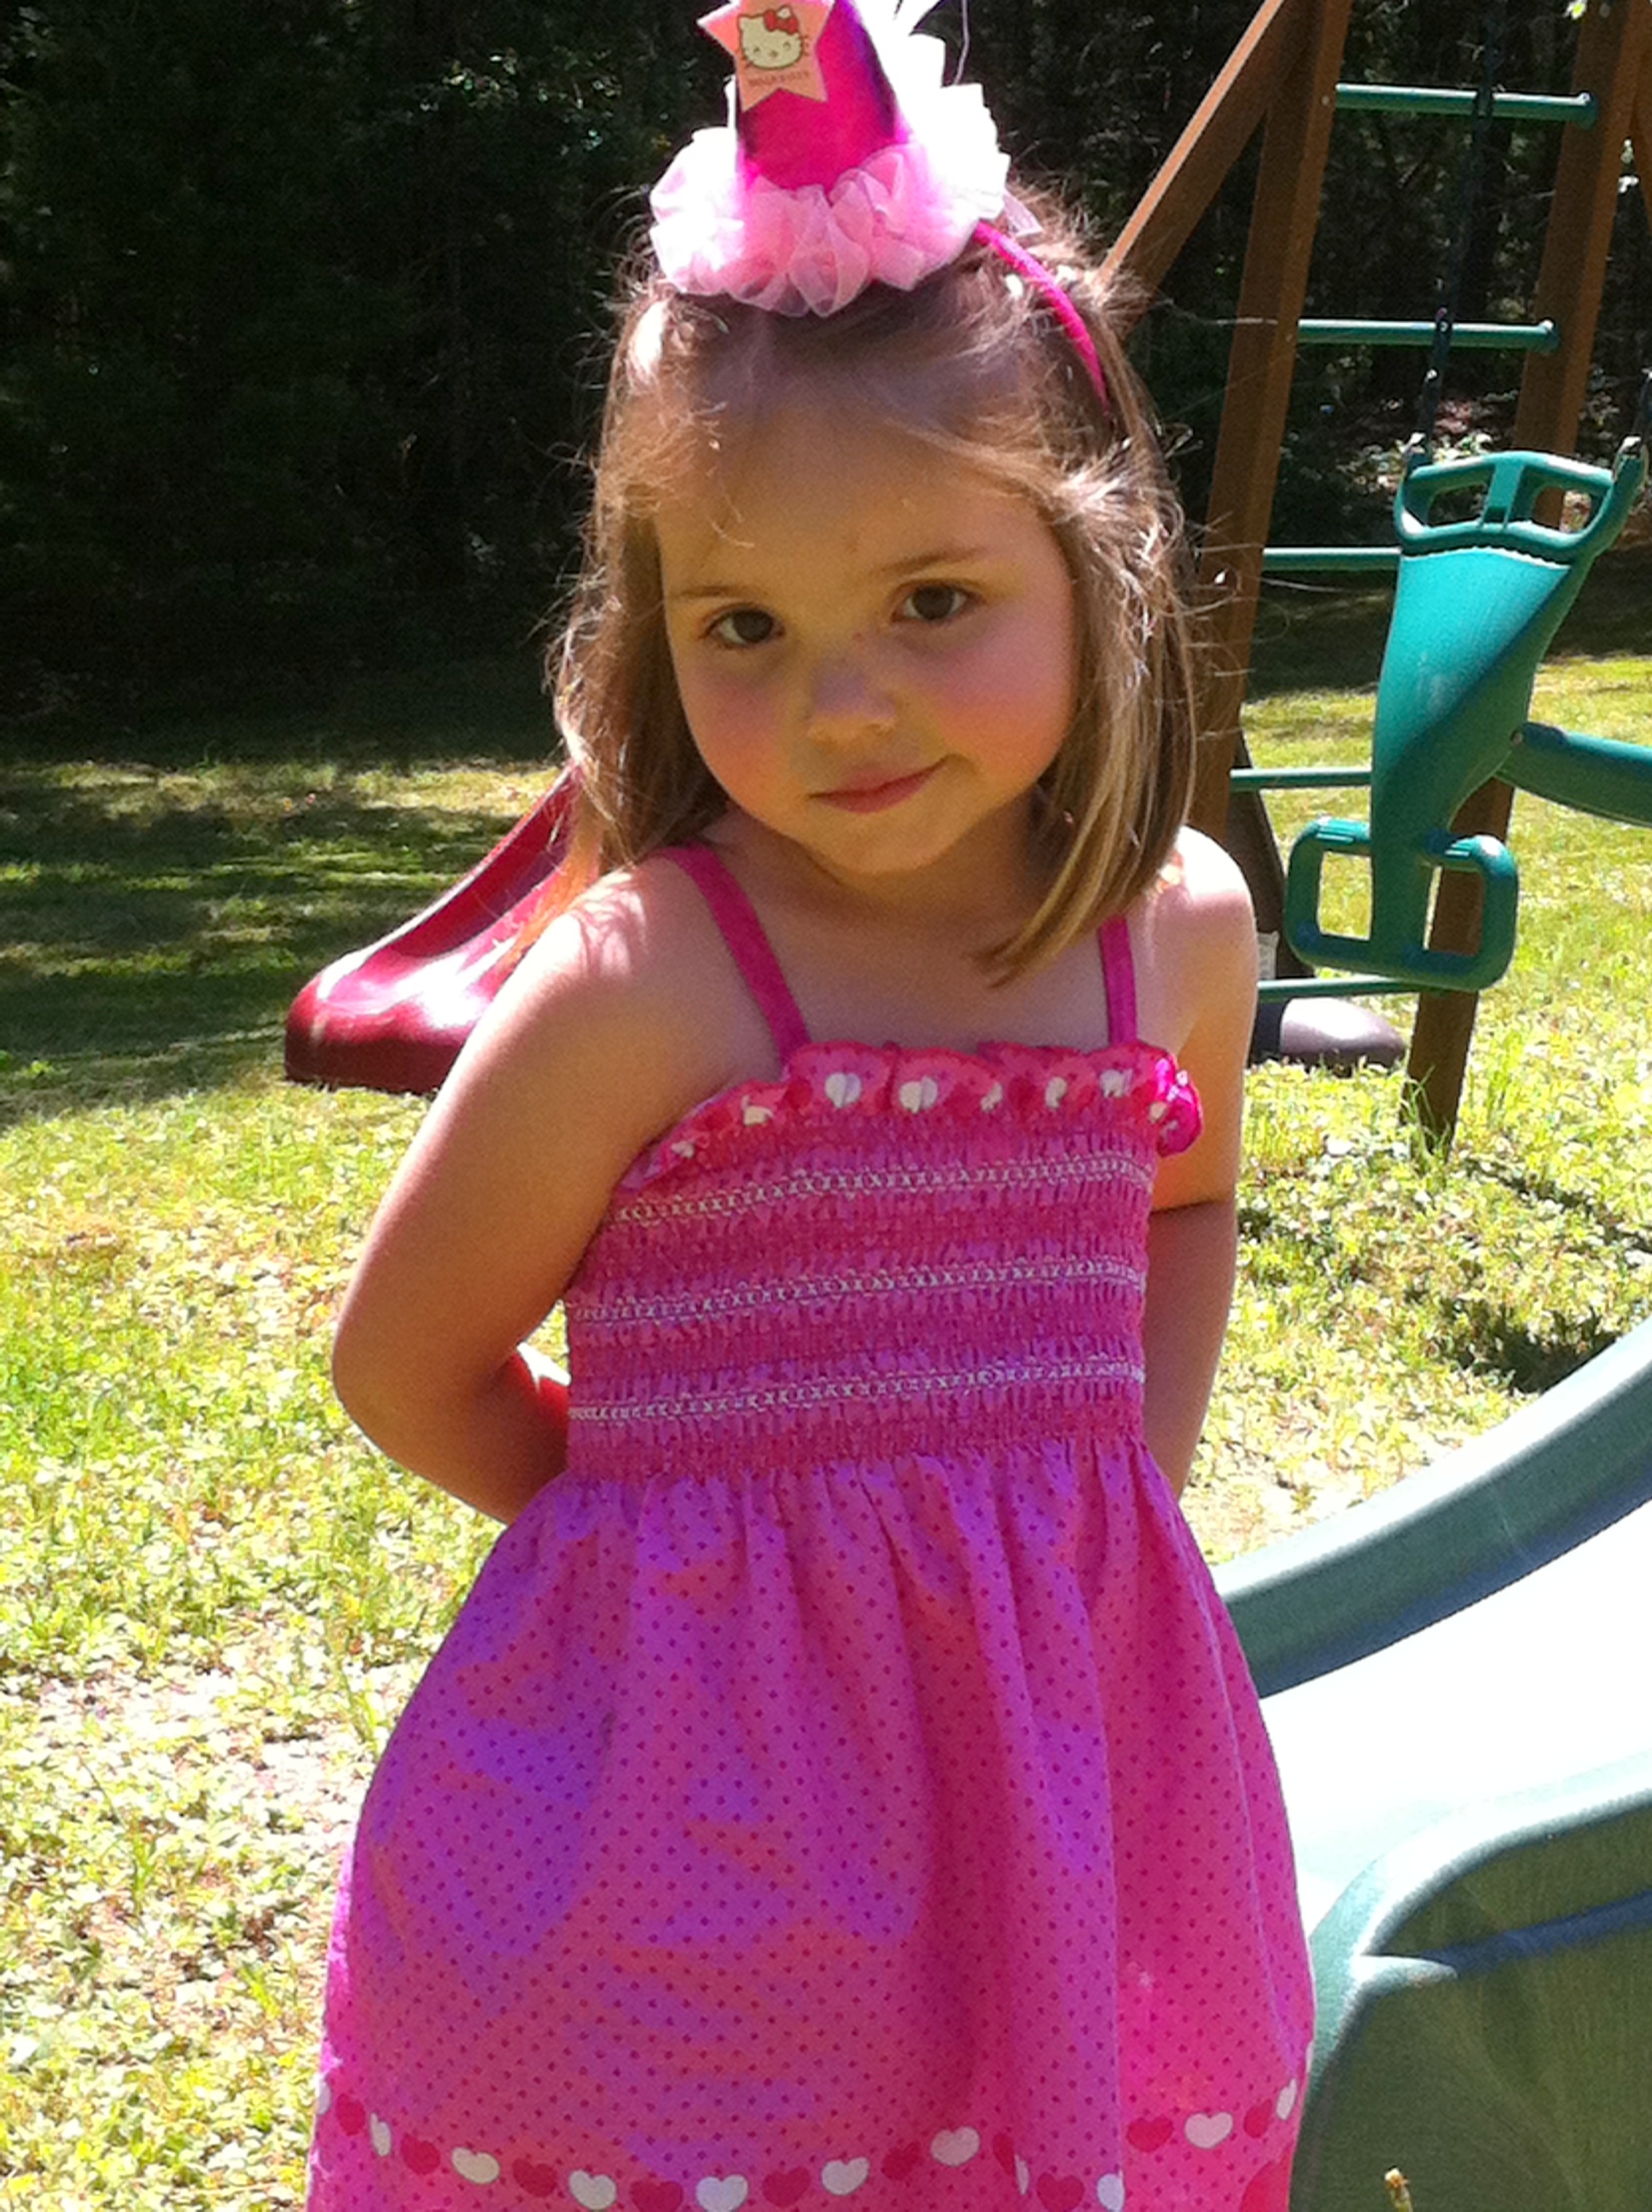
Attitude for days!
I love doing stuff for the kids’ birthdays. Any excuse for a celebration.


