Some people will tell you that cooking is art. Some say that it’s science. There are plenty of valid arguments for both sides.
Making marshmallows is freaking magic.
No, I’m serious here. It is one of the most delightful feats of alchemy turning sugar, water, and gelatin into light, fluffy marshmallows. It’s something that requires a little bit of know how and the proper tools, but really, what doesn’t require those things.
Telling people that I’ve made marshmallows is invariably met with a level of incredulity that none of my other endeavors face. I’ve made a name for myself as someone who can do anything. I’ll chalk this up to my vastly varied interests and eclectic skill set. Somehow, though, these same people who tell me that I can do anything are the same ones who say “You can’t make marshmallows”. As if somehow to imply that these confections simply appear from some other dimension to make gooey s’mores or melt in our hot chocolate.
Not that the truth is much less miraculous.
So, let’s start at the beginning. There are five basic ingredients to a marshmallow: gelatin, water, sugar, corn syrup, and flavoring. Simple enough and readily available. The real secret lies in how you put them together.
Vanilla Marshmallows
Ingredients:
- 3 (1/4-ounce) packages unflavored gelatin
- 1/2 cup cold water
- 2 cups granulated sugar
- 2/3 cup light corn syrup
- 1 teaspoon pure vanilla extract
- Prepare a 9″x9″ baking pan with cooking spray and plastic wrap (more about this in a bit)
- Bloom the gelatin: Place the 1/2 cup of cold water in the bowl of a stand mixer fitted with a whisk attachment. Sprinkle the unflavored gelatin over the water. Let stand for 10 minutes.
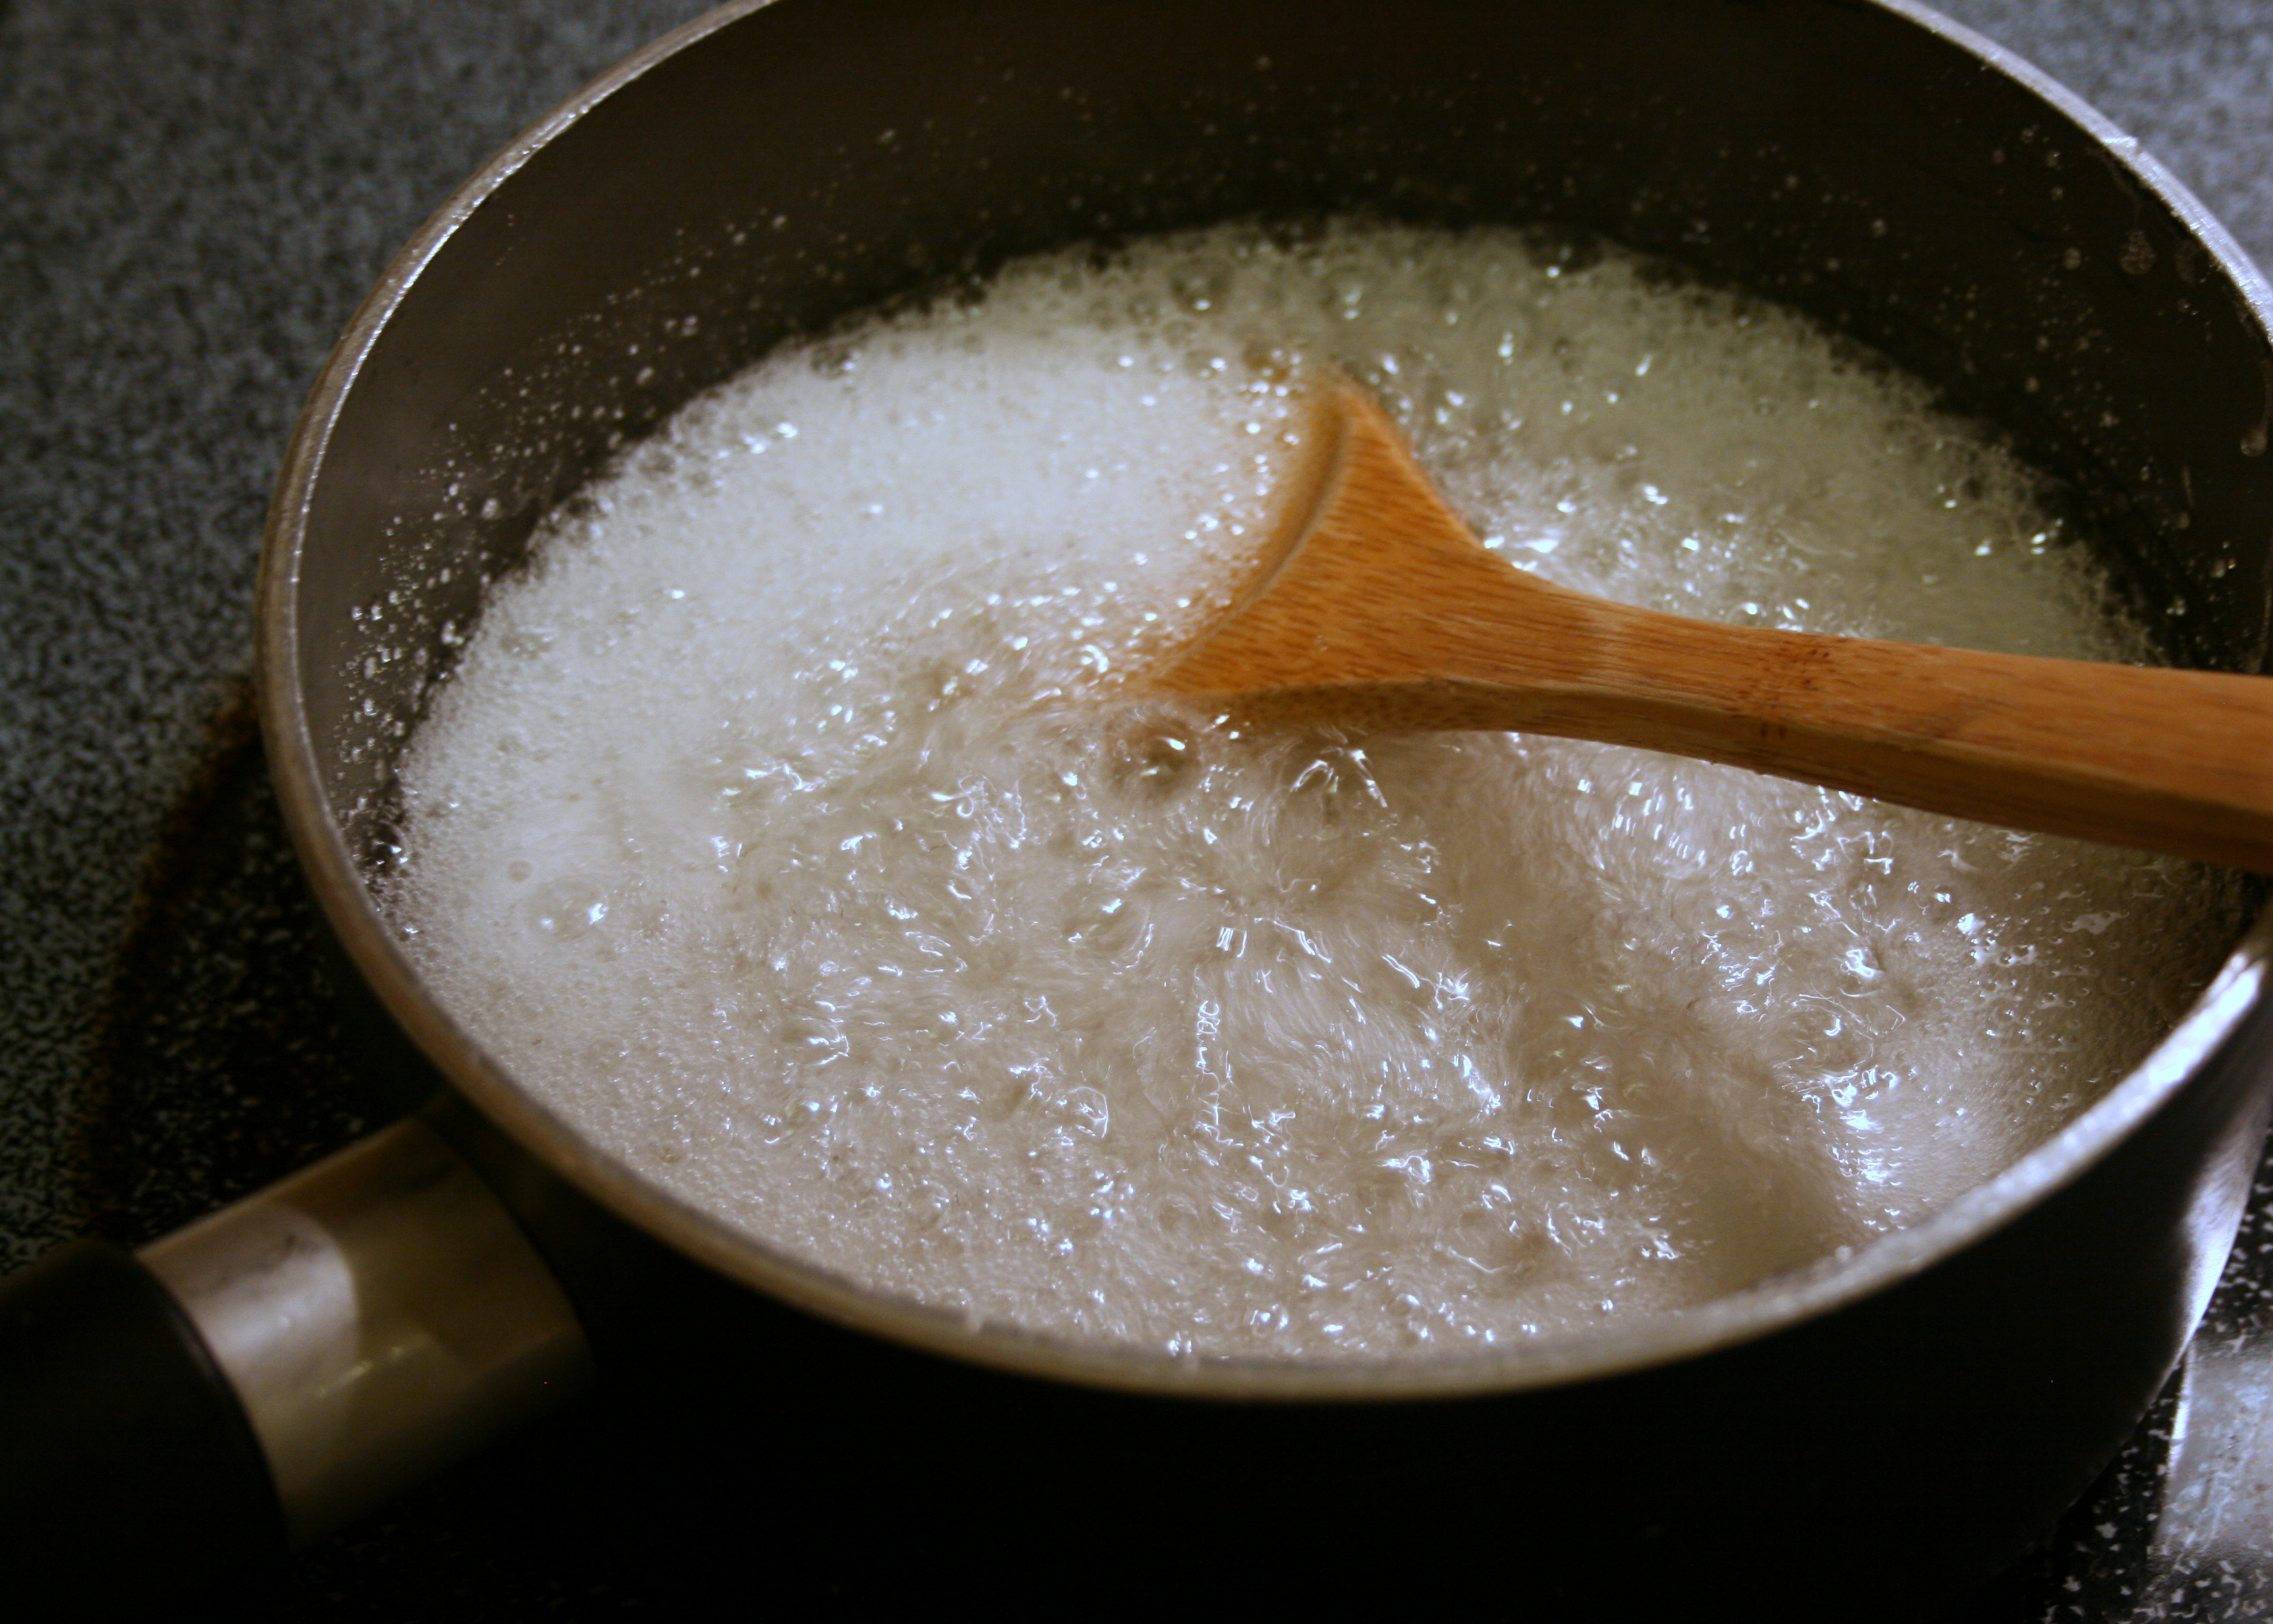
- In a medium saucepan, combine sugar, corn syrup, and 1/4 cup water. Place saucepan over medium-high heat and bring to a boil; boil rapidly for 1 minute. Remove from heat, and, with the mixer on high, slowly pour the boiling syrup down the side of the mixer bowl into gelatin mixture.
- Beat on medium high speed for 12 minutes until white and fluffy.
- Add vanilla extract and stir for 1 additional minute until well combined.
- Spray a spatula with cooking spray. Pour the marshmallow mixture into the prepared pan and spread evenly with the prepared spatula. Cover with additional plastic wrap. Allow to sit for 4 hours or overnight.
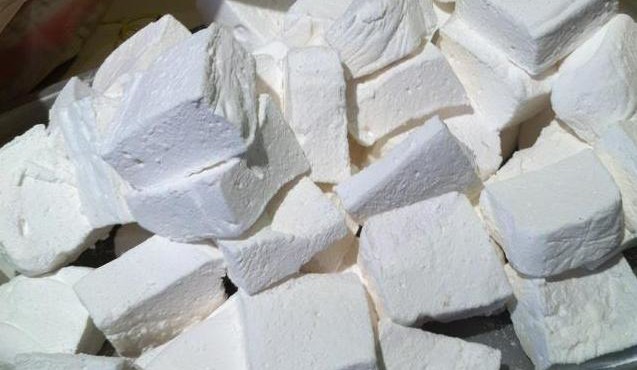
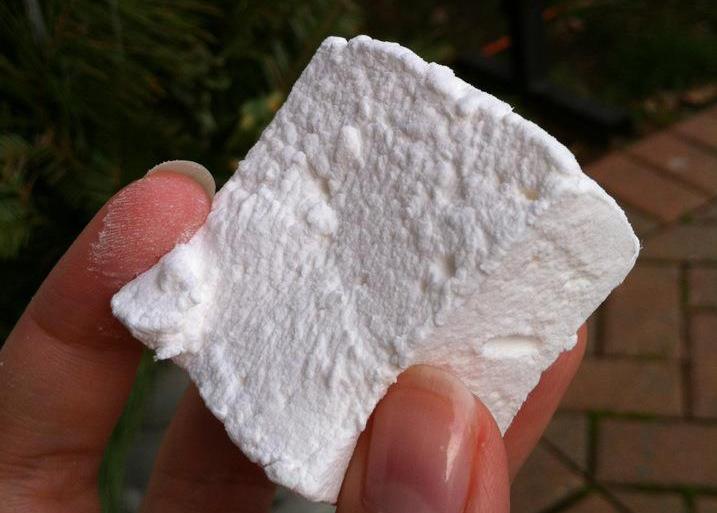
- Dust a cutting board with confectioners’ sugar. Turn the set marshmallows onto the cutting board. Remove all plastic wrap. Cut marshmallows into desired size (I like mine about 1″ square) using a sprayed sharp knife. Place confectioners’ sugar in a large bowl. Working in batches, add marshmallows to bowl and toss to coat. Finished marshmallows can be kept in a plastic bag or airtight container.
And just like that, you’ve made marshmallows from scratch. Now, there are a few little tips and tricks I’ve learned along the way that make the job easier.
Marshmallow is extremely sticky stuff. Preparing your pan is one of the most important steps. I usually use a glass pan, but as I was making several batches, I wound up moving to aluminum pans, which worked out just fine. I first spray the pan with a light coating of cooking spray. This will help keep the plastic wrap in place. Next I line the pan with plastic wrap, leaving enough overhang on the edges that I will be able to fold it up to cover the marshmallow while it sets. Don’t worry about getting it smooth; the wrinkles won’t be noticeable in the finished marshmallows. Once the pan is lined, I then spray the plastic wrap with cooking spray.
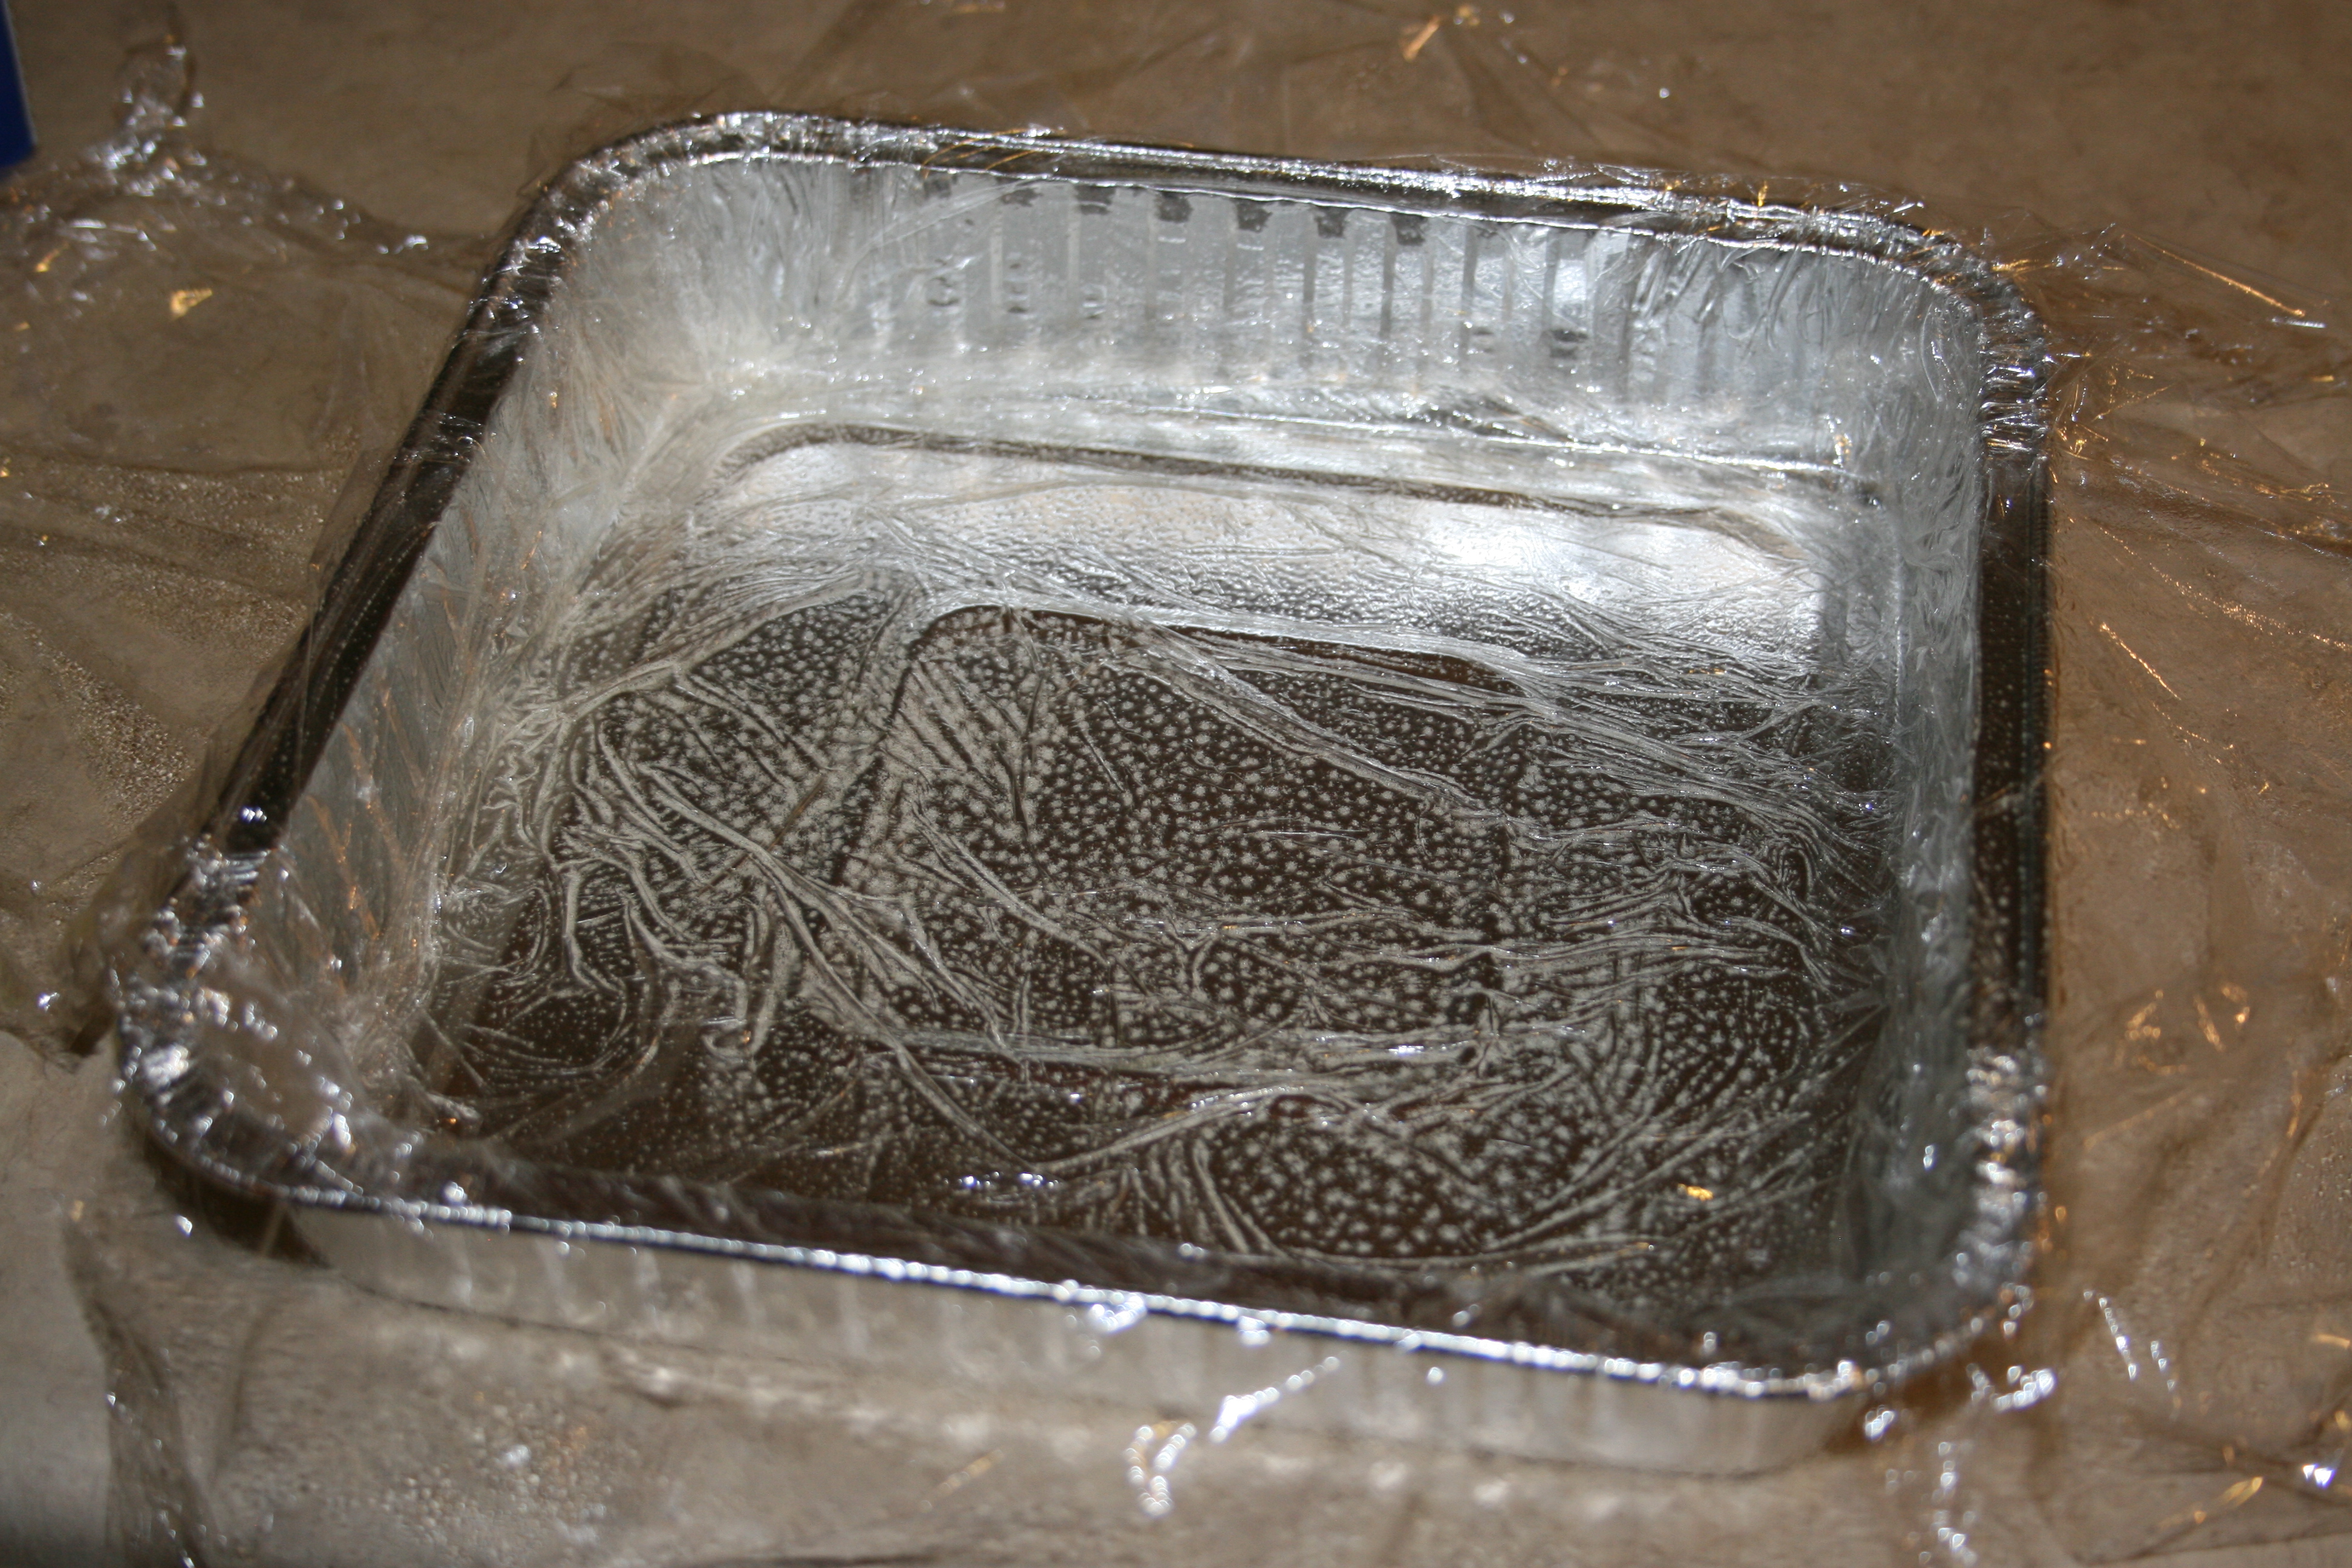
Aluminum pan lined with plastic wrap and generously sprayed with cooking spray.
I’ve been through a few different recipes for marshmallows. Many of them require using a candy thermometer to bring the syrup up to the proper temperature. None of the recipes agreed on exactly what that temperature should be. Getting ingredients to the right temperature for the right amount of time is, of course, the trickiest part of any sugar work. However, it seems to me that this more simple process of letting it come to a rapid boil for 1 minute resulted in the best texture and consistency. Some of the other batches wound up a bit tougher, almost rubbery. These were soft and fluffy.
Double, double toil and trouble;
Fire burn, and ‘shmallows bubble.
I know a stand mixer is rather a large item to be a necessary piece of equipment. I suppose this could be managed with a hand mixer, but it’d be a trickier proposition. It’s nice to have that 12 minutes of ‘set it and forget it’ to clean your cooking utensils of hot sugar syrup before it hardens. It’s this process of whipping air into the sugar syrup as it cools that turns it into the fluffy, sticky mess we’re looking for. This is so magical, in fact, that I made a time lapse of it…
The beginning is a little rough from all the steam clouding the lens as the initial heat is released from the syrup. And right at the end, if you watch the side of the bowl carefully, you can see a big splatter… That would be the part where I was focused so much on capturing the time lapse, that I neglected to think about how hot the mixture still was and how volatile vanilla extract is. So, yeah, that’s basically the result of all the alcohol in the extract I thoughtlessly dumped into the bowl vaporizing immediately. Whoops. They turned out just fine in the end, though.
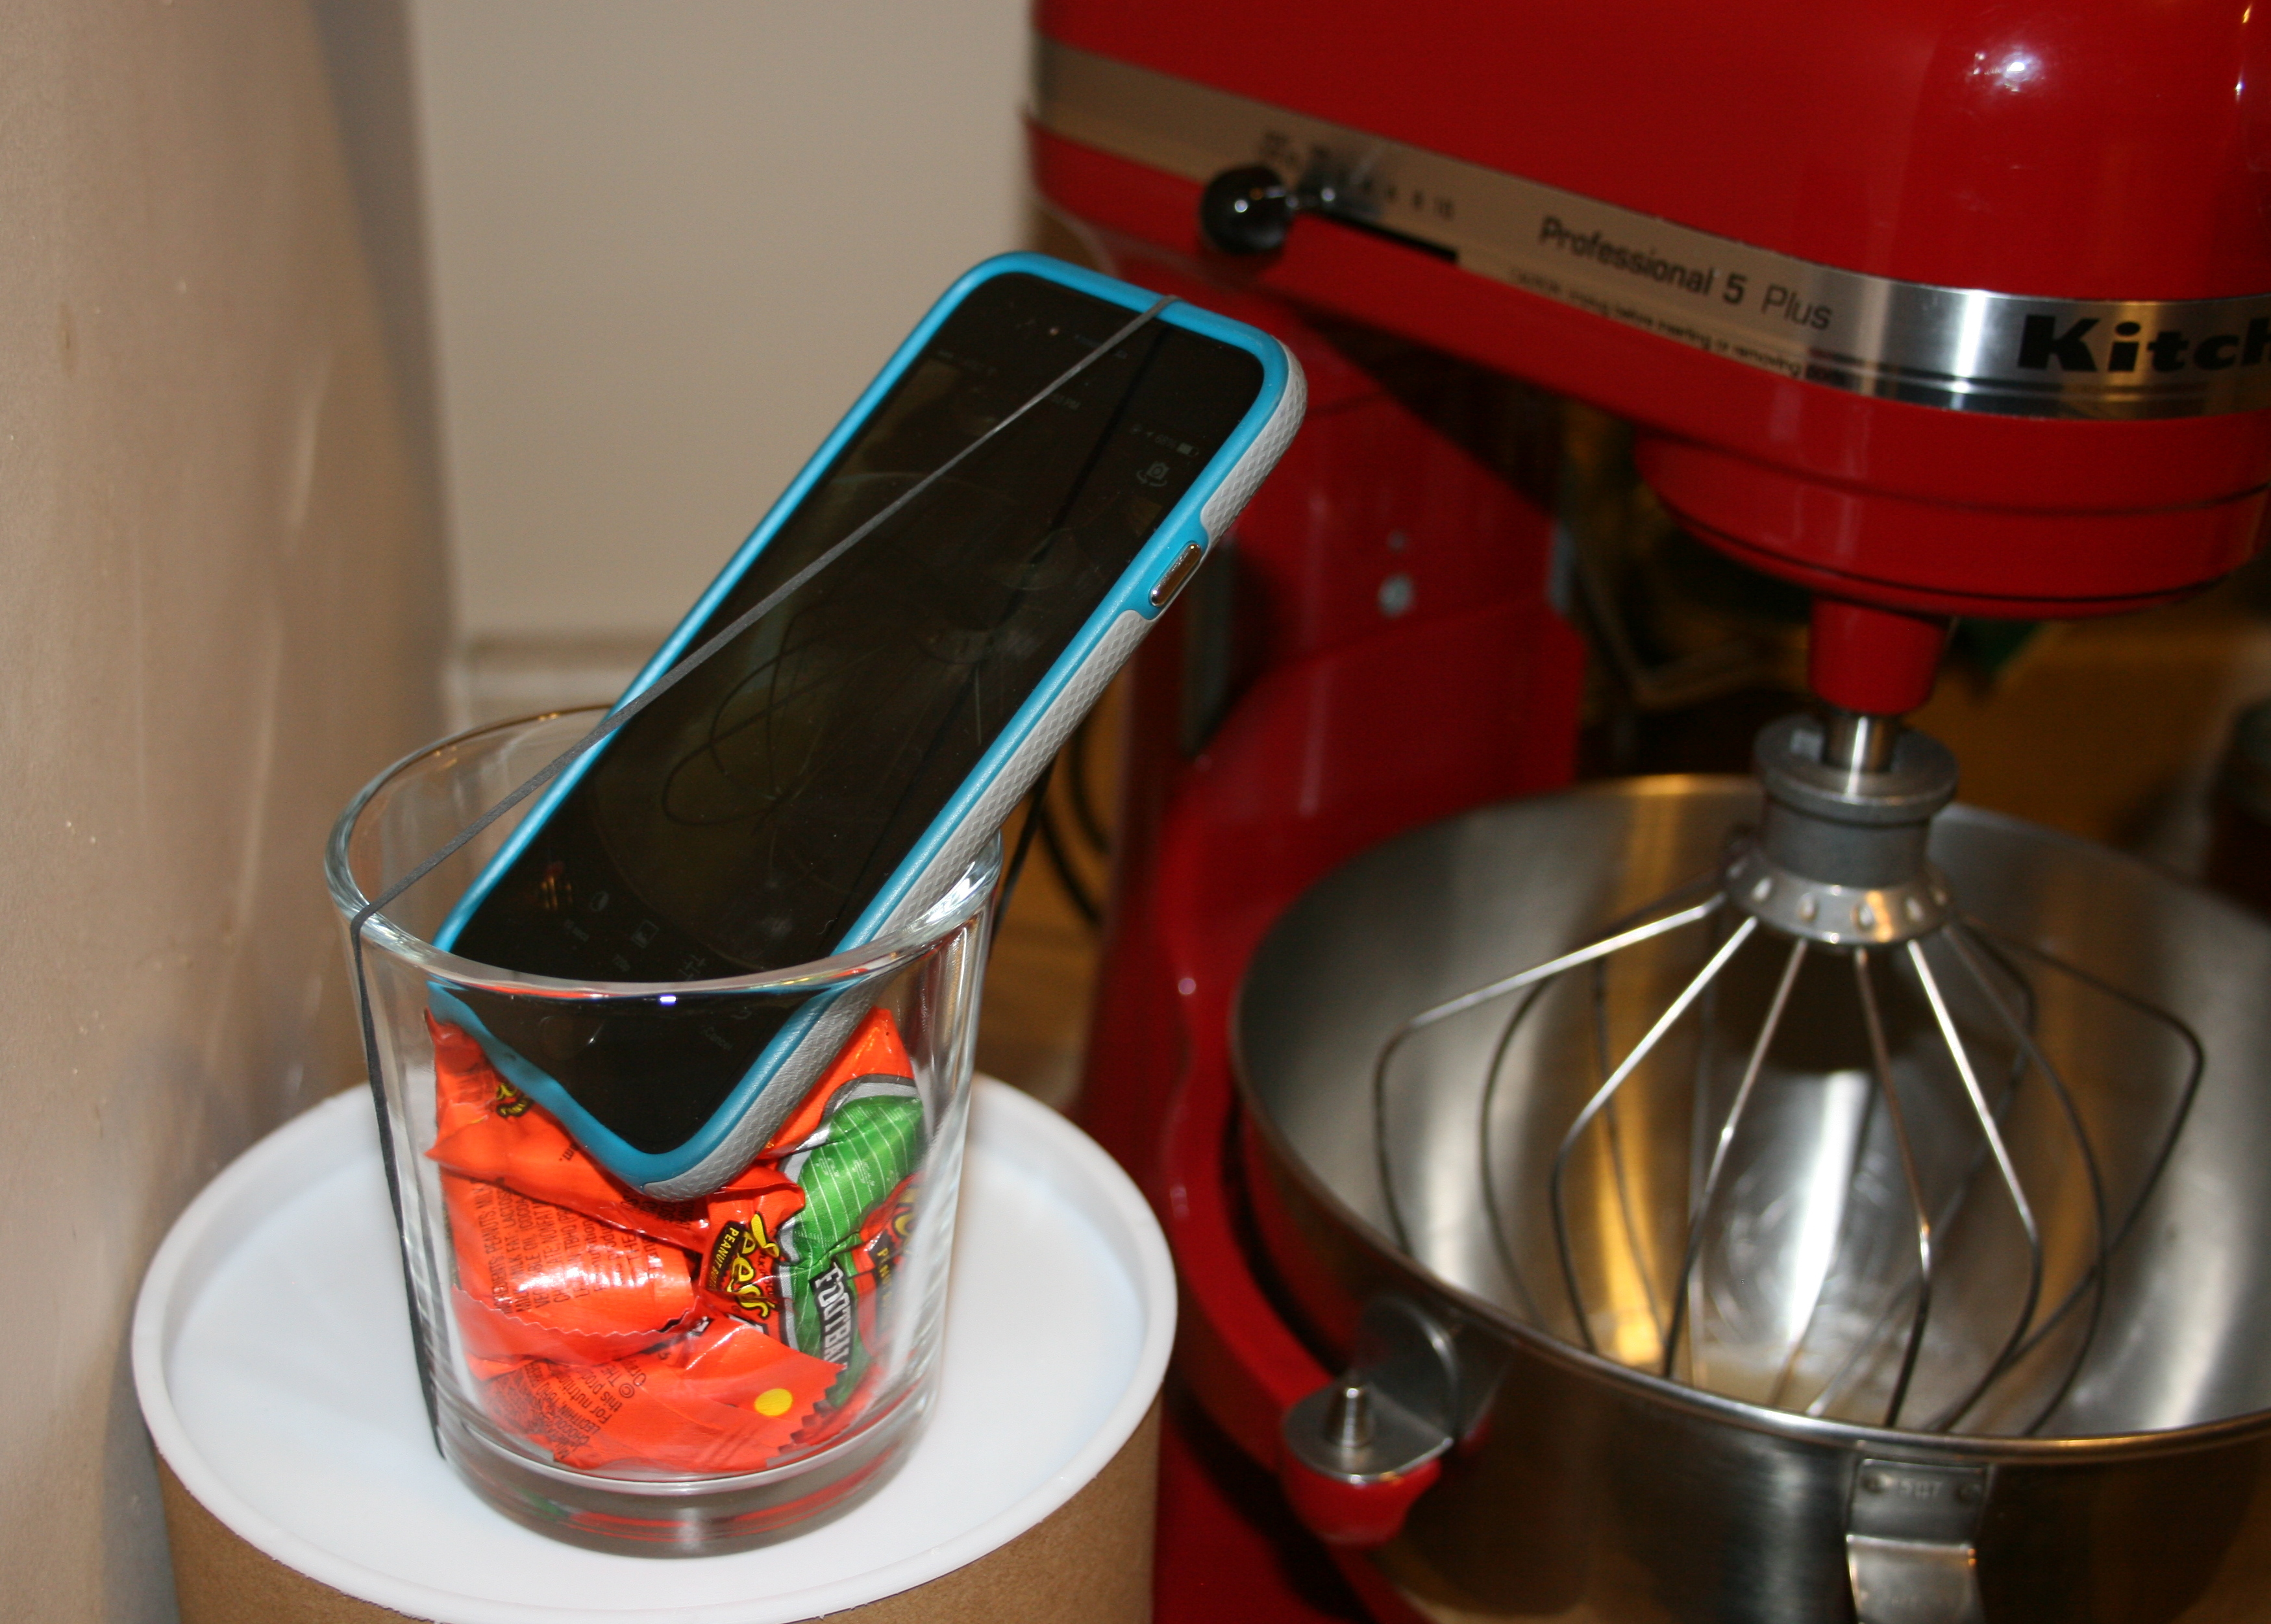
Now this is some professional set up…
Stay tuned for more marshmallow talk where we’ll talk about just some of the flavor possibilities.