Now that the weather here has gotten significantly better and we are officially past the threat of frost (May 15th is the official day here), the time has come for my potato experiment to get underway.
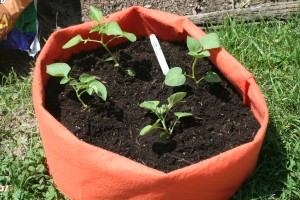
 The grow bag came from Gardener’s Supply Company. It’s a great alternative to plastic or ceramic pots if you intend to plant a bunch. They fold completely flat for storage and are lightweight and porous. I opted for the very festive “Poppy” color instead of basic black. The first step in the instructions is to fold it over about halfway down. This is so the plants can get enough sun. It will later be folded up to add more dirt for the growing plants. By burying the stems as it grow, the instructions claim that we’ll wind up with a bigger yield.
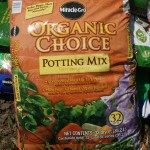
For potting soil, I chose Miracle Grow Organic soil. I didn’t really want anything with a whole bunch of chemicals since I’m growing food, not flowers. I’ll admit, I’m not entirely pleased with the consistency of the soil. There are a lot of fairly large wood chips mixed in. It looks a lot like compost that isn’t quite ready or that hasn’t been sifted sufficiently. However, we soldier on and hope for the best.
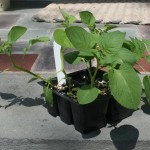 I’ve also made a major deviation from my original planting plan. Instead of ordering seed potatoes, I picked up some plants from my local garden center. I did this for a couple of reasons. First, and probably most significantly, the seed potatoes were really only purchasable in large quantities. This meant that a whole bunch of them would be going to waste. If I were planting more than just this experimental grow bag, it may have been a cheaper option. Secondly, here in New England, we have a notoriously short growing season. This is particularly hard on fruits and vegetables. I figured that by buying plants that were already growing, I’d have that much of a head start.
I do have a confession, though; I have no idea what variety of potatoes these are. So, when harvest time comes, we can all be surprised together.
The instructions for using the bag say to put four inches of soil, add the seed potatoes, and cover them with an additional couple of inches of soil. Since my plants are already sprouted, I put a good six inches of soil in the bag and planted my seedlings. I gave them a good watering (it is hot out there today!) and they’re all set. When the plants get eight inches tall, I’m supposed to add more soil, so I’ll be updating again then.
Stay tuned!
